Wow, its been that long since my last post?!  I have been sorely neglecting my poor blog and almost as much my taste for food!  Well alot has happened since September, for one, last December we packed up all of our stuff and put it in a storage unit (or three) and that includes my beloved smokers – so I have been without my arsenal for nearly 7 full months now and it has been difficult.  We find ourselves living with my in-laws while we are in limbo between our condo and our future home (which we are still looking for) and our stuff is far away.  But, lucky for me my father in law has a nice gas smoker, unlucky for me today’s weather calls for severe storms and strong winds all day.

But let me back up, what in the world do I even need a smoker for today?  Well as it turns out my brother is getting married next weekend (congratulations Dan) and I being ever so thoughtful forgot he may need a stag party before he enters into wedlock and so we find ourselves in need of some grub.  So I find myself up against the wall we are out with friends tonight and then tomorrow its stag party time.  Dan is pretty simple in his tastes but ribs are one thing he likes and one thing I like to make.  So ribs it is, nothing special, usual rub and smoked using the 2-2-1 method (they are baby backs, for regular ribs the 3-2-1 method) but with the stinking gale happening outside my window using the gasser was out of the question, I would spend more time relighting the burner than actually cooking.  So that left me with the charcoal, which would take more care than I could give it today or the gas grill…winner winner chicken pork dinner.

Now I have heard that some of you (you know who you are) will take a rack of ribs and put it into a crock pot and turn it into gray mush and then top with some sauce, the words I have are not kind.  Well no more!  There are no longer excuses, today we will learn how to make ribs on the grill that are just a fuzz less awesome than those off a smoker, after all the one on the smoker get cool points.

Before we can figure out how to cook them on a grill we need to know what makes ribs so special in a smoker, there are a couple of things they are low heat for a long period of time, moisture from the water pan (personal opinion here) and smoke – after all it is a smoker.  These are the things we will need to replicate in the grill.

Ribs on a gas grill, smoked

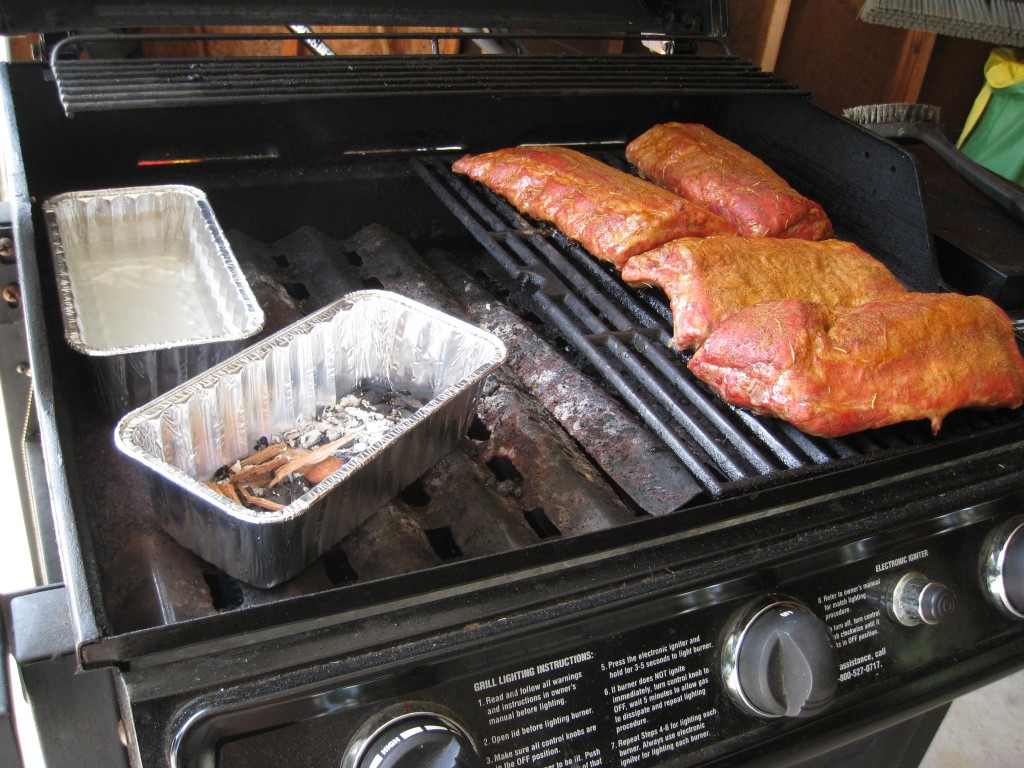
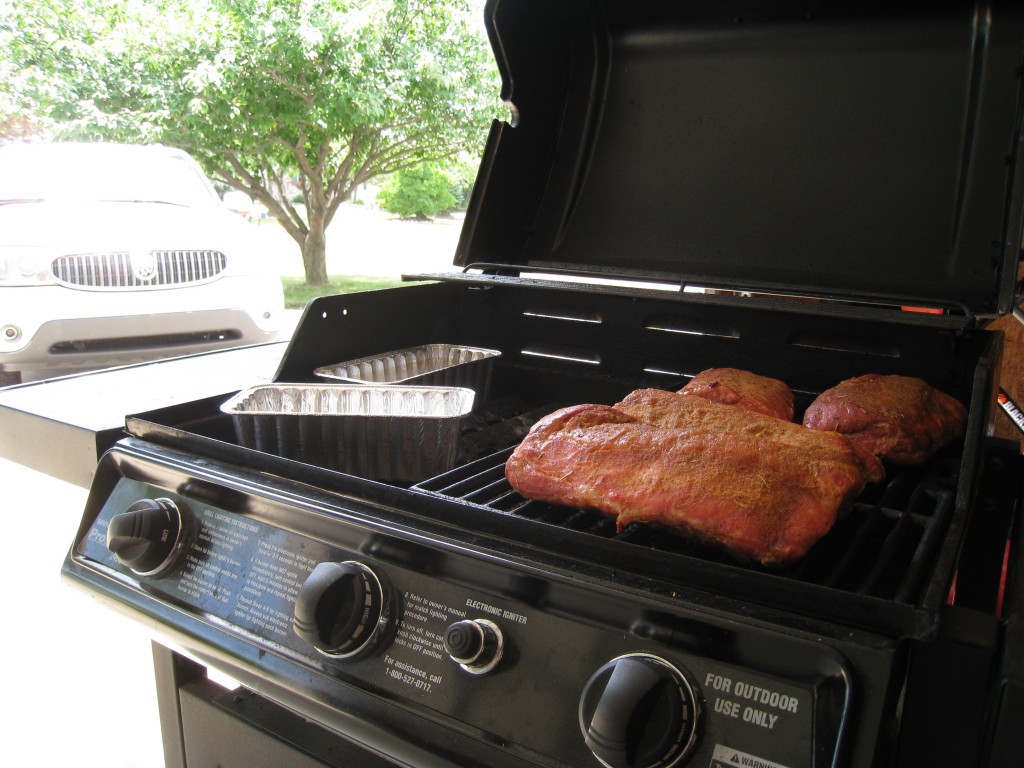
The first and arguably the most important, or at least a close second piece of the equation to replicate is the low heat for long periods of time – I can hear you now, “…in a crockpot…” Gross!  Anyways so to do that we will only be using one burner (your grill may be different), you will notice in the picture above that the two burners closest to the camera are turned off and just the one is on.  Doing this I am able to maintain a nice 225-250°F cooking temperature (stinking wind, it would be easier without the gales) without much effort.  So that was easy figure out where the grill can happily hold our temperature and leave it there, or at least until you are positive you need to adjust and KEEP THE LID CLOSED!

Grill smoked ribs, water pan and chips

Next there is the smoke and well the water, they are pretty similar so I will cover them together.  The first thing you will need are a couple of foil pans that will fit in your grill, unless you want use your good pans then by all means cast iron would be better.  Take the grate out of your grill if it has the little under grate, sometimes called flavor bars, and set the foil pans directly over the burner you will be cooking with – fill one with water and line the bottom of the other with wood chips soaked in water.

Finally add ribs and cook as if it were on a smoker.  Just like a smoker you will have to refill the water and the smoker chips as needed.  Cook and enjoy, use your crockpot for soup and taking things to potlucks, where with any luck someone will steal it.

Tagged with: , , , ,

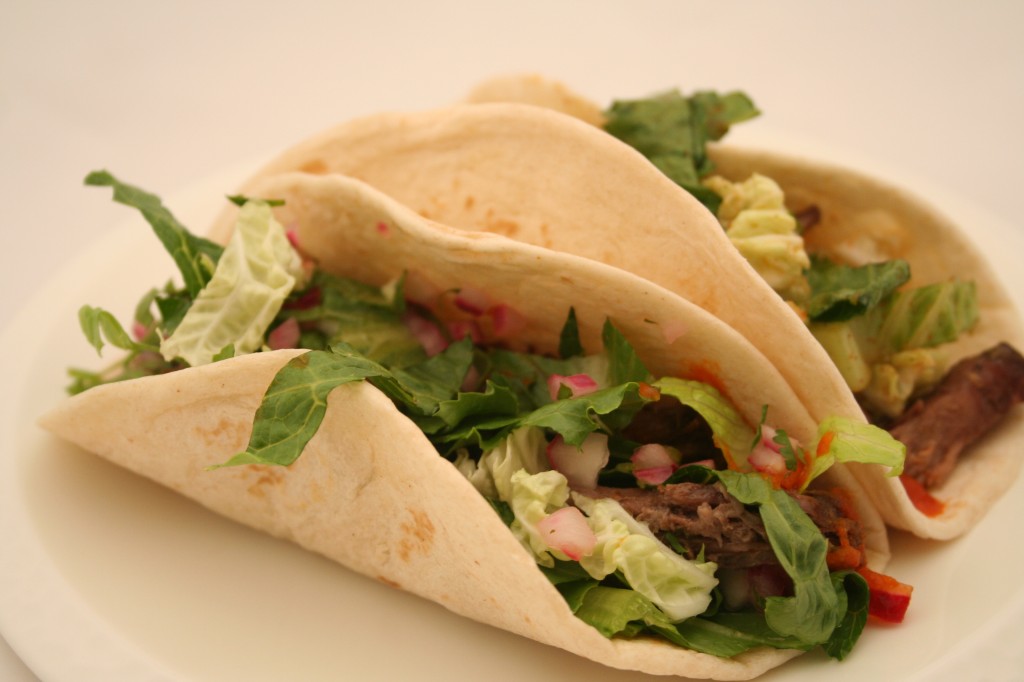
If that isn’t a mouthful, Korean BBQ Beef Short Rib tacos, I am not sure what is but figuratively and literally there were a mouthful and they were something special.  This was not an original creation but rather a stab at the KogiBBQ shortrib beef tacos they sell our of food trucks in LA.  I was lucky enough to get to sample one of these this past spring on a trip out there and it left such an impression I thought I would like to recreate it at home.  Well I failed to recreate it but I still came up with something amazing that had a flavor and texture set unlike anything I have cooked before.

We started out with the beef shortribs this was perhaps the easiest part.  It was providential almost, I recently began to subscribe to Bon Appetit magazine and the July 2011 edition had a recipe for a Korean BBQ Marinade.  The recipe was good, actually it was really good we tried it a couple of weeks ago on some shortribs just for fun and I think I would be evicted by my wife if I don’t make it again.  It was really good.  We did let our shortribs soak in this marinade for about 16 hours, and the flavor was good, it permeated all the way through but was not too strong.

Next came the condiments, I started by tossing some shredded romaine and cabbage with a Korean Soy Vinaigrette, arriving what was affectionately known as dirty lettuce.  This was really easy to make and I made the vinaigrette the morning of so it had some time to meld and mature.  You can find the recipe below.

Ingredients
2 c shredded napa cabbage
4 c shredded romaine lettuce
1/4 c soy sauce
1 tsp grated ginger
1 clove garlic (finely minced)
2 tsp rice vinegar
3 tsp chili powder
1/2 tsp cayenne
1/2 tsp ancho chile powder
generous squeeze of lime juice
dash of sesame oil
a sprinkling of toasted sesame seeds

Instructions
Combine all but lettuce and cabbage in a bowl and let sit refrigerated at least 8 hours.  Just prior to serving shred cabbage and romaine and toss with vinaigrette.  Only toss as much as you need otherwise it will get soggy.

The last condiment that needed assembly was the Cilantro-onion-lime relish and it was something crazy it was easy to assemble but added such depth to the overall combination of flavors it would be tragic to leave it off.  You can find its recipe below.

Ingredients
1/2 red onion minced
1 tsp rice vinegar
1/2 tsp white wine vinegar
1 tbsp chopped cilantro
juice of 1 lime
pinch of salt

Instructions
Mince onion and combine in a bowl with vinegars, allow to set for 5 minutes.  After five minutes drain, rinse and allow onion to thoroughly drain.  Add remaining ingredients to a bowl with onion, stir to combine.

There was one final condiment we topped these babies with to give them a bit more of a kick, a little bit of a punch in the side of the face, it was a little Sriracha Hot Chili Sauce, you know the stuff in the clear bottle with the green top that is absolutely incredible.

So once the short ribs were grilled, de-boned and shredded, it was assembly time.  We heated up a skillet with little heat in it and warmed our tortillas in there the then piled on the meat and condiments and enjoyed.  These are pretty good, they are worth the effort and are on the menu again soon.

If I pulled one learning from this it would be that corn tortillas may be a bit better than the flour ones for this.  So next time we know.

Tagged with: , , , , , , , , , , , , , , ,

There are few things more rewarding and relaxing then spending an afternoon looking out at a gorgeous view while tending to a dutch oven full of goodness.  It seems that is how this year’s installment of caveman cooking begins.  This year the challenge was not breakfast but spareribs; the only requirement I received was they had to be tender.  Mission accomplished.

Cooking in a dutch oven is not necessarily my forte, I mean it is primitive, but sadly my dutch oven is probably the least used weapon in my cooking arsenal.  Unlike the smoker, you can’t just set it and forget it (more or less), it requires constant devotion, and that presents a challenge at home when I usually do not have hours on end to babysit the pot.  Sadly.

Given the opportunity to give the dutch oven a try, I left the smoker at home and busted out the pot.  It is vacation, days are supposed to be spent doing the stuff you don’t have time to do at home like fishing, relaxing and yes, tending to a dutch oven.

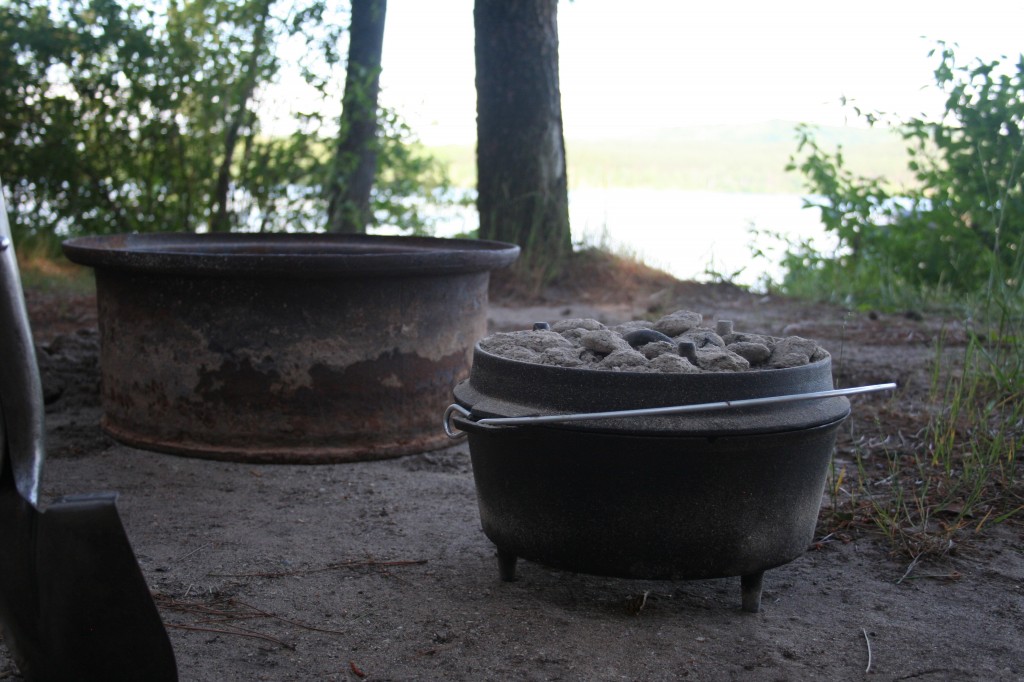
Dutch oven with coals

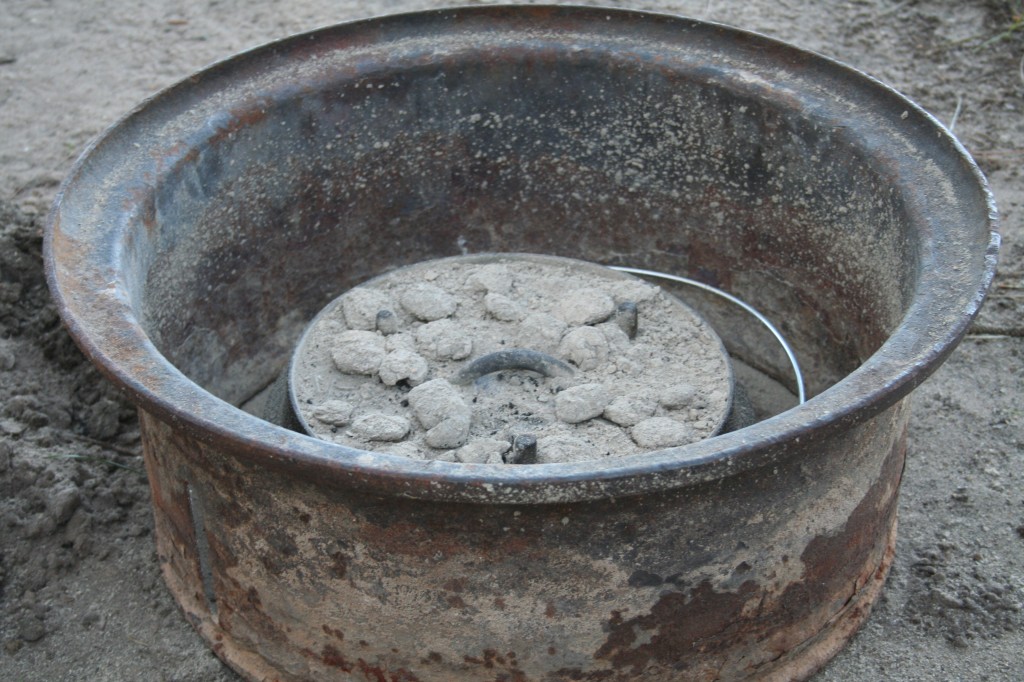
To get started I had to do battle with the wind. First I dug a hole a few inches deep and a few inches wider than the dutch oven, then, grabbed the neighbors fire ring to act as a wind block.  Wind problem solved.

Dutch oven with the wind break

Next, I fired up 22 coals in the charcoal chimney and got ready to cook.  For every coal I put on the lid I put two underneath the oven in a checkerboard pattern.  From there, every 25-30 minutes, I added 6 to 8 or so fresh coals following the same distribution and rotated the oven half turn and the lid a half turn the other way.  There is a handy dutch oven temperature calculator you can find here.

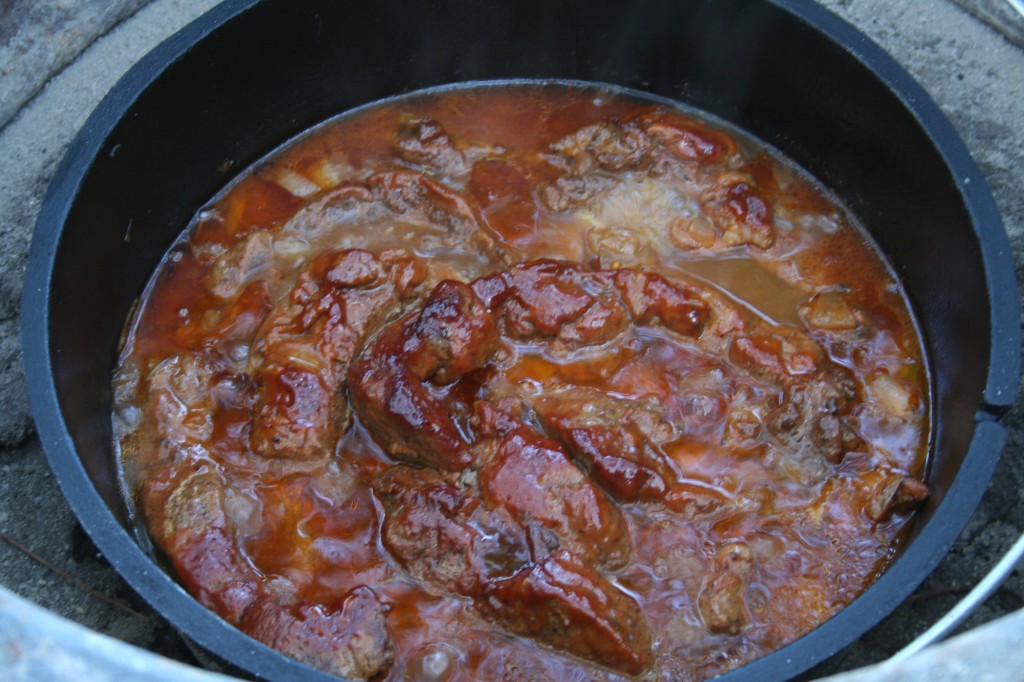
Dutch oven BBQ Spareribs

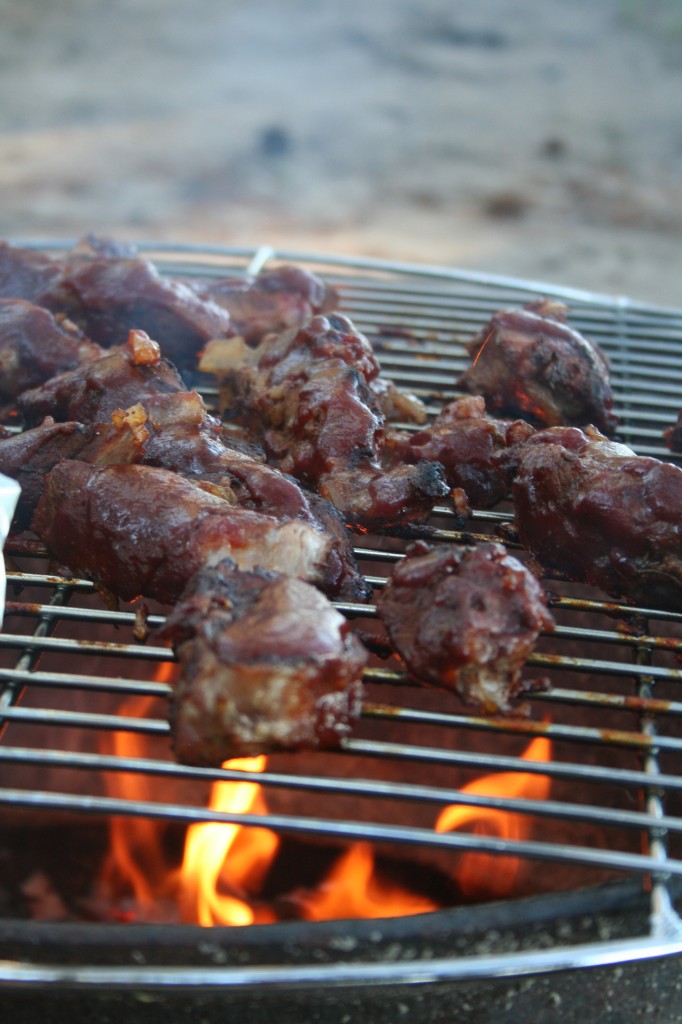
After two and a half hours of this madness and the constant whiffs of amazing smells coming from the pot, it was time for phase two, the fire.  This was where we were to finish and give the ribs a nice outward texture.  While maintaining the coals on the pot, I had been building up a nice bed of cherry wood coals to finish the ribs on with a bit of BBQ sauce.

BBQ Spareribs on the fire

Once the ribs had taken on a nice set of grill marks and soaked up some cherry smoke, they were ready and tender!  So, when it was all said and done, there was really no recipe it was a cobbled together bit of whatever came to my mind goodness but here is my best stab at it.

Ingredients
1 1/2 tsp brown sugar
1 1/2 tsp chile powder
1 1/2 tsp sage
1/2 c apple cider vinegar
1/2 c apple juice
1/2 can Coca Cola
1 large onion (chopped)
4 cloves garlic (chopped)
1 tbsp oil
mustard seeds
rosemary
black pepper
2 bay leaves
bbq sauce
spare ribs (bones removed)

Instructions
Make a rub using brown sugar, chile powder and sage.  Mix thoroughly and rub into all the meat.  Set meat aside.  Combine remaining ingredients with the exception of the bbq sauce in the dutch oven with a cup of water add meat and top with a bit of bbq sauce.  Cook meat in the dutch oven until it falls apart over low heat (250-300°F), about 2.5 hours and finish over and open fire or on a grill with some more bbq sauce.  Let rest for about 5 minutes and enjoy.

After another successful yearly installment of caveman cooking, the novelty has not warn off.  Cooking with nothing but fire is rewarding, its natural, its primitive and its time consuming.  But at the end of the day, its worth it. Its a blast and you can almost taste the effort in the food.

Happy Independence Day! I have leftovers to eat!

If you are looking for more dutch oven recipes, get started over at Jen Reviews with 35 Incredibly Easy Dutch Oven Recipes for Camping, personally the cinnamon rolls wrapped in bacon are calling my name.

Tagged with: , , , , , ,

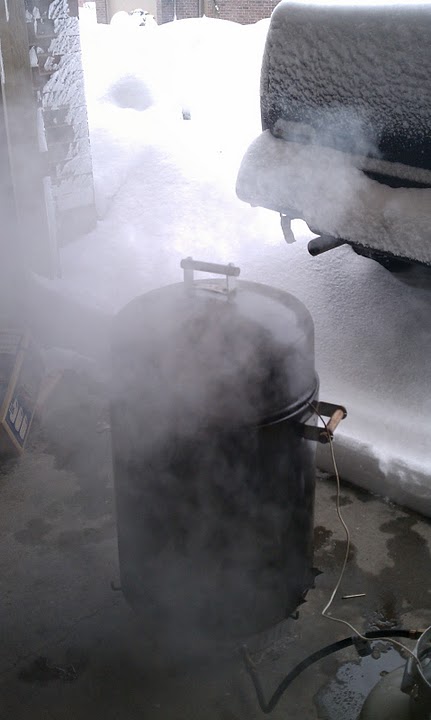
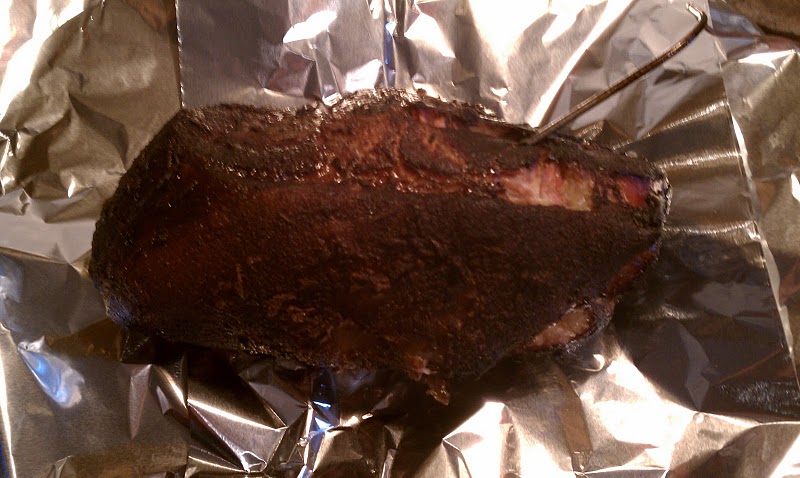
Sometimes its not about what you cook, its about how and where and with what challenges.  Well today, much like cooking breakfast on an open fire, the challenge was not in what I was cooking or how I was cooking, it was the element of nature that produced the biggest source of problem in my cook.  In the midst of a blizzard warning this morning I fired up the smoker to smoke up some rosemary and brown sugar rubbed Boston butts (3) for some pulled pork.

Smoking in a blizzard

In spite of the snow and the massive drifts and the sometimes strong winds, I prevailed the smoked stayed going and the pork is now ready for some pulling.  Its not new, its not special but it was a challenge.  And if I do say the results look, smell and taste fantastic.

My apologies for the picture quality, they came from my phone. 🙁

Tagged with: , , , , , , , , , , , , , , , ,

I am sure this will not be the last episode of Adventures in Jerky but is was certainly a successful one and one with lessons to be learned.  Since the jerky turned out so well last time I made it and all but a hurricane was forecast here today; it seemed like a great day to make jerky. I could turn on the electric smoker, crack the garage door and the window, and let it works its’ magic.

It all started last night looking for what type of jerky to make, I wanted to make sure pepper jerky but I am not sure exactly how I want to go about that yet.  So pepper jerky is back burner-ed, although I think it I have it figured out.   Anyways back to today’s jerky.  Today’s jerky consisted of Teriyaki Sesame jerky and a BBQ jerky.  Both of them came out quite alright.

Once I had figured out what kind of jerky I was making.  It was off to the store to scope out some meat.  This is where I made a mistake, I bought the cheapest bottom round roast I could find.  Big mistake, after I trimmed a 1/4 pound of fat off the roast, you really don’t want any fat in your jerky it will spoil much quicker, I sliced it into fairly uniform slices across the grain about a 1/4 inch thick with a couple of thinner slices that would be done well before the rest for some early on sampling.

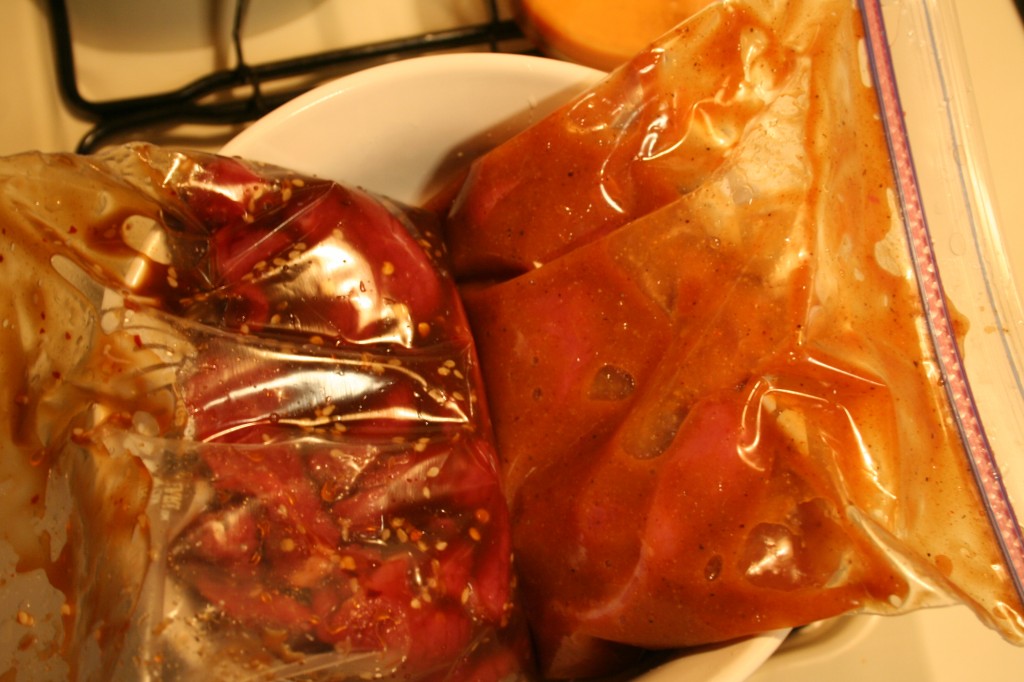
Jerky marinatingThe one on the left is Teriyaki Sesame and the one on the right is BBQ.

Once the meat was sliced up I divided it into two equal parts (about a pound a piece) and put them into two separate zip-lock bags.  Then I whipped up the respective marinades and poured them over the meat in the bags.  Then I squeezed the air out of the bags, worked the marinade into every crevice and void in the bag and let them marinate in the fridge over night.

This morning I pulled the jerky out of the bags and placed the Teriyaki Sesame on one rack and the BBQ on another.

Then I fired up my electric smoker to 155°F, which is quite easy to maintain with my PID controller for the smoker, I used only a couple chunks of hickory wood and a handful of mesquite chips for the entire 6 hour smoke.  I cheated a bit to get good constant smoke, I got a piece of charcoal going and plopped it in my smoker box for my grill and put that in the bottom of the electric smoker and added another piece of charcoal and some wood as needed to keep the smoke going.  This works well and doesn’t impact the temperature significantly.  This would be perfect for smoking some cheese….wink wink, nudge nudge.

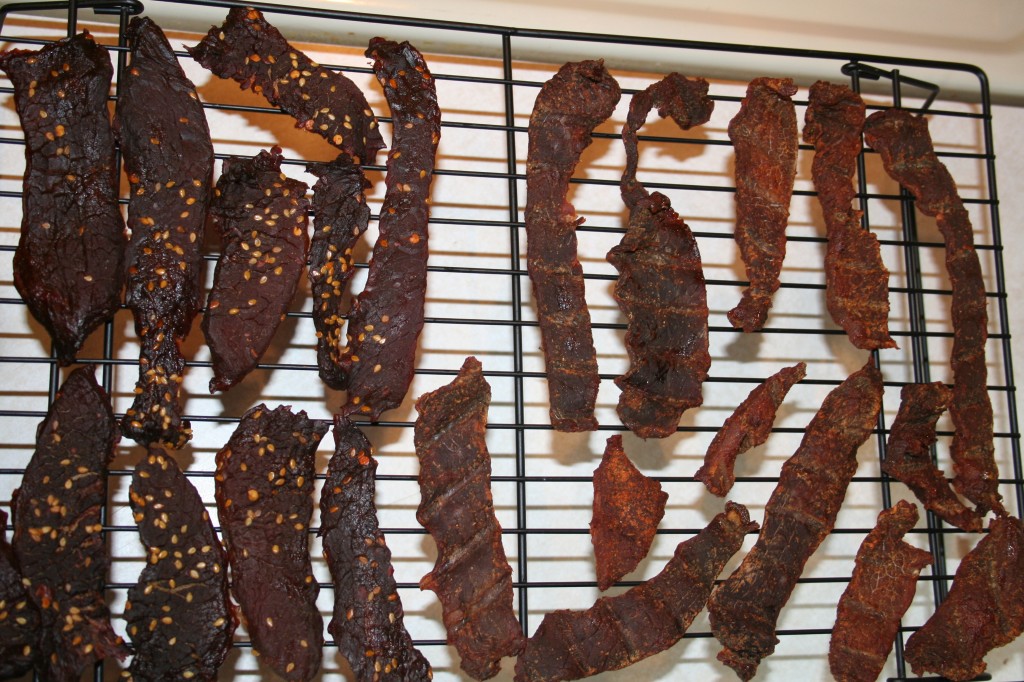
After about 5 hours the Teriyaki Sesame jerky from the top rack was done, it was a little drier than I was aiming for but it got left unattended for a while.  I removed it and because I had covered the empty water pan with foil to keep the drippings off the element, the BBQ jerky closest to the pan needed a bit more time so I moved the rack up to the top to give it some better exposure.  About an hour later the BBQ jerky was done as well.  As I removed both kinds of jerky from the smoker I placed them on a cooling rack inside and let them come down to room temperature before putting them in a container and into the fridge.  Realistically if I was going to be keeping the jerky any longer than a day or two I would let it sit in the fridge for a while in the container with no lid on just to make sure all of the moisture that can be out is out.  But the way it gets eaten around here it will be gone tomorrow.

Jerky cooling offAgain Teriyaki Sesame on the left and BBQ on the right.

So how was it?  Both types of jerky had great flavor the Teriyaki Sesame was great, it tasted like I expected.  The BBQ however, I had little hope for but it surprised me, it has a great flavor that seems to be maturing as the jerky sits and it is growing on me quickly.  So at this point both of them are keepers in my book, they might get some modifications down the road but the are good as the are and can only get better.

Teriyaki Sesame Jerky
Ingredients

1 lb thinly (1/4″) sliced beef or other red meat
1 c teriyaki sauce (recipe)
1 tsp sesame seeds + extra

Instructions
Combine teriyaki sauce (if making your own allow to cool) and 1 tsp sesame seeds and pour over thinly sliced meat in a ziplock bag.  Purge air, seal and refrigerate and allow to marinate for at least 8-12 hours.  Then prepare as outlined above.

BBQ Jerky
Ingredients
1 lb thinly (1/4″) sliced beef or other red meat
1/3 c red wine vinegar
1/3 c ketchup
1 tsp salt
3 tbsp brown sugar
1/4 tsp ground black pepper
1/8 tsp cayenne pepper
1 tsp onion powder
1/2 tsp garlic powder
1 tsp dry mustard
bbq rub (such as BBQ 3000 or Bad Byron’s Butt Rub)

Instructions
Combine all but bbq rub and meat in a bowl, mix well.  Pour over thinly sliced meat in a zip lock bag.  Purge air, seal and allow to marinate in the refrigerator for at 8-12 hours.  Remove meat from marinade, place on smoker rack and lightly sprinkle with bbq rub.  Prepare as outlined above.

So far jerky has been a hit, although today’s was a little tougher than I like, I blame the meat.  It was a bad choice and now I have to live with it, although it is not half bad.  Next up, pepper jerky!

Tagged with: , , , , , , , ,