This weekend I got rained out from typical outdoor activities, so I took some time to clean out the older items in the root cellar, but earlier in the week I had done some exploring in the chest freezer and found some freezer fossils.  Now these weren’t bad, just roasts left from a couple years ago, but one was freezer burned and the other pristine.  I thawed them out and gave them a quick rub on Friday with a Mexican inspired rub.  I used two parts onion powder to one part of each of the following garlic powder, cumin, chipotle powder, black pepper, salt and oregano.  I let them rest in the fridge overnight and then gave them a quick smoke on the old Weber that I fear is nearing its final day.  I went to remove the lid and was left with a handle in my handle.  This is a very fire themed post, I used my propane torch to get some hickory and mesquite chunks going and then just threw the meat on the grate and let it go.

Once it was smoked I brought it back in the house, vacuum sealed each roast individually with a couple smashed cloves of garlic and dropped them in their waiting 135°F water bath – for the next 29 hours.  Fast forward to today, 29 hours later and time to finish them, time for the weed burning torch and the video below.  Just a quick sear on both sides and done, they were still sizzling when I got in the house but still fork tender.

And after a short rest it was time to carve and eat, slicing it open revealed what I had hoped – tender, juicy and solid meat.  The first bite did not disappoint, nor did the subsequent bites.  We ate it alongside a black bean and corn relish made nearly entirely from produce grown on premises.

I used my Anova Sous Vide Stick to redeem these freezer fossils and it did not disappoint.  What are you cooking?

Tagged with:

In spite of the ridiculously warm hunts the deer have been on their feet this year and I am grateful to have taken a couple.  The farm I have been hunting has a deer problem, it is not uncommon to see twenty or more deer a sit, which makes every sit exciting.  Ten days ago I had what appeared to be a wounded deer come in that was obviously in rough shape and so I took the shot and killed it instantly, if you don’t believe me I will send you a picture of the shot.  Regardless upon butchering I discovered that the reason it appeared to be injured is that it was injured, one front shoulder was completely dislocated and the other a bruised ball of mess.  Fear not the chickens loved those two shoulders.  I butchered the rest of the deer you would as any other and set aside two roasts to make…pastrami.  I love pastrami, I love corned beef/venison as well but have a special place in my heart for pastrami.

20161025_201349

I have made pastrami in the passed and it was always just not quite right, either dry or funky or something, well this time I nailed it.  It is fantastic, had some last night on pumpernickel with horseradish cheddar and mayo, might have another for lunch.

As with other cured meats the process is as important as the ingredients and in this case more so for flavor, with here is what I ended up with.
20161017_101212

Ingredients (cure)

  • 3-5 pounds venison
  • 1/4 c tender quick (do not skip, this is the cure part)
  • 2 tbsp dark brown sugar
  • 1 tbsp ground black pepper
  • 1 tbsp onion powder
  • 1 tbsp garlic powder
  • 1 tsp paprika
  • 1 tsp ground cloves
  • 1/4 tsp ground mustard
  • coupe bay leaves crumbled

Ingredients (rub)

  • 3 tbsp ground black pepper
  • 1 tsp ground coriander
  • 1 tsp garlic powder

Instructions

  1. Trim, wash and dry meat.  Set aside.
  2. Combine cure ingredients thoroughly and rub liberally all over meat.
  3. Place meat in a gallon zip lock bag or better yet vacuum seal it and place it in the fridge for at least five days, depending on meat thickness.  I went seven for this batch and it was perfect.  Turn the bag/pouch everyday.
  4. After the meat has cured – remove it from the bag, rinse and place the meat in a bowl of clean water to soak.  It should soak for at least a couple hours bur preferably over night or better yet while you are at the office.
  5. After soaking, remove meat from the water, rinse again.  Pat dry.
  6. Combine ingredients for rub, rub liberally all over the meat.  Allow meat to sit out.
  7. Preheat smoker to 225°F, add wood for smoker once preheated (I used a chunk of oak and a chunk of hickory)
  8. Once the smoker has been preheated, place the meat on the smoker and smoke until the center of the meat is 150°F
  9. Once the meat is up to 150°F in the center, remove from the smoker, wrap tightly in foil with a splash of water, beer, stock, etc.  Wrap this foil packet in a towel or two and let it sit on the counter for a half hour, this is super important to having an awesome end product.
  10. After a half an hour slice and enjoy.  It will be better the next day.

And that is it, pastrami, at home with an animal hopefully sourced by yourself, that is knowing where your food comes from.  And if anyone knows where I can find a wild pig running around in Michigan I can know where my bacon comes from too.

What is your favorite way to enjoy venison?

Tagged with: , , , , , , ,

Wow, its been that long since my last post?!  I have been sorely neglecting my poor blog and almost as much my taste for food!  Well alot has happened since September, for one, last December we packed up all of our stuff and put it in a storage unit (or three) and that includes my beloved smokers – so I have been without my arsenal for nearly 7 full months now and it has been difficult.  We find ourselves living with my in-laws while we are in limbo between our condo and our future home (which we are still looking for) and our stuff is far away.  But, lucky for me my father in law has a nice gas smoker, unlucky for me today’s weather calls for severe storms and strong winds all day.

But let me back up, what in the world do I even need a smoker for today?  Well as it turns out my brother is getting married next weekend (congratulations Dan) and I being ever so thoughtful forgot he may need a stag party before he enters into wedlock and so we find ourselves in need of some grub.  So I find myself up against the wall we are out with friends tonight and then tomorrow its stag party time.  Dan is pretty simple in his tastes but ribs are one thing he likes and one thing I like to make.  So ribs it is, nothing special, usual rub and smoked using the 2-2-1 method (they are baby backs, for regular ribs the 3-2-1 method) but with the stinking gale happening outside my window using the gasser was out of the question, I would spend more time relighting the burner than actually cooking.  So that left me with the charcoal, which would take more care than I could give it today or the gas grill…winner winner chicken pork dinner.

Now I have heard that some of you (you know who you are) will take a rack of ribs and put it into a crock pot and turn it into gray mush and then top with some sauce, the words I have are not kind.  Well no more!  There are no longer excuses, today we will learn how to make ribs on the grill that are just a fuzz less awesome than those off a smoker, after all the one on the smoker get cool points.

Before we can figure out how to cook them on a grill we need to know what makes ribs so special in a smoker, there are a couple of things they are low heat for a long period of time, moisture from the water pan (personal opinion here) and smoke – after all it is a smoker.  These are the things we will need to replicate in the grill.

Ribs on a gas grill, smoked

The first and arguably the most important, or at least a close second piece of the equation to replicate is the low heat for long periods of time – I can hear you now, “…in a crockpot…” Gross!  Anyways so to do that we will only be using one burner (your grill may be different), you will notice in the picture above that the two burners closest to the camera are turned off and just the one is on.  Doing this I am able to maintain a nice 225-250°F cooking temperature (stinking wind, it would be easier without the gales) without much effort.  So that was easy figure out where the grill can happily hold our temperature and leave it there, or at least until you are positive you need to adjust and KEEP THE LID CLOSED!

Grill smoked ribs, water pan and chips

Next there is the smoke and well the water, they are pretty similar so I will cover them together.  The first thing you will need are a couple of foil pans that will fit in your grill, unless you want use your good pans then by all means cast iron would be better.  Take the grate out of your grill if it has the little under grate, sometimes called flavor bars, and set the foil pans directly over the burner you will be cooking with – fill one with water and line the bottom of the other with wood chips soaked in water.

Finally add ribs and cook as if it were on a smoker.  Just like a smoker you will have to refill the water and the smoker chips as needed.  Cook and enjoy, use your crockpot for soup and taking things to potlucks, where with any luck someone will steal it.

Tagged with: , , , ,

After quite a lengthy hiatus from my blog and cooking for that matter (sadly my diet has been largely fast food for the past couple months) it feels good to be back in action.  It feels even better to have made my very own batch of the candy of meats, bacon.  Making bacon has been on my list for quite some time, but it always seemed so difficult and scary, well it was neither difficult nor scary, in fact it was very rewarding and dare I say tasty.

Bacon, the candy of meats

Before I could make bacon I had some fears to overcome in the process, maybe not fears but decisions.  I did not want to use any nitrates or nitrites in the process, which is scary at face value because nitrites, sodium nitrite particularly, and nitrates are used in meat processing and curing to prevent botulism.  Botulism is like cancer, no one wants it and everyone is scared of it.  The problem with using nitrates and nitrites in the curing process is that nitrites when exposed to high heat in the presence of protein, think frying bacon which has been cured in sodium nitrite, the proteins in the meat bind with the sodium nitrite to form nitrosamines.  Unlike sodium nitrite which is recognized as generally safe when consumed in small quantities, some nitrosamines have been proven to be carcinogens.

So the options are botulism or cancer then right?  Well not so fast, sodium nitrites are necessary in large commercial meat operations where there are numerous individuals handling the meat using various machines.  I contend that at home there is much more control over who and what are used in the processing of meat.  Like any other home cooking or canning exercise a good measure of cleanliness and attention to proper handling and sanitation will go a long ways in eliminating the need to add toxins to keep the meat botulism free.  With that said continue at your own risk.

As part of my operation everything was either new in package that was used (zip locks, foils pans) or sanitized in the dishwasher or cleaned with a bleach solution prior to contact with the meat.  Hands were washed regularly (with proper technique) and an alcohol based hand sanitizer was used just to be safe.  Overkill maybe but I suffer from Mysophobia.

If all of that is too much and you want to be safe just use some sodium nitrate, it won’t taste the same but it should at least provide a little more comfort, it is often sold under the names pink salt, curing salt, instacure and Morton® Tender Quick® among other names.  Be sure to follow the dosing instructions carefully when using these as they are toxic in large amounts.

So with all of that business out of the way I decided I would not use nitrates or nitrites in the curing process and would be extra vigilant in the processing, curing and smoking of my bacon and I am glad I chose to go this route, the end result is phenomenal.

Raw pork belly the start of the bacon process

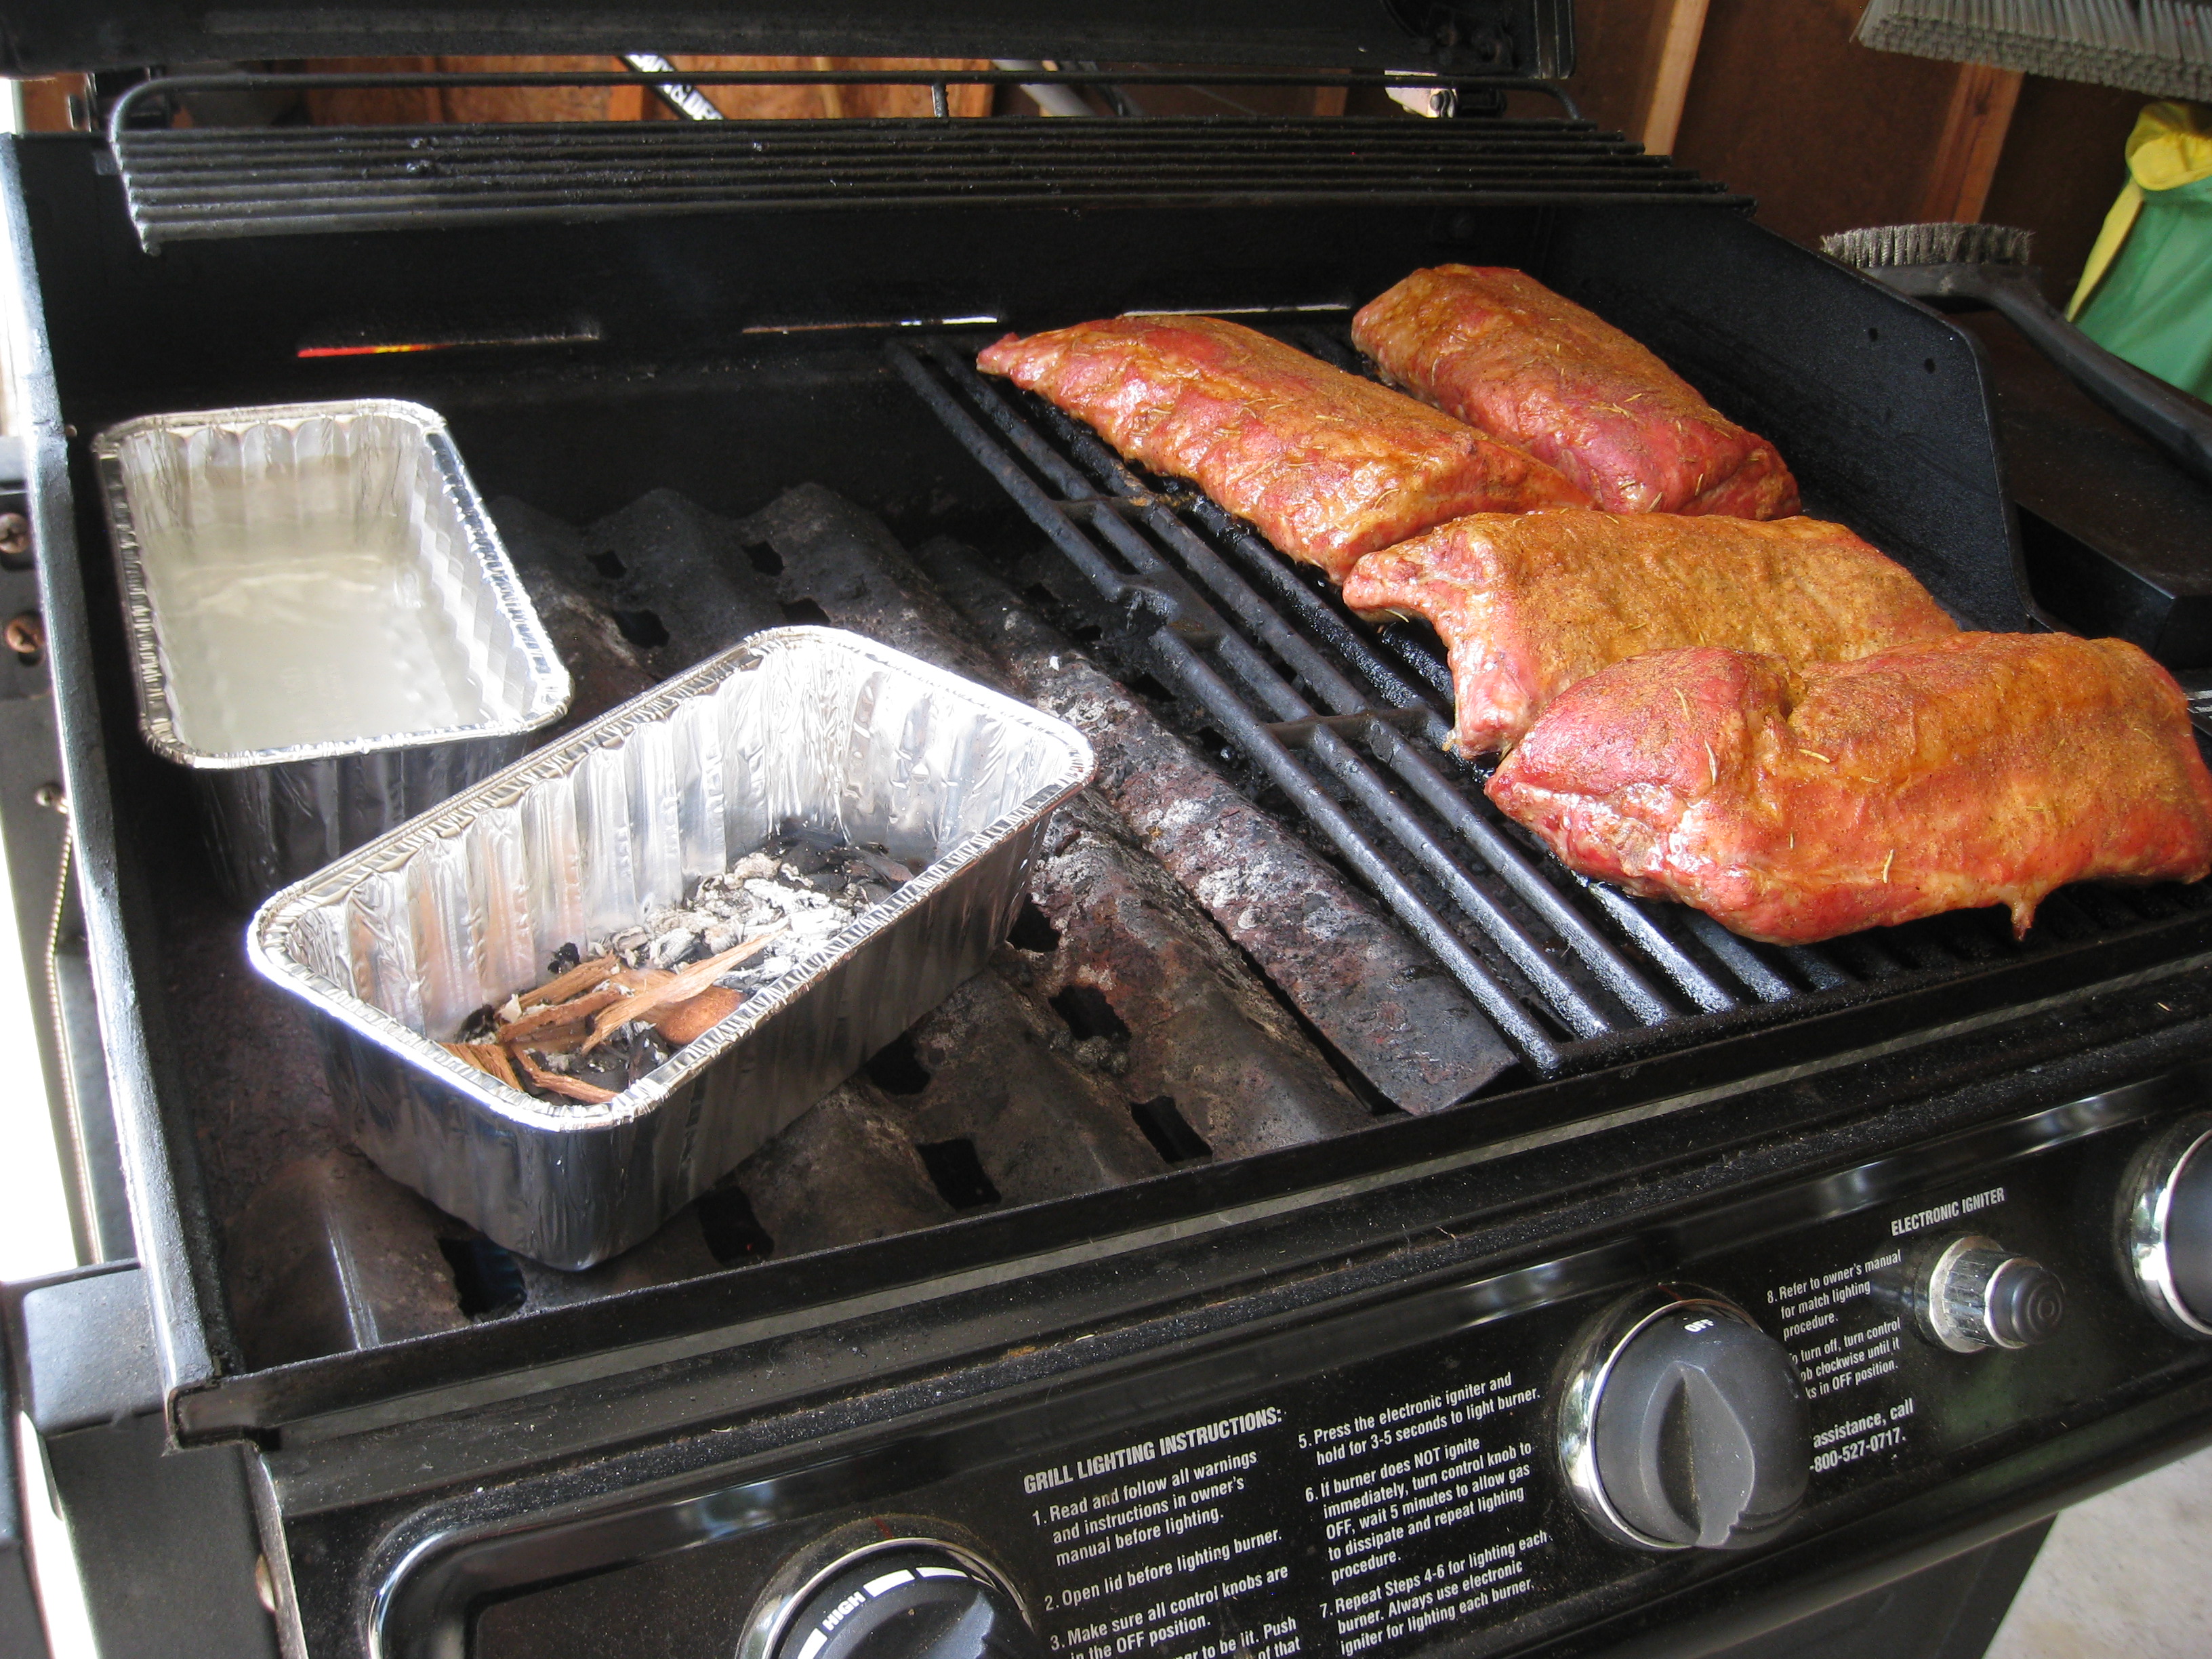
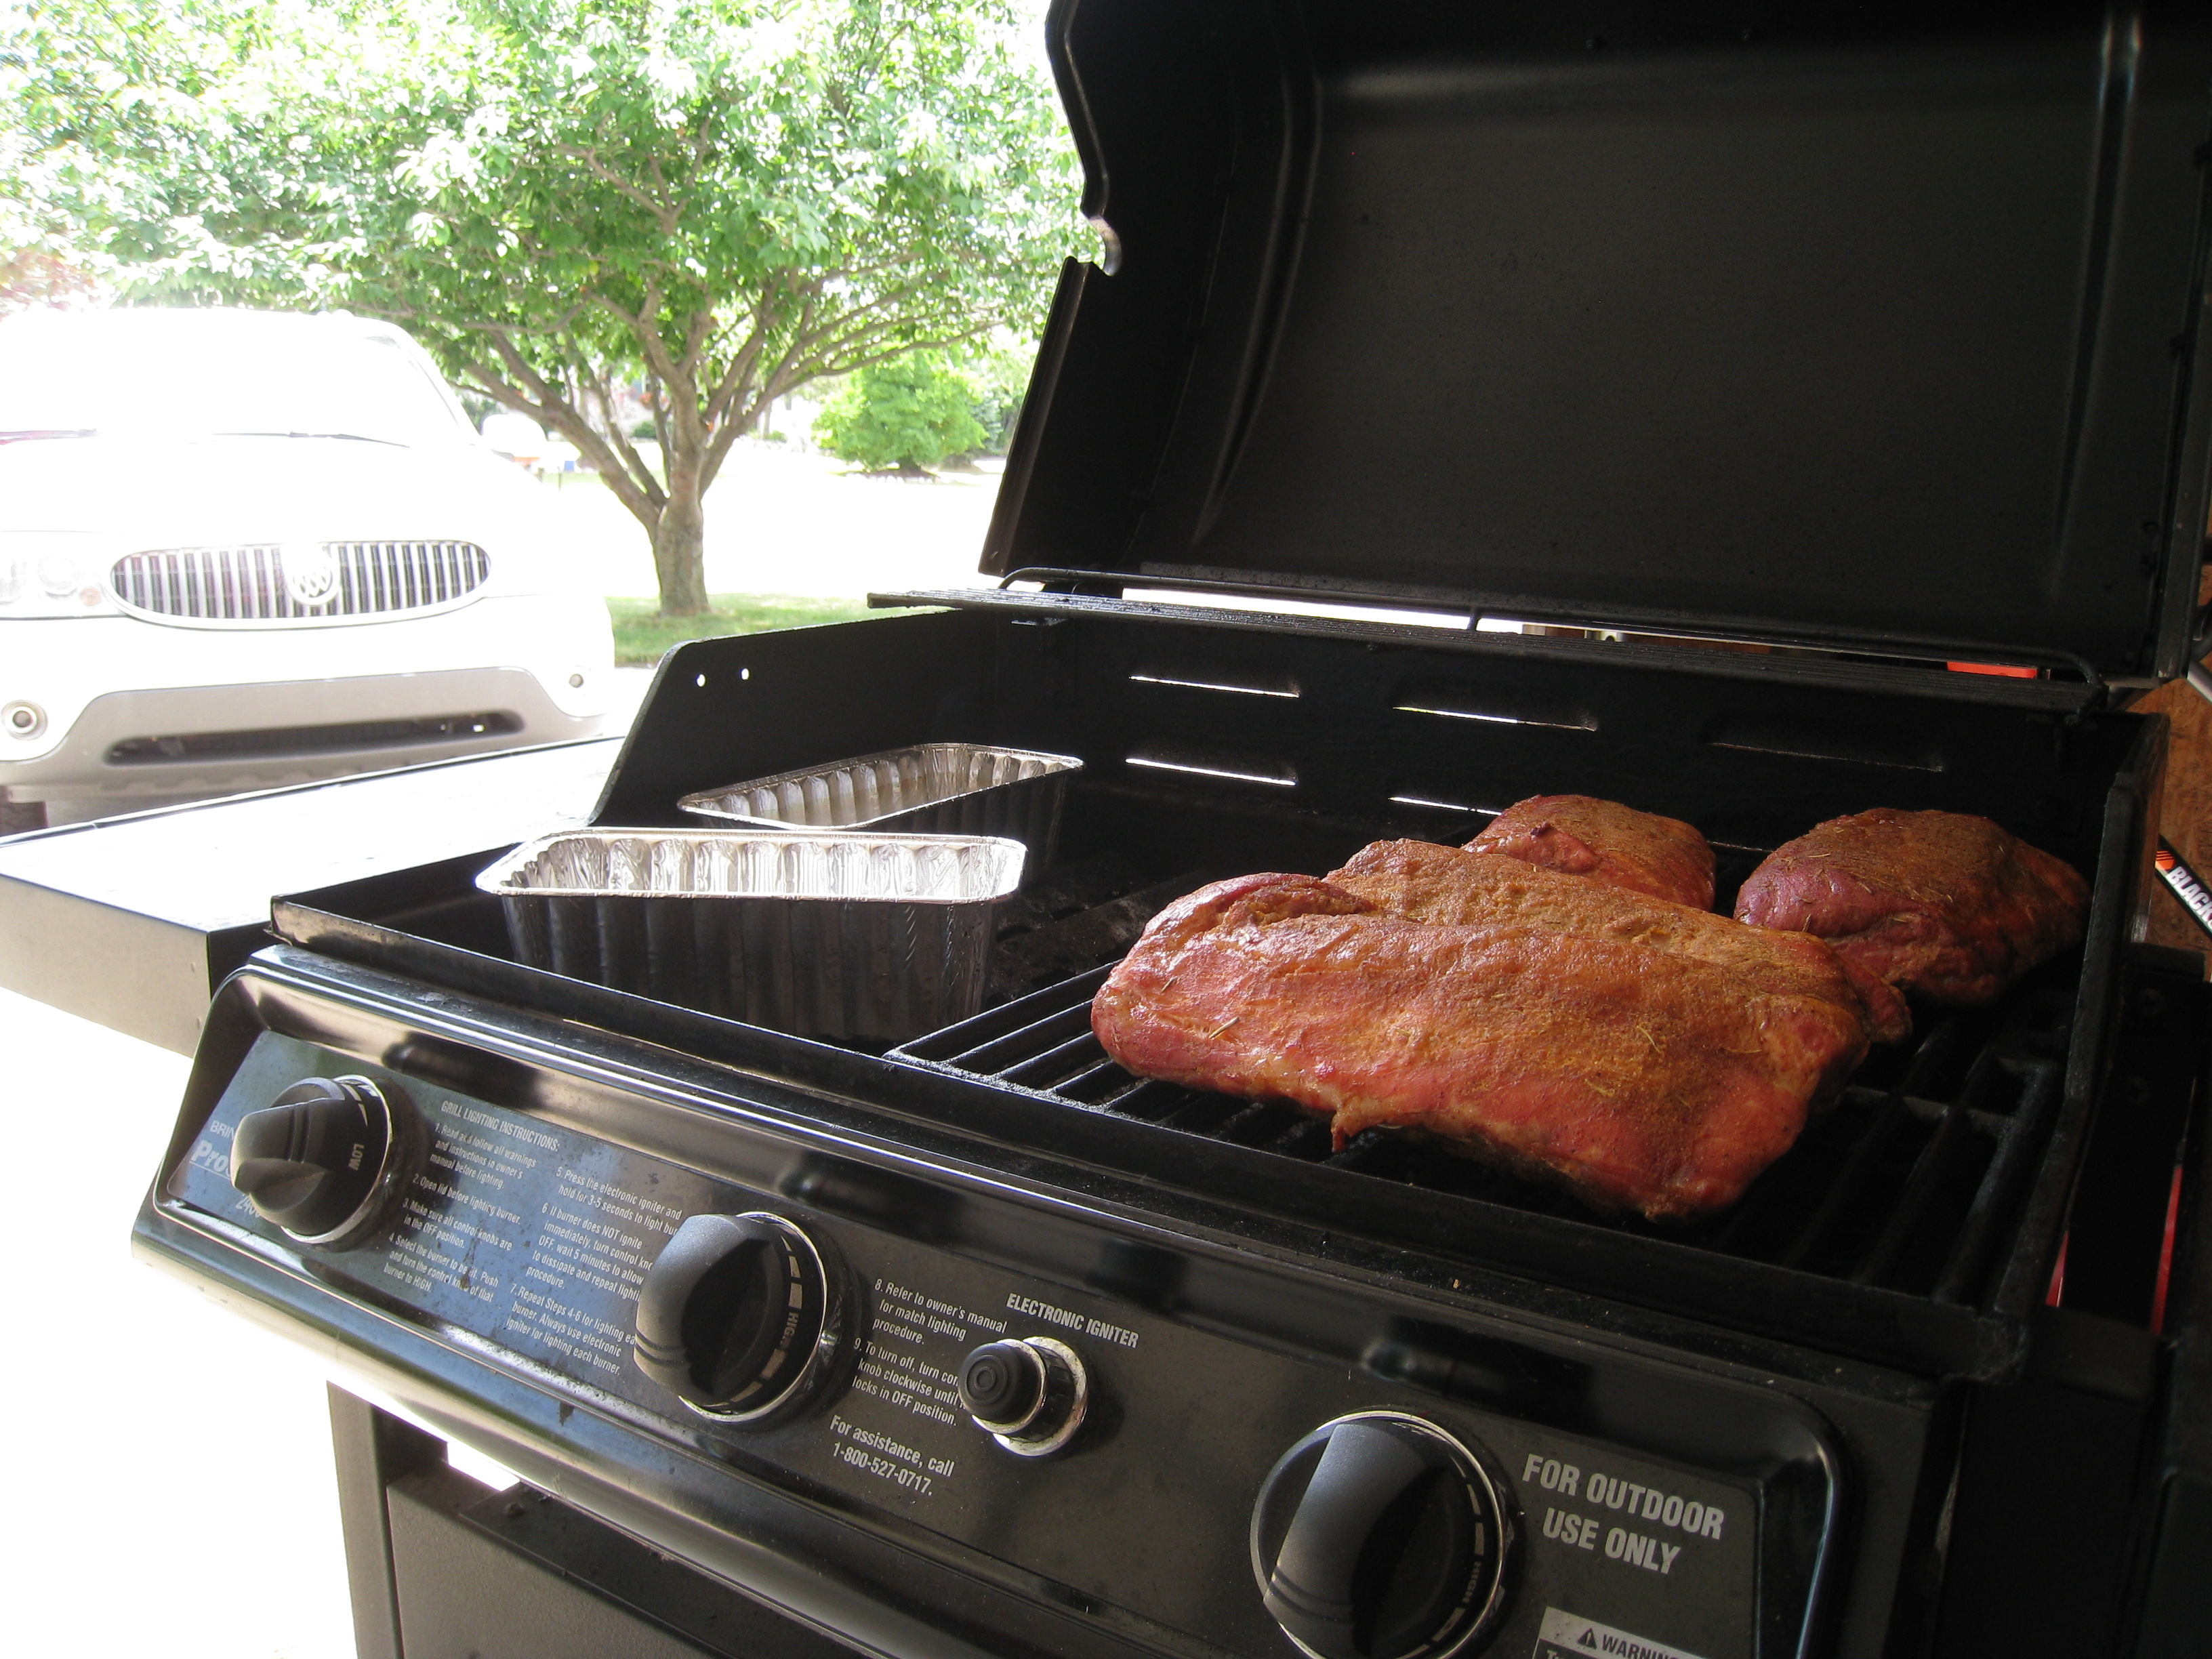
I started out with a 13.54 lb chunk of pork belly from my cousin, she had a hog slaughtered a while back and had kept the belly in the freezer with hopes of having bacon made.  Keeping with the cautious side I had wanted to wait until daytime temperatures were set to max out around 40°F so I could truly cold smoke this and not have to worry about getting up too far into the scary temperature range.  First I chopped the belly into three fairly even chunks, I had three variations I wanted to try.

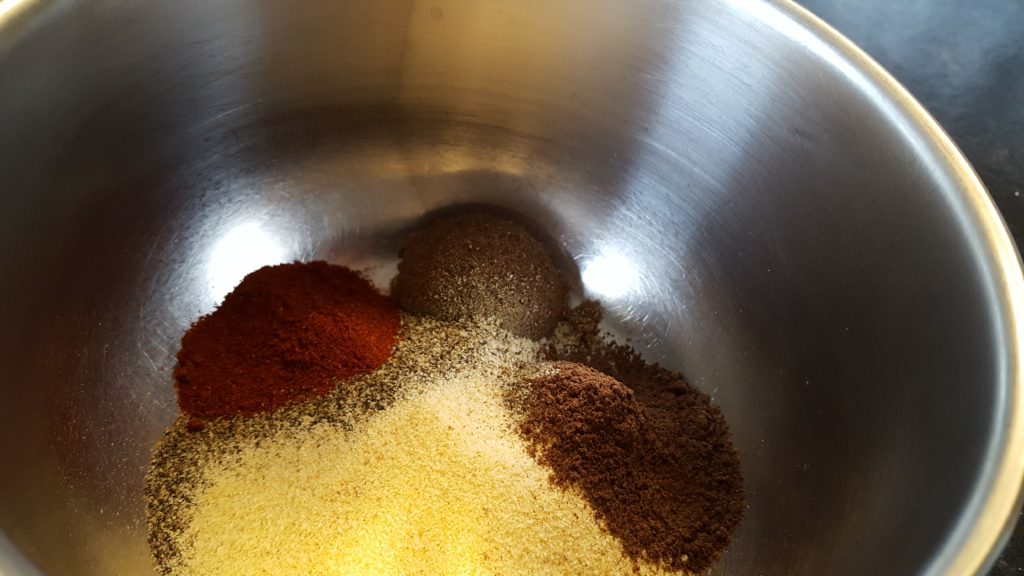
Next I mixed up my three cures they were all pretty simple and started with the same base recipe which can be found below, the recipe below is good for 3-5 pounds of meat.  The most important part of applying the cure is that it is applied evenly and thoroughly.  In addition I made two alterations to the base recipe to one I added 1/2 cup of real Michigan maple syrup and the other I added about a tablespoon of ground black pepper.

Bacon in the fridge curing

Once I had all three of the cures made up I took care to rub them on their corresponding pieces of meat making sure to get it in all the nooks, crannies and crevasses.  Once this was done I sealed up the meat in gallon zip lock bags getting as much air out as possible and then placed them in labeled foil pans in the refrigerator for seven days.  Each day I flipped the bags over, it was amazing how much liquid the salt pulled out even the first day.  As the days progressed the liquid continued to accumulate in the bags and the meat continued to firm up.

First taste of cured but unsmoked bacon

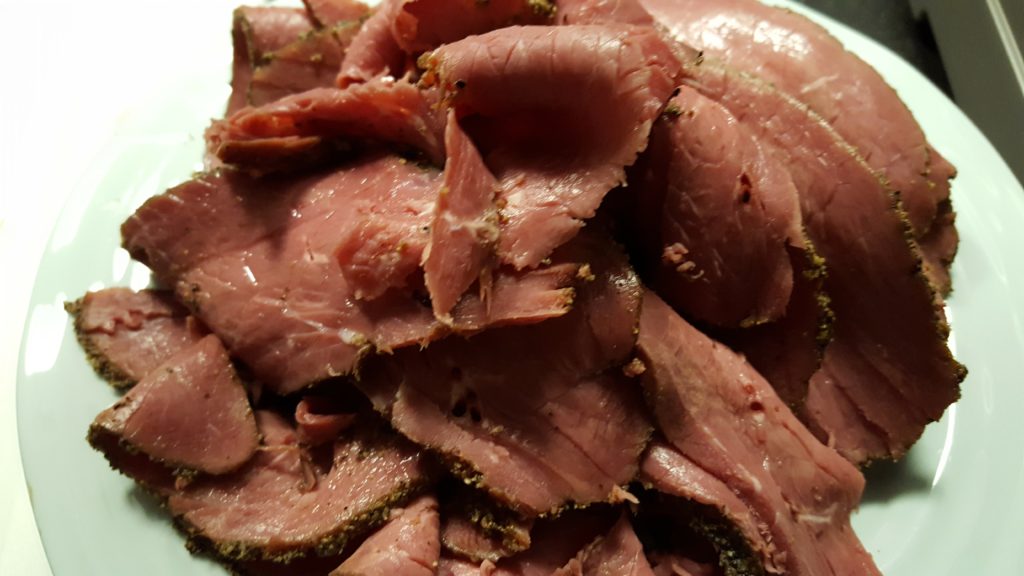
On the seventh day I removed the bacon from its home in the bag, rinsed it under running water patted it dry and placed it on a set of drying/cooling racks over a cookie sheet in the refrigerator.  In our home the are used for drying racks for smoked meat as much as they are for cooling racks after baking.  I digress, something else happened on that seventh day that was magical, this is a must, I sliced off two pieces of the bacon and fried them up to check for their saltiness and a flavor to see if anything needed to be adjusted.  This was a semi alarming process to be completely honest, the bacon started to cook like bacon then all of a sudden it turned GRAY!  Subconsciously I knew this would happen, it had no nitrates to give it the nice red color I am used to be it still took my by surprise, a few moments later it did turn a nice rosy color as it cook and the fat sizzled.  Then it was time to try, I was a little apprehensive, what if it was terrible?  It wasn’t it was salty, but not too salty and the maple bacon, it was like candy- sweet, salty and mapley, it was good.  At this point had it been too salty I would have soaked the bacon for an hour in cold water, rinsed, dried, fried and then put them in the refrigerator to dry if all was well.


Bacon in the fridge forming a pellicle   Bacon in the smoker ready for a long day of smoking

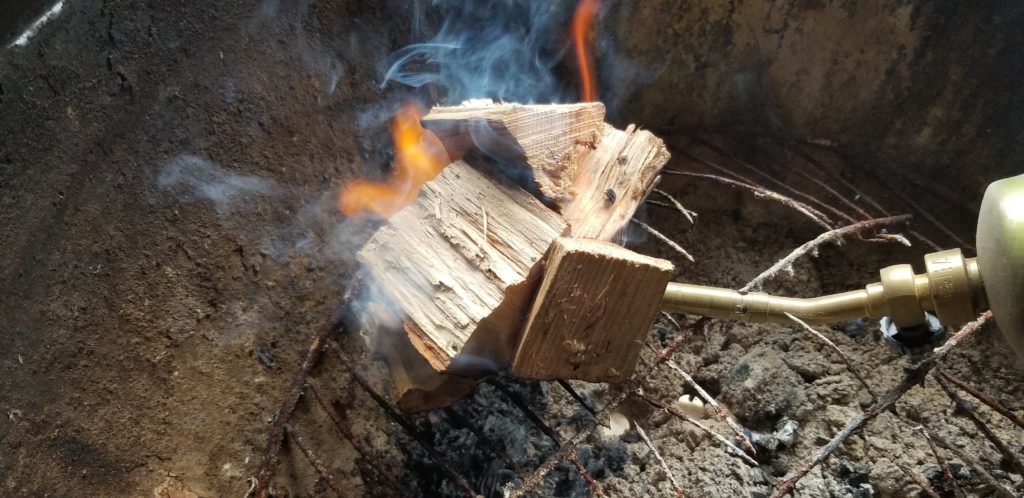
After a good 24 hours in the refrigerator to form a pellicle, it should sit in the fridge for 12-24 hours but truth be told I didn’t have much of a chance for anything but 24 hours, I pulled the bacon out of the fridge, put it in the smoke house and fired up the smoke house.  The bacon was smoked for 12 hours using hickory and apple wood chunks, I also did some cheese in the smoker during the same time for good measure.  During the time it was in the smoker I monitored the temperature of the smoker constantly, I ended up having to put a house fan our in the garage on the firepot because despite the fact that it never got over 25°F, I had a hard time keeping the temperature in the smoker near 40°F like I had hoped.  My over fascination with keeping the temperature that low was likely that just an over fascination but none-the-less I did.

Early on in this whole process I made sure to save a couple of smaller chunks of meat to mix in and pull out throughout the day to test for smokiness, this was a mistake.  Mostly because the chunks of meat were so small that they got really smokey, too smokey really quick and I got worried.  I figured the smokiness would mellow as the bacon aged, like cheese does after a smoke but I was still worried.  So when the fateful hour came to kill the smoker I started to get anxious.  I killed the smoke and left the meat sit in the smoker for another couple hours to come down to a near freezing temperature slowly.

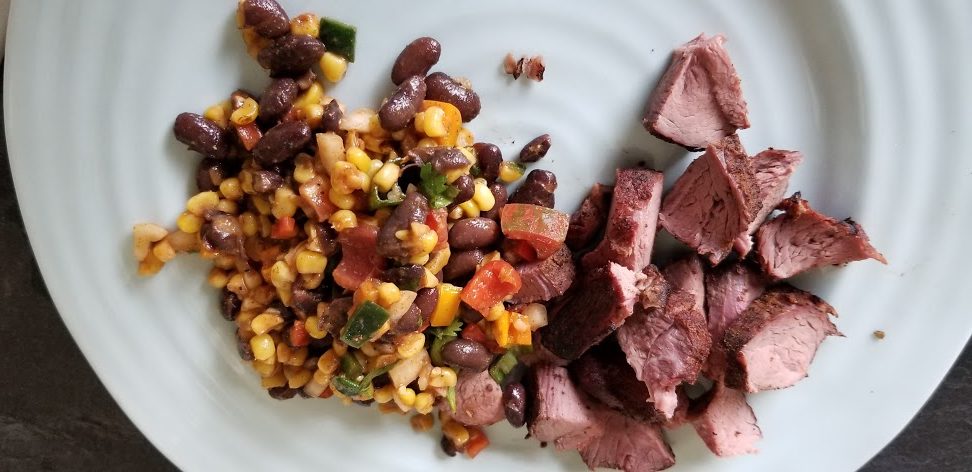
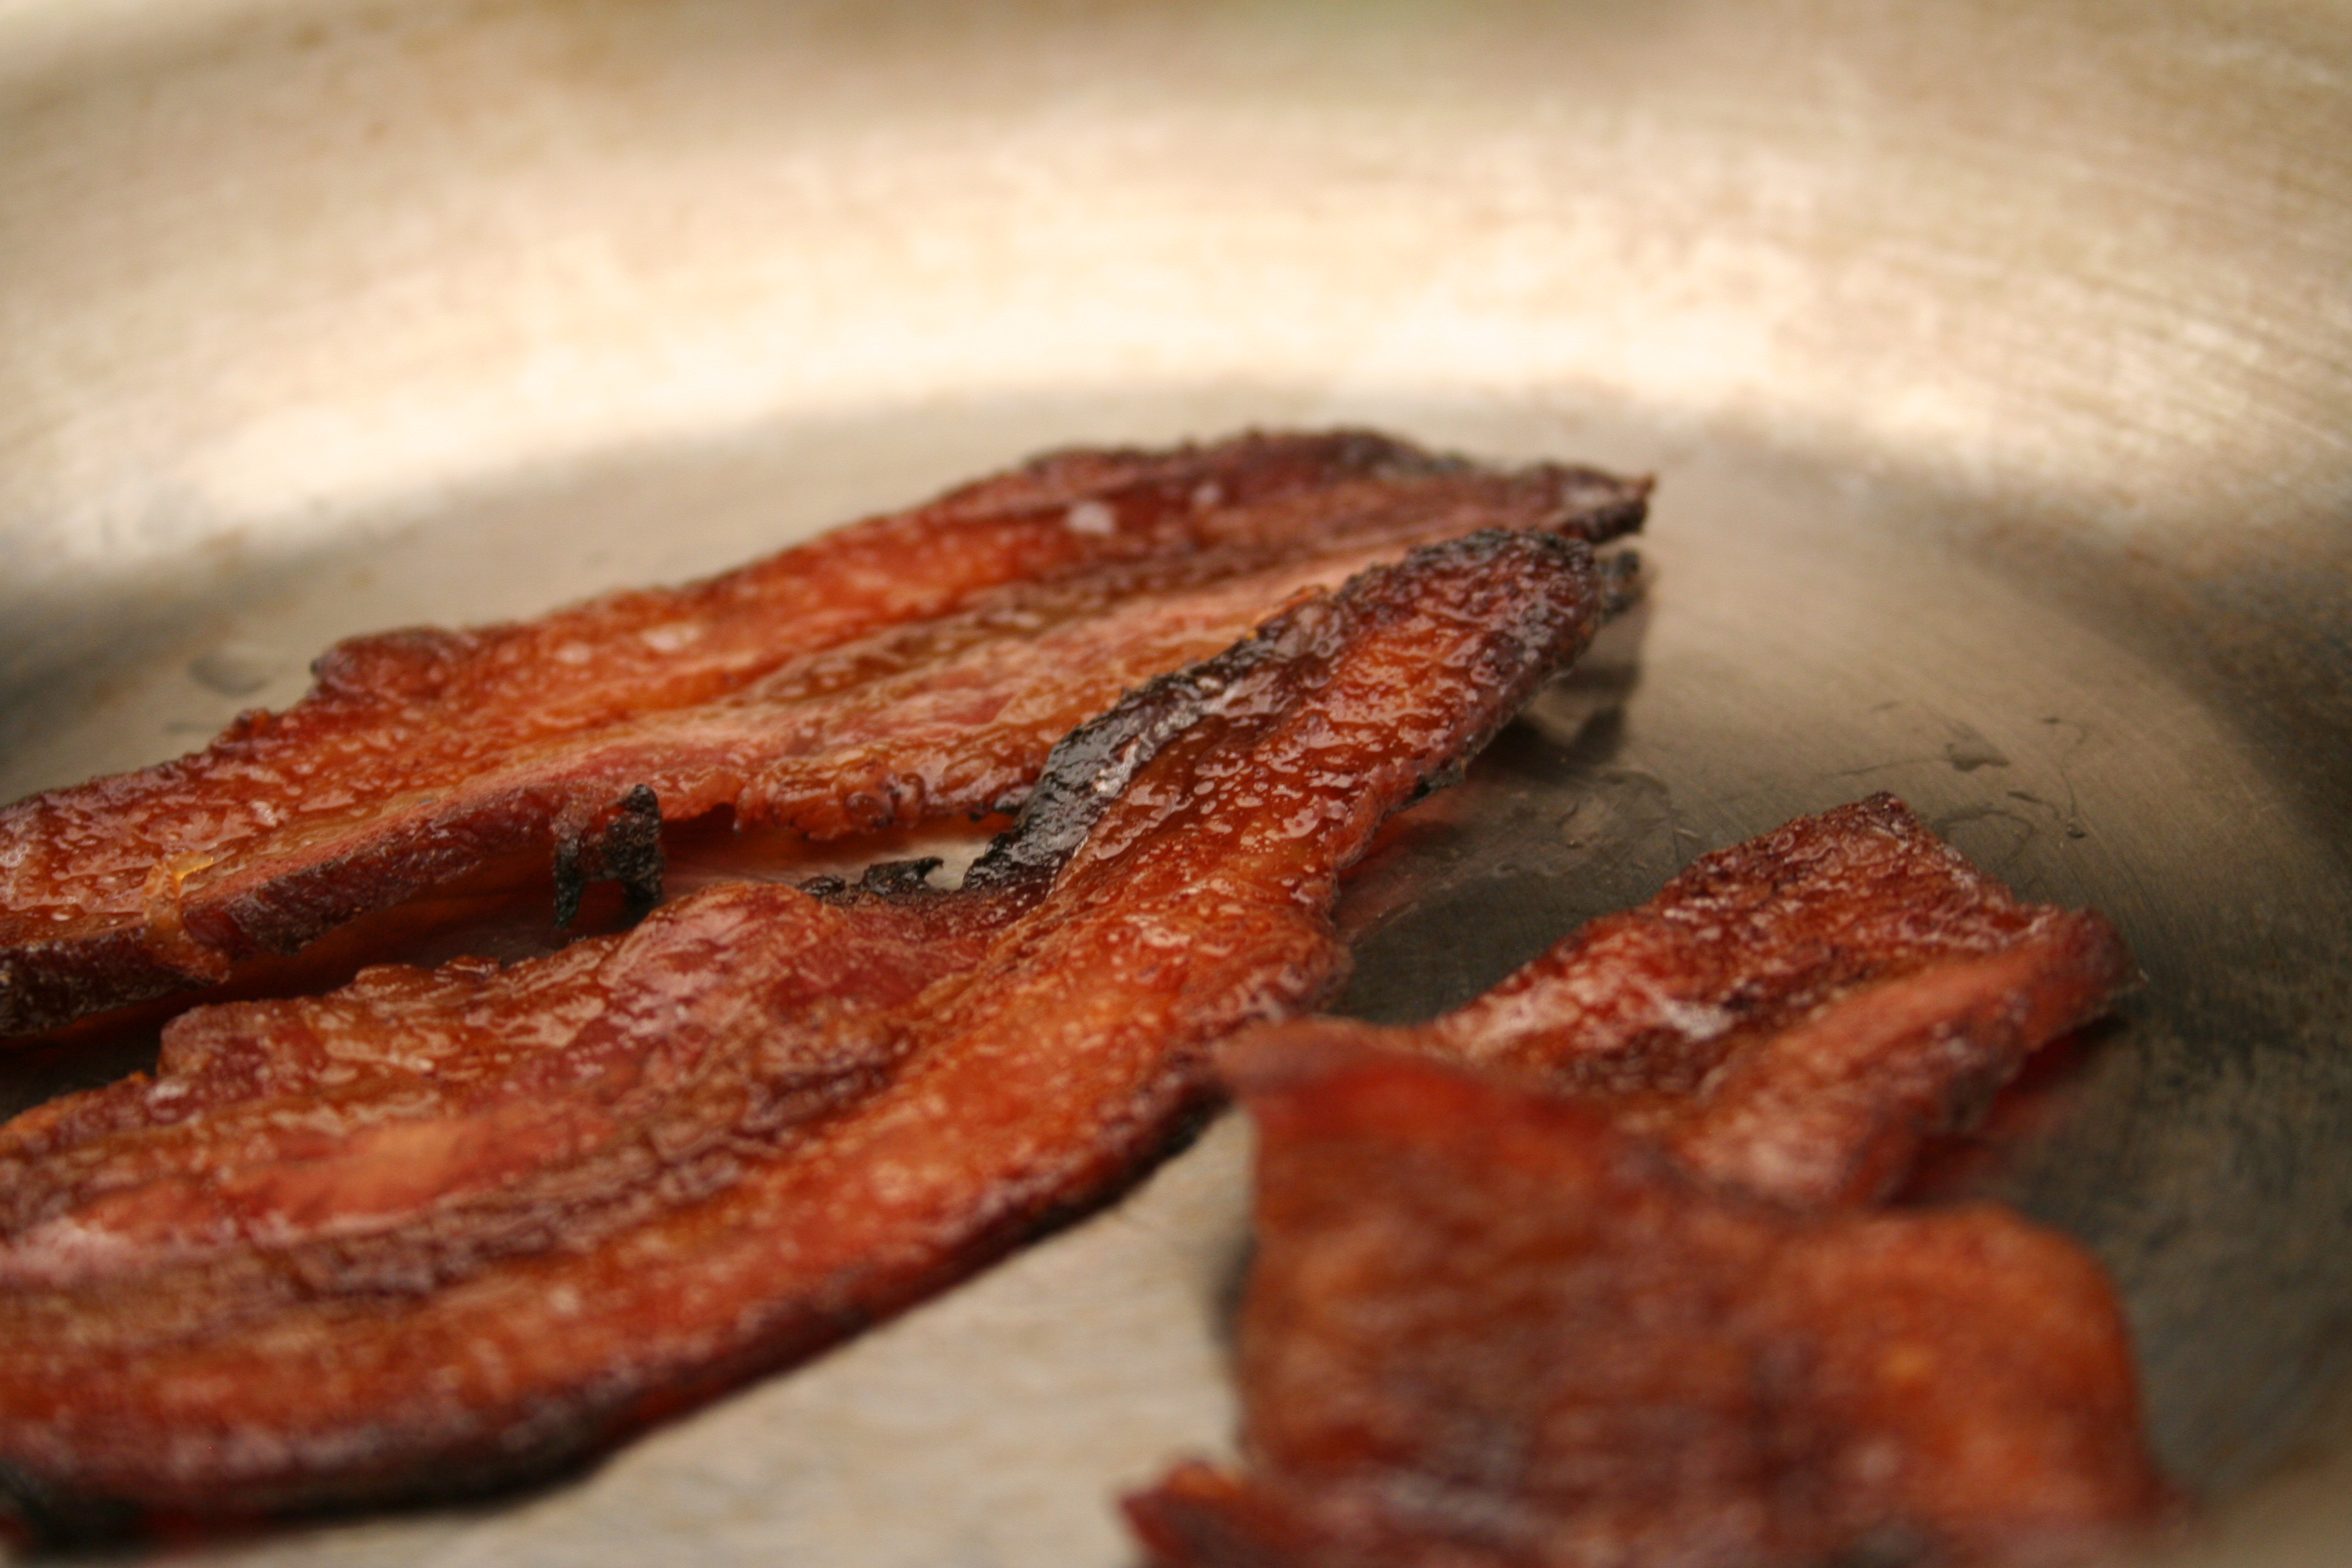
Then it happened.  Bacon.  I took the bacon out of the smoker and brought it in to a once again meticulously sterilized work environment and began chopping it in to appropriately sized pieces of about a pound and chopping off a few slices here and there to try.  In the interest of perfection and not making my house smell more like a find smokehouse I cooked the bacon in the oven, this is cheating but delivers perfect bacon every time.  Because it was in the oven I am not sure if it ever turned gray or not but when it came out and sat for a few minutes it smelled like bacon, it looked like bacon and it tasted very little like the chemically altered pork you find at the supermarket, it was phenomenal.  It was sweet, it was salty, it was smokey and most of all it was bacon.  It was the candy of meats.  Number one on the periodic table of meats without question.  And the maple was still the best, all it needed was a pancake and some syrup to go with it.

Finished bacon, vacuum sealed and ready for the freezer

At the end of the day we ended up with a literal pile of bacon, a big smile on my face and a delicious plate of bacon to be sampled.  We also ended up with a renewed understanding of why bacon is the candy of meats, it can be so sweet, salty, smoky and necessary.  On more accomplishment on the Nate’s must do everything at least once list, but this one will end up on the why can’t I do this weekly list I have a feeling.  It was good to be back in action and there is no better way to come back than with bacon.

Here is the recipe for the basic bacon cure, this will make enough for 3-5 pounds of raw pork belly depending on how thick it is.  The thicker it is the farther it should go.

[dc_getRecipe id=”15″]


Tagged with: , , , , , , , , ,

Sometimes its not about what you cook, its about how and where and with what challenges.  Well today, much like cooking breakfast on an open fire, the challenge was not in what I was cooking or how I was cooking, it was the element of nature that produced the biggest source of problem in my cook.  In the midst of a blizzard warning this morning I fired up the smoker to smoke up some rosemary and brown sugar rubbed Boston butts (3) for some pulled pork.

Smoking in a blizzard

In spite of the snow and the massive drifts and the sometimes strong winds, I prevailed the smoked stayed going and the pork is now ready for some pulling.  Its not new, its not special but it was a challenge.  And if I do say the results look, smell and taste fantastic.

My apologies for the picture quality, they came from my phone. 🙁

Tagged with: , , , , , , , , , , , , , , , ,