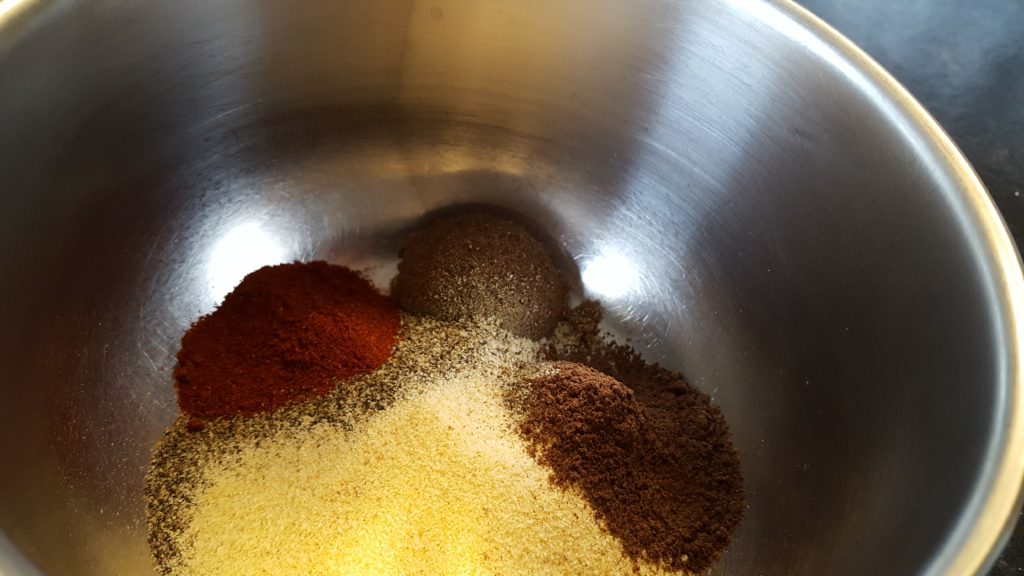
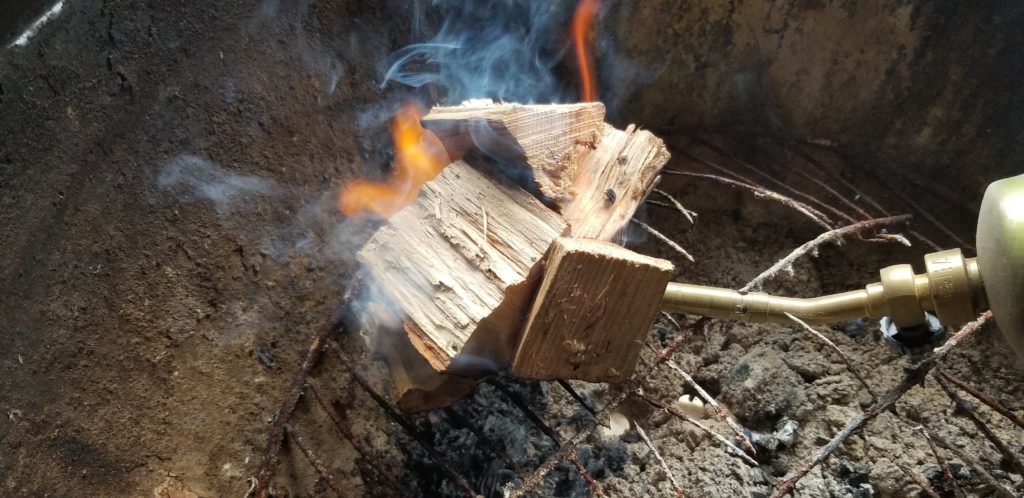
This weekend I got rained out from typical outdoor activities, so I took some time to clean out the older items in the root cellar, but earlier in the week I had done some exploring in the chest freezer and found some freezer fossils.  Now these weren’t bad, just roasts left from a couple years ago, but one was freezer burned and the other pristine.  I thawed them out and gave them a quick rub on Friday with a Mexican inspired rub.  I used two parts onion powder to one part of each of the following garlic powder, cumin, chipotle powder, black pepper, salt and oregano.  I let them rest in the fridge overnight and then gave them a quick smoke on the old Weber that I fear is nearing its final day.  I went to remove the lid and was left with a handle in my handle.  This is a very fire themed post, I used my propane torch to get some hickory and mesquite chunks going and then just threw the meat on the grate and let it go.

Once it was smoked I brought it back in the house, vacuum sealed each roast individually with a couple smashed cloves of garlic and dropped them in their waiting 135°F water bath – for the next 29 hours.  Fast forward to today, 29 hours later and time to finish them, time for the weed burning torch and the video below.  Just a quick sear on both sides and done, they were still sizzling when I got in the house but still fork tender.

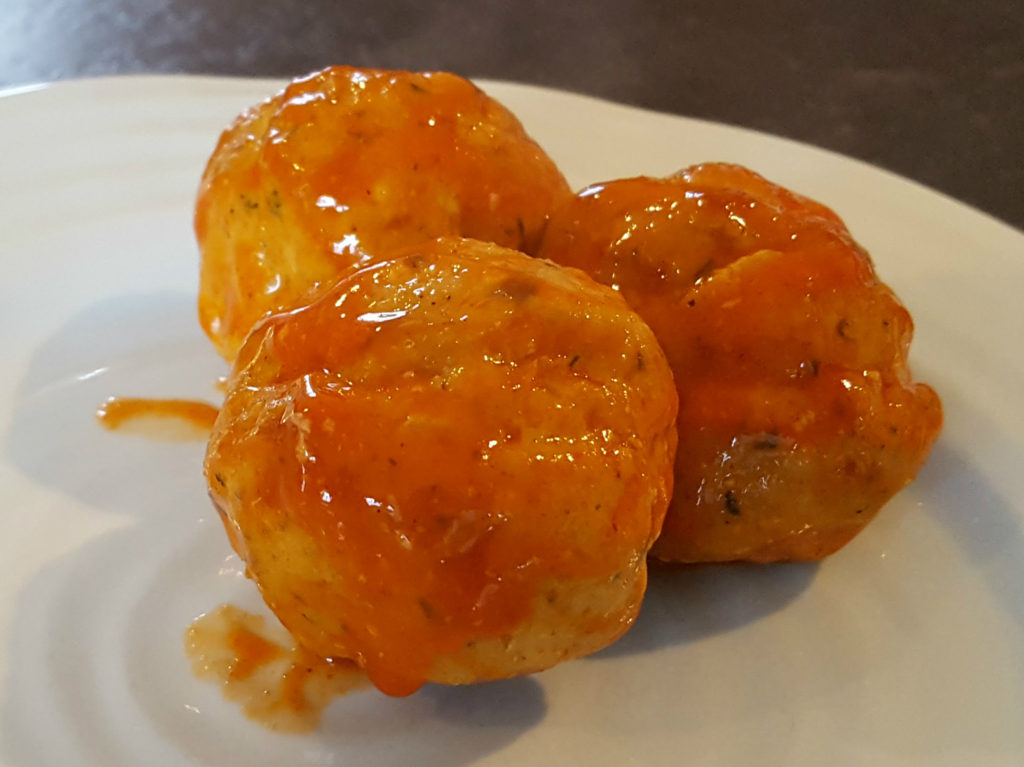
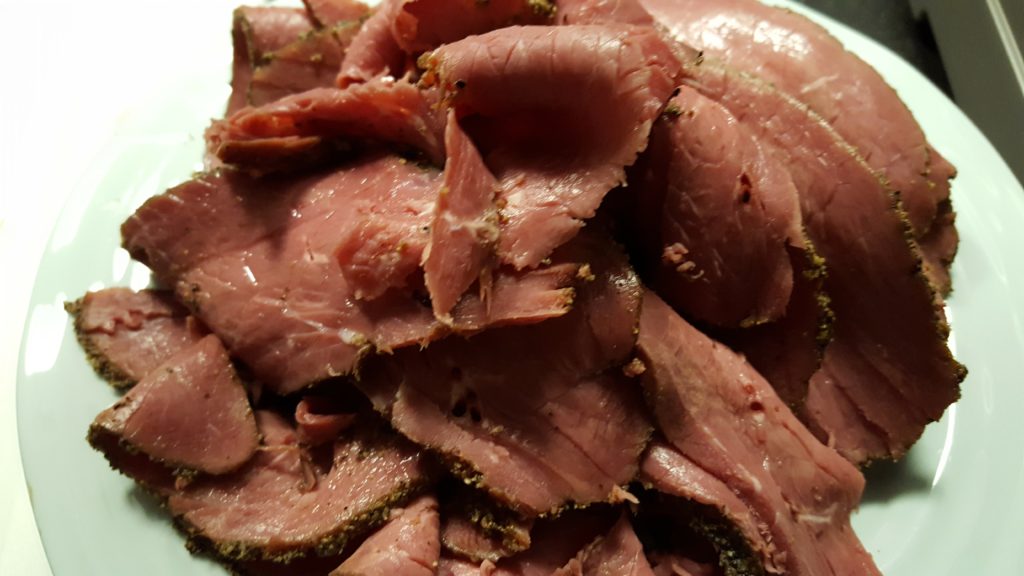
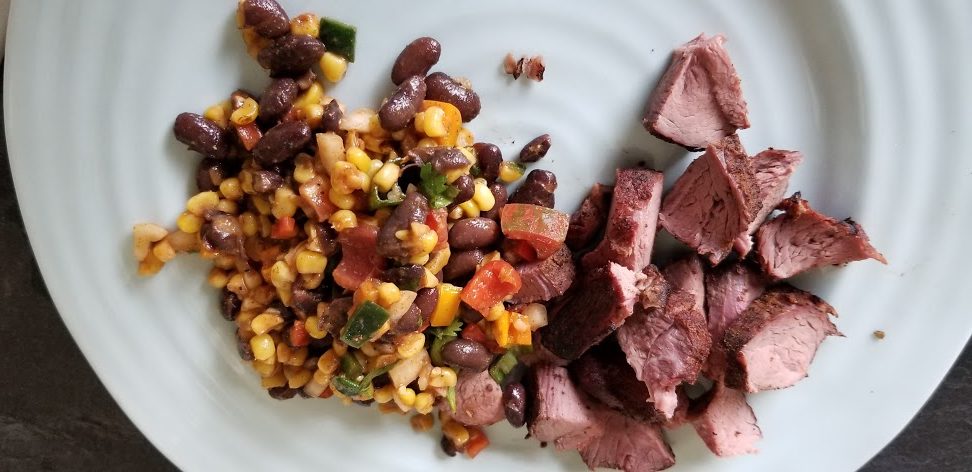
And after a short rest it was time to carve and eat, slicing it open revealed what I had hoped – tender, juicy and solid meat.  The first bite did not disappoint, nor did the subsequent bites.  We ate it alongside a black bean and corn relish made nearly entirely from produce grown on premises.

I used my Anova Sous Vide Stick to redeem these freezer fossils and it did not disappoint.  What are you cooking?

Tagged with:

In the interest of total disclosure, my wife’s initial observation of these was, “those are some nice looking turds”; and for that reason a recipe without a picture (and you are not getting a thousand words either).  A picture would be super helpful but these are a dry, no sauce, meatball – but they are not short on flavor.

Ingredients

  • 1 pound ground venison (or not, I ground it in the course of this recipe)
  • 1 1/2 tbsp red curry paste
  • 1 tbsp soy sauce (or for something extra special some Bluegrass Soy Sauce)
  • a couple drops of fish sauce
  • 1 egg beaten
  • 1/4 c almond flour
  • 1 tbsp dried Thai basil
  • handful of fresh cilantro chopped
  • 1/2 tsp salt

Directions

  1. Preheat the over to 400°F and line a baking sheet with parchment paper.
  2. Mix together all ingredients except the almond flour, if using unground meat chop meat into 1″ cubes and thoroughly mix them with the other ingredients, grind all twice through a fine plate.
  3. Add in almond flour and mix thoroughly.
  4. Using your hands, form into 1 ounce meat balls and placed on the previously lined baking sheet.
  5. Bake for 10 minutes and then turn the broiler on high for a minute or so to brown the meatballs.
  6. Serve hot.

Just another in a list of venison recipes, but something different.  If these are not spicy enough (they are not spicy) serve them with some Sriracha.

Tagged with: , , , ,

Picture this, you have just breasted out your spring tom and you are ready to throw out that carcass, but wait!  Not so fast, grab the rest of the meat on the carcass, sure the drumsticks might better suited for chicken feed but those other bits, grab those and hang onto them for your next big game tailgate.

These are simple, don’t grind those bits right away, save them until you are ready to make these.

Ingredients

  • 1 lb wild turkey (or ground turkey from the dreaded store)
  • 1 tsp salt
  • 1/2 tsp parsley
  • 1 clove garlic (pressed)
  • 1 egg beaten
  • 2 tbsp Frank’s Red Hot Wing Sauce (or your favorite), plus extra for coating
  • 1/2 tsp black pepper
  • 1/2 tsp cayenne pepper
  • 1/2 tsp onion powder
  • 1/4 tsp dill weed
  • 1/8 tsp thyme leaves
  • 1/4 c almond flower

Directions

  1. Preheat the over to 400°F and line a baking sheet with parchment paper.
  2. If you working with previously ground meat, obviously you will not need to grind the meats, just skip the grinding.  Combine all ingredients but the almond flower and mix thoroughly, if using unground meat – grind it through a fine plate twice.
  3. Once the ground meat is combined thoroughly mix in the almond flour.
  4. Using your hands form ~1 ounce meatballs placing them on the previously lined baking sheet.
  5. Bake for 10 minutes and then turn the broiler on high for a minute or so until the meatballs brown up.
  6. Toss with additional wing sauce to coat and serve hot

And there you have it, stop throwing away all that goodness and enjoy.

Tagged with: , , , , ,

In spite of the ridiculously warm hunts the deer have been on their feet this year and I am grateful to have taken a couple.  The farm I have been hunting has a deer problem, it is not uncommon to see twenty or more deer a sit, which makes every sit exciting.  Ten days ago I had what appeared to be a wounded deer come in that was obviously in rough shape and so I took the shot and killed it instantly, if you don’t believe me I will send you a picture of the shot.  Regardless upon butchering I discovered that the reason it appeared to be injured is that it was injured, one front shoulder was completely dislocated and the other a bruised ball of mess.  Fear not the chickens loved those two shoulders.  I butchered the rest of the deer you would as any other and set aside two roasts to make…pastrami.  I love pastrami, I love corned beef/venison as well but have a special place in my heart for pastrami.

20161025_201349

I have made pastrami in the passed and it was always just not quite right, either dry or funky or something, well this time I nailed it.  It is fantastic, had some last night on pumpernickel with horseradish cheddar and mayo, might have another for lunch.

As with other cured meats the process is as important as the ingredients and in this case more so for flavor, with here is what I ended up with.
20161017_101212

Ingredients (cure)

  • 3-5 pounds venison
  • 1/4 c tender quick (do not skip, this is the cure part)
  • 2 tbsp dark brown sugar
  • 1 tbsp ground black pepper
  • 1 tbsp onion powder
  • 1 tbsp garlic powder
  • 1 tsp paprika
  • 1 tsp ground cloves
  • 1/4 tsp ground mustard
  • coupe bay leaves crumbled

Ingredients (rub)

  • 3 tbsp ground black pepper
  • 1 tsp ground coriander
  • 1 tsp garlic powder

Instructions

  1. Trim, wash and dry meat.  Set aside.
  2. Combine cure ingredients thoroughly and rub liberally all over meat.
  3. Place meat in a gallon zip lock bag or better yet vacuum seal it and place it in the fridge for at least five days, depending on meat thickness.  I went seven for this batch and it was perfect.  Turn the bag/pouch everyday.
  4. After the meat has cured – remove it from the bag, rinse and place the meat in a bowl of clean water to soak.  It should soak for at least a couple hours bur preferably over night or better yet while you are at the office.
  5. After soaking, remove meat from the water, rinse again.  Pat dry.
  6. Combine ingredients for rub, rub liberally all over the meat.  Allow meat to sit out.
  7. Preheat smoker to 225°F, add wood for smoker once preheated (I used a chunk of oak and a chunk of hickory)
  8. Once the smoker has been preheated, place the meat on the smoker and smoke until the center of the meat is 150°F
  9. Once the meat is up to 150°F in the center, remove from the smoker, wrap tightly in foil with a splash of water, beer, stock, etc.  Wrap this foil packet in a towel or two and let it sit on the counter for a half hour, this is super important to having an awesome end product.
  10. After a half an hour slice and enjoy.  It will be better the next day.

And that is it, pastrami, at home with an animal hopefully sourced by yourself, that is knowing where your food comes from.  And if anyone knows where I can find a wild pig running around in Michigan I can know where my bacon comes from too.

What is your favorite way to enjoy venison?

Tagged with: , , , , , , ,

Well, its been a while but things have finally started to slow down around here to the point where we can creatively cook again, just in the nick of time too.  Our annual fourth of July camping trip is coming up quickly and just like years past we are in charge of one meal.  In preparation for this year I thought I would get ahead of the game and actually try cooking something at home before we head out.  In addition to the meat and dessert, which you will likely find on here at the end of the week I am making Bacon Cheddar Cheese Scones on the fire, nothing like tending an all day fire for the meat in 100°F weather.  So to practice I got a bag of lump charcoal and fired up the grill.  If you were making these at home in the oven you could form the scones by hand and bake them on a cookie sheet, but in trying to keep it as real as possible to our trip I broke out the Lodge Cornbread Wedge Pan, cleaned it up and dried it out.  Because I was cooking over a fire (on the grill) I did grease the pan with some leftover bacon grease, which I think was a must.

To get started I cooked my bacon, chopped it up finely with my Pampered Chef Chopper, its like the Slap Chop but way better, it allows me to easily chop the bacon extremely fine.  Once my bacon was ready, I got a chimney of lump charcoal fired up and completed the recipe as outlined below.  I then formed the scones into the wedges in the pan, brushed the top with cream and finished getting the grill ready.  Then it was onto the grill on the cooler side, the side away from the coals.

Scones on the grill

While the scones were cooking, being the meat eater I am, I plopped a steak on there as well.  It took about 15 minutes for the scones to cook, which I judged by when the tops began to brown, once they were browned, using heavy gloves, I removed the skillet and promptly removed the scones.

Bacon Cheddar Cheese Scones ready to be eaten

Then came the taste test, now I am not experienced in the likes of scones but what resulted was delicious, they we tasty and well rounded.  No one taste jumped out more than another, the outside was a bit crispy on the bottom but the inside as flaky and delicious.  I have had two since pulling them off and will likely get a third once I am done writing this.

[dc_getRecipe id=”22″]

In keeping with the camping theme the recipe calls for the dough to be turned out onto a floured surface, well I don’t foresee myself using the picnic table so I practiced doing it all in the bowl and it worked out quite well.  I can’t wait to make these later this week at camp, nothing quite like a little campfire gourmet to take a break from hobo pies and burgers.  Happy Independence Day and eat well!

Tagged with: , , , , , , , ,