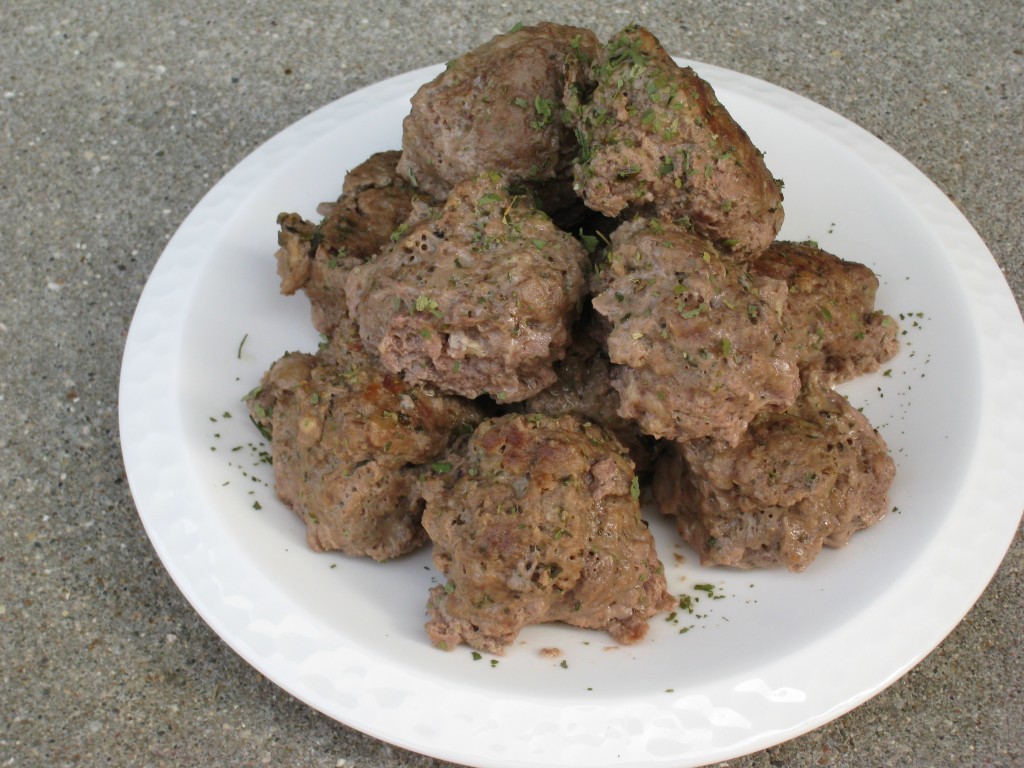
I like meatballs.  They are simple but they can be so tasty.  I was kind disappointed when the Saucy Balls guy was eliminated from America’s Next Great Restaurant.  I wanted to try those meatballs.

Venison Meatballs

The best thing about meatballs is that there is really no limit to what you can do with them.  You can put them in soup, you can put them in spaghetti, you can just eat them plain; the list goes on.  They are tasty and typically made with beef, which my doctor informs me must be eaten in moderation.  No that I believe him, but I happen to like venison more than beef and it is better for the body than chicken and has more iron than beef.  So for me venison meatballs are a win-win.

Tonight we are having minestrone with venison meatballs, is that allowed?  I don’t know but it sounds tasty and hearty so we are going to give it a go.  So in the interest of time I precooked the meatballs this morning.  And thought I would share the recipe here.

Ingredients
1 lbs venison
1/2 c italian bread crumbs
1/4 c grated parmesan (not the canned garbage)
2 tsp dried parsley
1 tsp garlic powder
1/3 c milk
2 eggs
salt and pepper to taste

Instructions
Combine bread crumbs, parmesan, parsley, garlic powder, salt and pepper in dish.  Mix well and set aside.  In a large bowl combine milk and eggs, beat until well mixed.  Squeeze blood from venison and add to milk and egg.  Mix.  Slowly add the dry mixture incorporating evenly into the meat/egg/milk mixture.  Once combined put a skillet on over medium/medium-low heat and coat with a thin layer of olive oil.  Form meatballs to desired size with hand and add to skillet, make sure they do not touch.  Brown meatballs, turning frequently.  A spoon works good here.  Once the meatballs are done you have some options.  If you are making spaghetti add you sauce to the skillet cover and cook until the meatballs are cooked through about a half hour.  I was making soup so I added some beef stock and italian seasoning in place of the sauce.

These freeze well do if you make up a batch and only want to use half save the uncooked meatballs for another time.

Now a cast iron skillet is ideal here in my mind, but I like cast iron it feels more primal to cook in unrefined cookware and it just tastes better.
Tagged with: , ,

Perhaps my favorite way to have pork is like this, grilled and rubbed with dijon mustard and a rosemary/garlic concoction.  It was the first way I had cooked pork in out of my Dutch tradition and has been one of my favorites.  Its simple and the combination of the flavor of pork, rosemary and dijon are always a win.

So in typical fashion in getting ready to put this on the blog I made the pork, tried to stage it nicely and took a bunch of pictures.  Then in my moment of brilliance I decided I needed to organize the pictures before writing this post.  There in lies the problem…I deleted them having thought they were copied off somewhere else.  So you will have to take my word for it the pictures were something to behold, they did the meat such justice.

So without further ado and before I lose the recipe with the pictures here it is.

Ingredients
1 pork loin (4lbs-ish)
2 tbsp dijon mustard (or more)
2 tbsp chopped red onion
2 tsp kosher salt
1/2 tsp black pepper
1 clove garlic minced or pressed
2 tbsp finely chopped rosemary leaves

Instructions
Several hours before grilling time, mix all ingredients except pork loin and dijon.  Then you have a choice to make either flatten the loin by cutting into it the long way while rotating it to come out with one large and consistently thick piece of pork, like a piece of rolled out dough or just use it whole, both ways are superb.  Rub entire piece of meat with dijon and then the rub the entire piece of meat with the rub made above.  If you did not flatten the meat you can simply wrap it in saran wrap and throw it back in the fridge tell you are ready to cook it.  If you did flatten it you will not need to roll it back up, like a long line of cinnamon rolls and then proceed to wrap it in saran wrap and toss it in the fridge tell cook time.

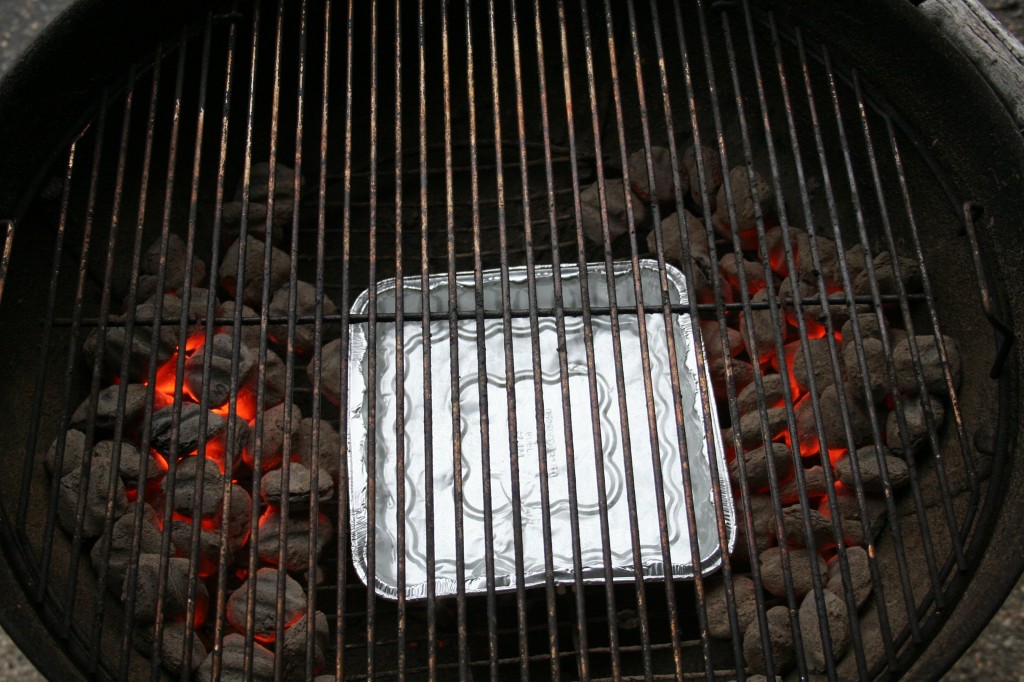
Once cook time comes around, prepare the grill for indirect cooking.  With charcoal like below or with gas preheat the grill with both burners and turn the one you will be cooking over off.  For gas grills place the loin on a grill rack over a drip pan.  For charcoal you will have a drip pan filled with water in the center of the grill with charcoal on either side.  Just toss the meat on the pre lubricated grate being sure if you flattened and rolled the meat it does not come unrolled.  Cook indirectly until the center of the loin reaches you desired done-ness.  I pulled mine at 148ºF and let it rest for 10 minutes before slicing into it.

Indirect cooking over charcoal

Cooking indirectly over charcoal is easy and quite rewarding.  Just prepare a normal amount of charcoal for your grill using a chimney or other method.  Fill a foil pan with boiling water and place it in the center of the grill and tuck the charcoal on opposing sides of the pan.  Be sure to add a half dozen briquettes every 45 minutes or so to keep a consistent fire.  You can also toss on a chunk or two of wood to give it a little smoke flavor.

You will notice that the openings on my grill grate are strategically positioned over my charcoal pockets, this allows for easy replenishment.

Tagged with: , , , , , , , ,

Its been a chili theme over here, but sometimes a recipe without a picture is better.  Some food is just not photogenic, like this chili.  It was good, more of a Mexican tasting chili than a traditional chili, but it was not photogenic, just tasty.  You can make this in one pot if you would like, less dishes.  So without further ado here is the recipe.

Ingredients
7 or 8 fresh tomatillos, husks removed
1 jalapeno pepper, seeded and halved
2 tbsp vegetable oil
1 or 2 pounds ground venison (you could chop up some steaks if you wanted too)
1 medium onion, chopped
3 cloves garlic, minced
1 can diced green chiles
1/2 c diced bell pepper
2 tsp cumin
1 tsp ground coriander
2 c chicken or beef broth
1/2 c chopped fresh cilantro
1 tsp salt

Instructions
Combine tomatillos and jalapeno in blender and blend until thick and smooth.  Brown venison with 1 tbsp oil (I did it all in a stock pot and only dirtied one pot).  Set venison aside.  Add remaining oil to pot and saute onion until translucent (3ish minutes), add garlic saute for another minute.  Then add tomatillo and jalapeno paste, chiles, peppers, cumin, coriander, broth and venison back into the pot.  Bring to a boil then reduce heat to low and simmer uncovered for 45 minutes.  Remove from hear stir in salt and cilantro.  Enjoy.

This is great with a dollop of sour cream and some tortilla chips.  Makes a great meal on its own and its relatively healthy.

Tagged with: , , , ,

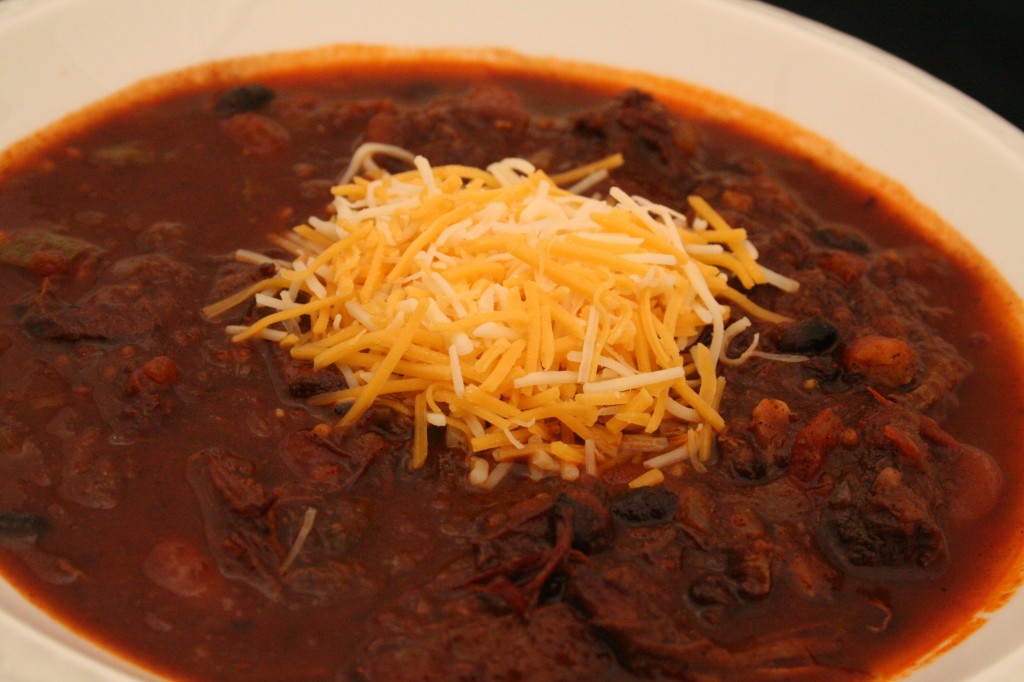
Making chili is an art, not like all out on your own art but like sewing, where you have a pattern to follow but every time something is a little different.  Cooking in general is like this but chili is a special breed of cooking, it can change quite a bit from time to time.  This time was no exception.

Chili in a bowl stacked with cheese

This was what I would refer as chili its not fancy other than what you put into it but it is full of flavor and spice, not the kind of spice that burns your tongue off and renders you ability to taste broken.  The kind of spice that is pleasant while you are eating it and reminds you when you are done that it was in fact a good spicy bowl of chili, that is the kind of spice I like with my chili.

What made the chili so special this time was the ingredients, mostly the meat if you remember in my last post I smoked a chuck roast in a chili rub just for this pot of chili.  Also what made this pot of chili quite unique was that I was here the entire time I made it, tending to it on the stove.  Usually I cook the meat if it needs to be cooked, drain off the grease and throw everything together in the crock pot and let it go.  But this time I did it in a pot on the stove, a bit more tending but it was much more rewarding and I got to throw in ingredients in phases, for instance I put in some garlic at the start then a little more about an hour before it came off the stove…gives it a bit more of a garlic taste.

So without further ado,  here is the skeleton recipe.  Like I said chili is an art and I use these more like guidelines than an actual recipe.

Ingredients
1 lb meat (beef+bacon, beef+pork, beef+sausage, etc) shredded, cubed or ground
1 medium onion chopped
2 jalapenos seeded and chopped
1 dried jalapeno
1/3 c dried kidney beans
1/3 c dried black beans
3-7 cloves of garlic, peeled smashed and chopped
1 pt chili sauce (we have a home canned variety)
1 can crushed tomatoes
1/3 c brown sugar
1/3 c chili powder
3/4 tsp cumin
1/2 tsp cayenne
3/4 tsp garlic powder
1/2 tsp kosher salt
1 tsp oregano
1 c beef broth
water

Instructions
Once meat is cooked and (if preferred) fat is drained off. Combine all ingredients in a pot add water until liquid covers all ingredients.  It cooking in a crock pot at 1 cup more water and set it on auto or high for 1 hour then down to low for at least 4 hours.  If doing it on the stove (bonus points) or in a dutch oven (double bonus points), bring to a boil then reduce heat and cook at a low simmer for 3-4 hours.  If cooking on the stove stir occasionally and check for flavor, add anything else you feel it requires and also add water if it seems to be getting to thick.  The dry beans will soak up a lot of moisture (and flavor).

So in addition to having the smoked chuck roast as my meat in my chili it was joined by some whole jalapenos I had smoked and dried during the summer.  Chili is a great dish to get creative with, I enjoy trying new things with my chili and changing it up a little every time.  Chili is a very test and tune dish.

Tagged with: , , , , , , ,

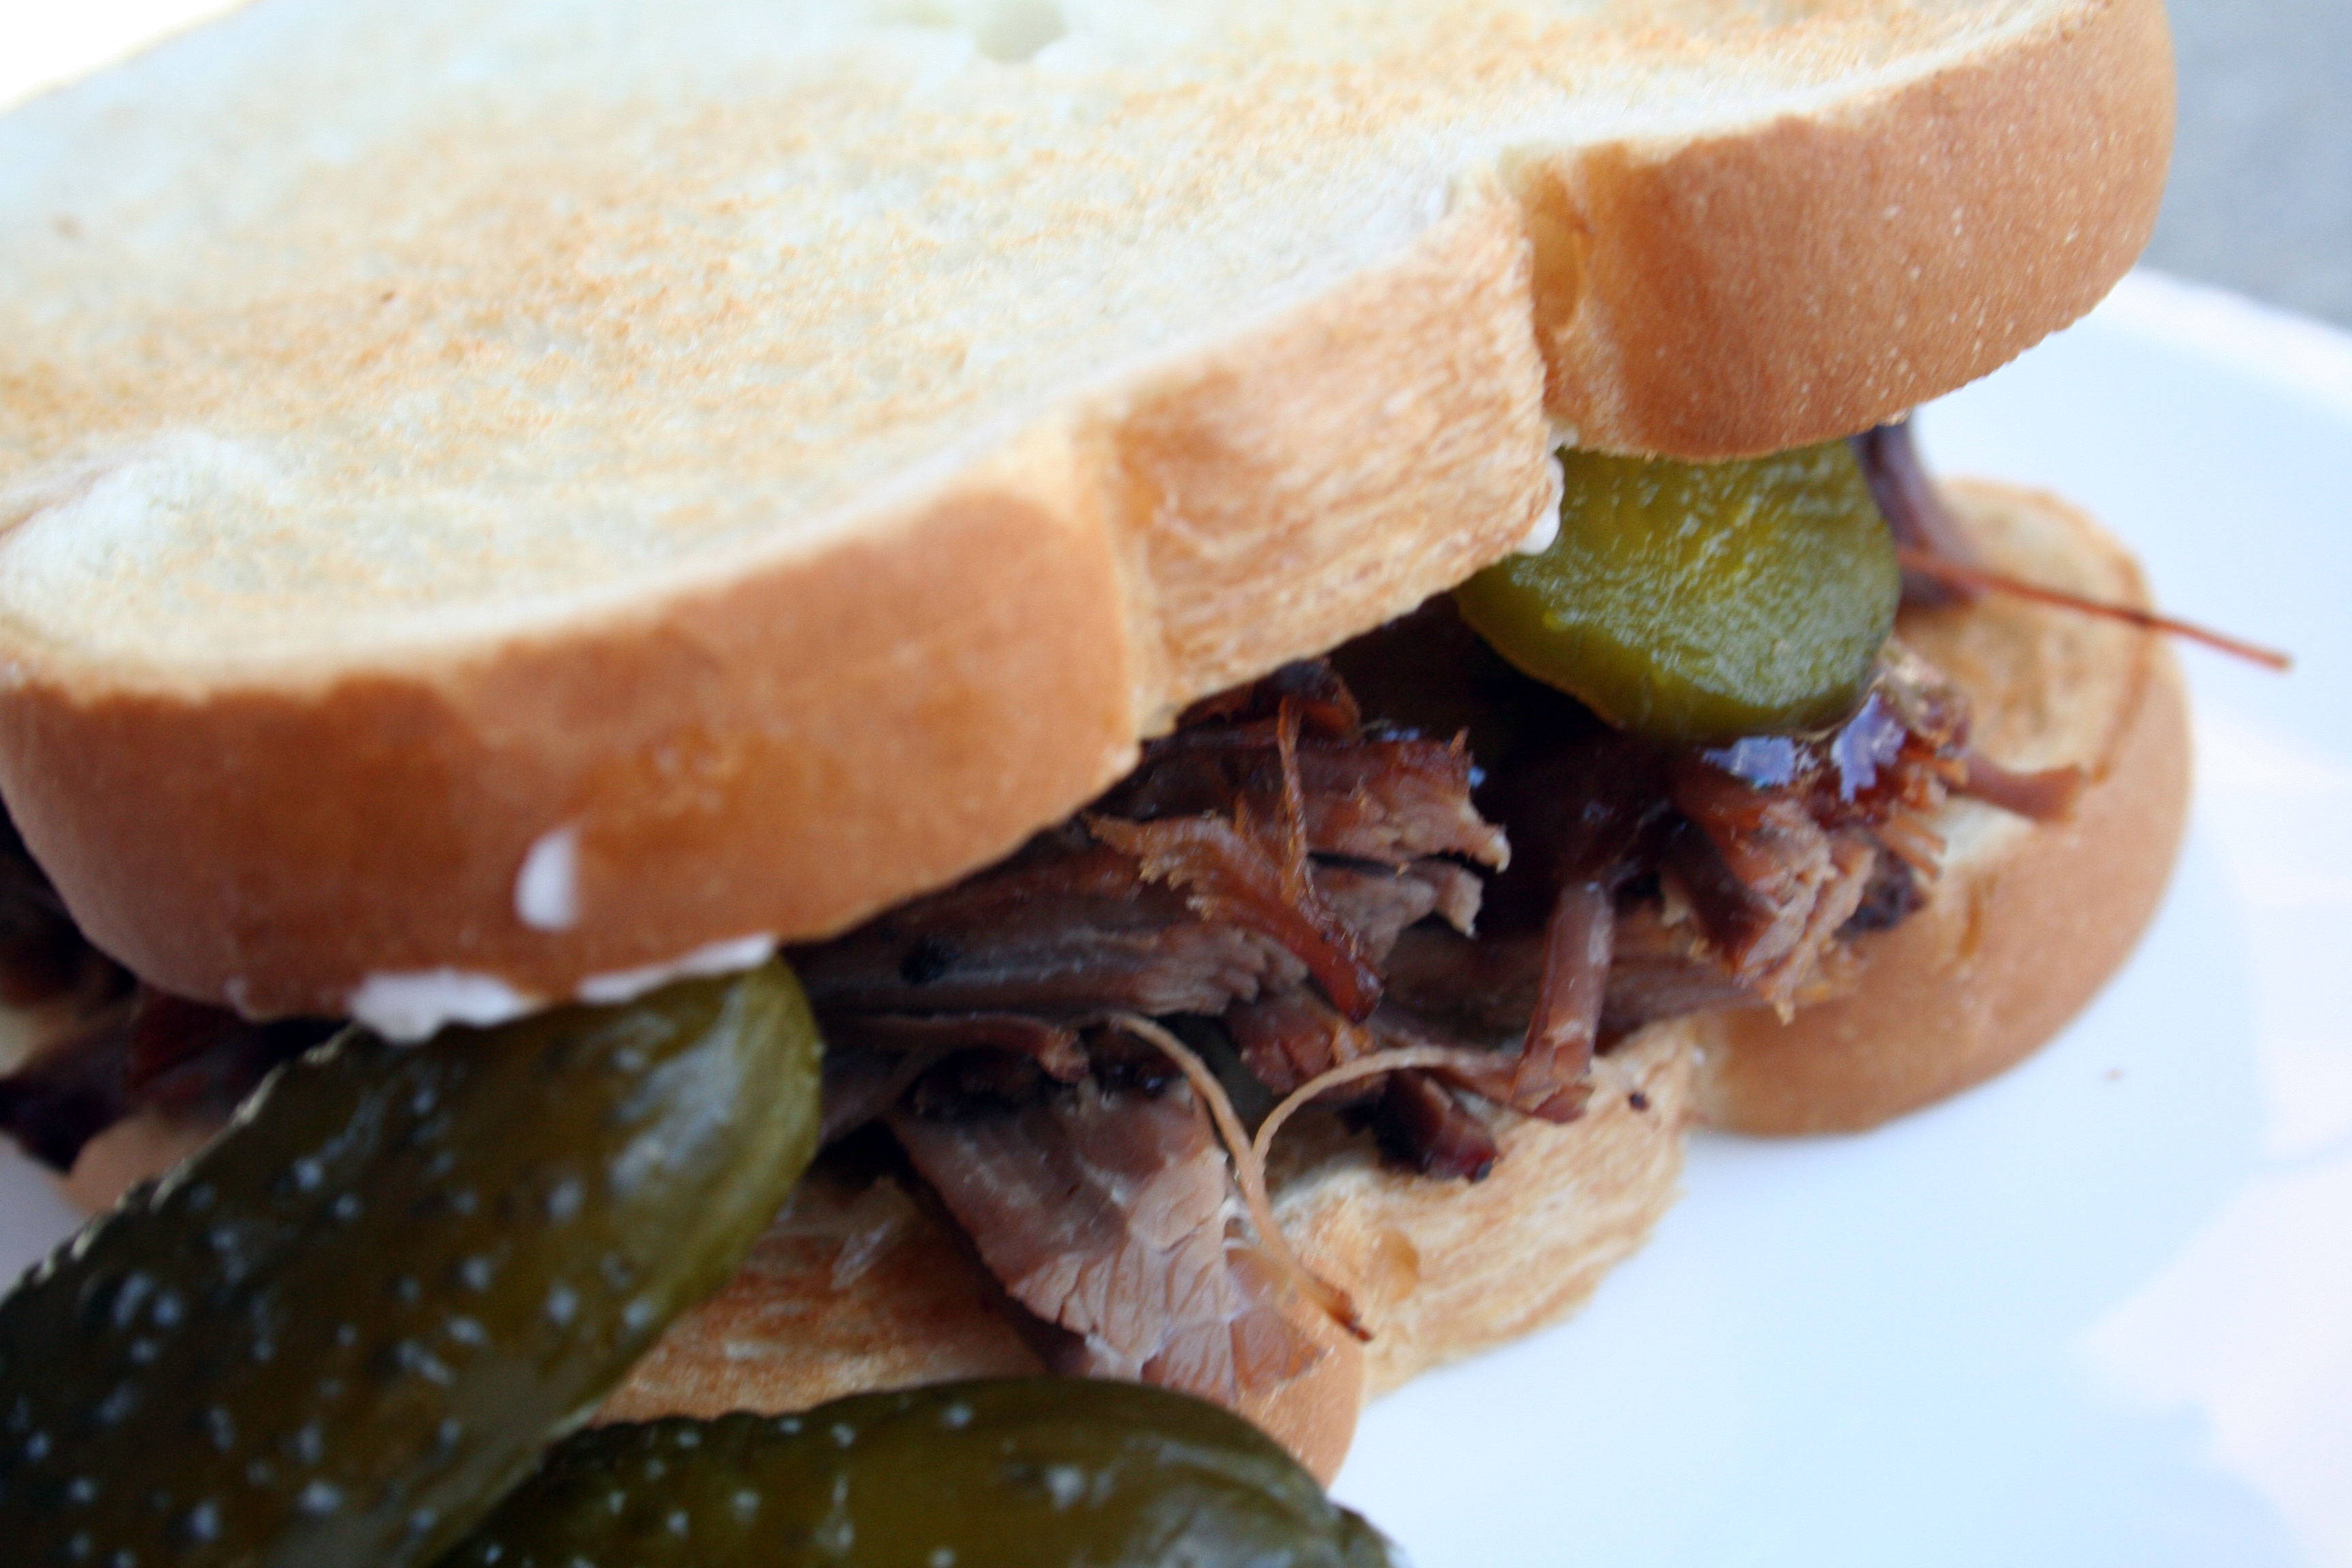
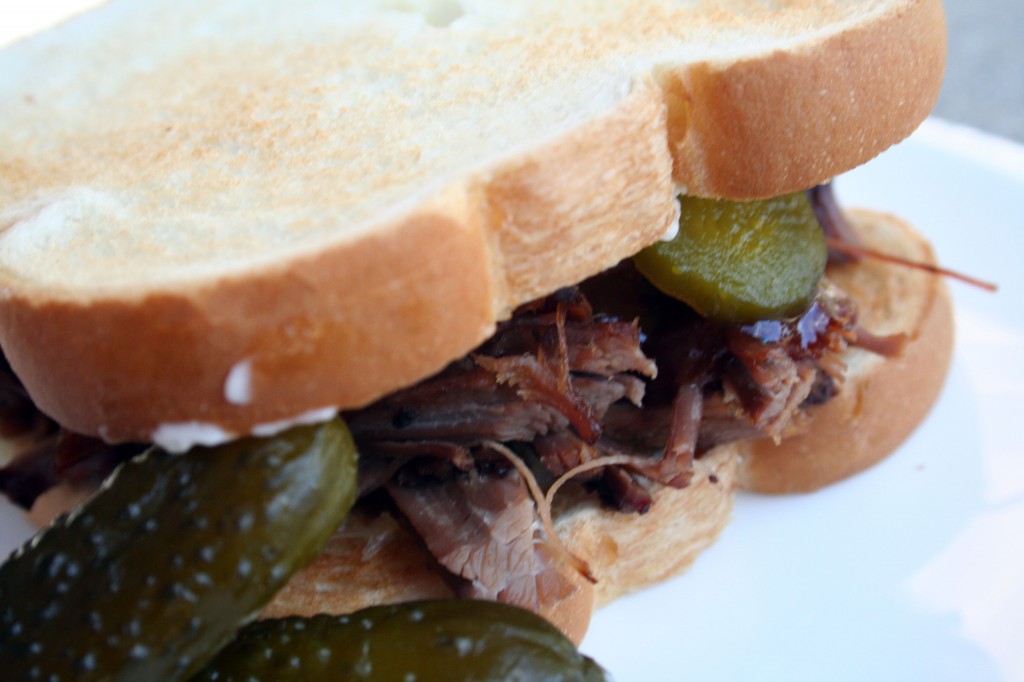
Or a brisket sandwich at least.  Like so many quests in the kitchen and life I began my summer with a goal to smoke a brisket, I am not going to lie I have never smoked a brisket before and I am not had all that much smoked brisket.  But with a bit of patience, alot of hickory and mesquite wood and even more patience, the brisket got done and beyond that it was phenomenal.

Smoked Beef Brisket Sandwich

The brisket was good on its own and even better between a couple of slices of bread.  It was juicy and flavor filled and fall apart tender.  But enough bragging here is how it came about.

Tuesday I headed over to a local butcher after work and picked up a 9lb chunk of brisket with a healthy fat cap.  After a little waffling I decided to the only cook half of the brisket and freeze the other half until I was sure I had my brisket technique down, I ended up cooking only the flat part of the brisket.  I then proceeded to trim the fat cap down to about a quarter inch over the entire brisket and scored the fat cap in about a 1 inch grid.

Then it was rub time, I had planned on making my own rub but decided to save that until later, so check back.  I used a Cookshack Brisket Rub I picked up on my last trip to Cabelas, it was MSG free and looked tasty (can’t really smell it in the store) and  I was actually very happy with the rub and will likely use it again.  I digress, I rubbed the meat with a healthy layer of plain boring yellow mustard and then rubbed the brisket with the brisket rub.  From there it was into a sealed container and into the fridge for a night of rest.

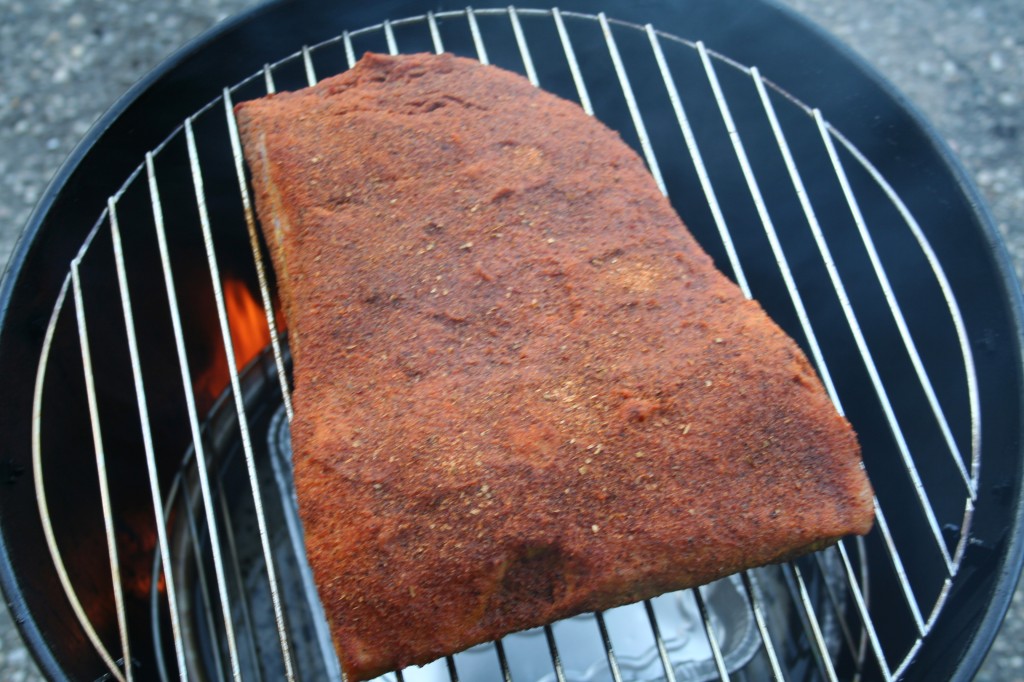
Early the next morning before the sun had even decided to rise, I was out tooling around in the garage getting the smoker fired up, water pan filled and the smoker pre-heated to that prime BBQ temperature of 225°F.  Once the smoker was ready to go I added a healthy dose of hickory and mesquite and threw the brisket on the top rack, fat cap up and gave it one last dusting of the rub.

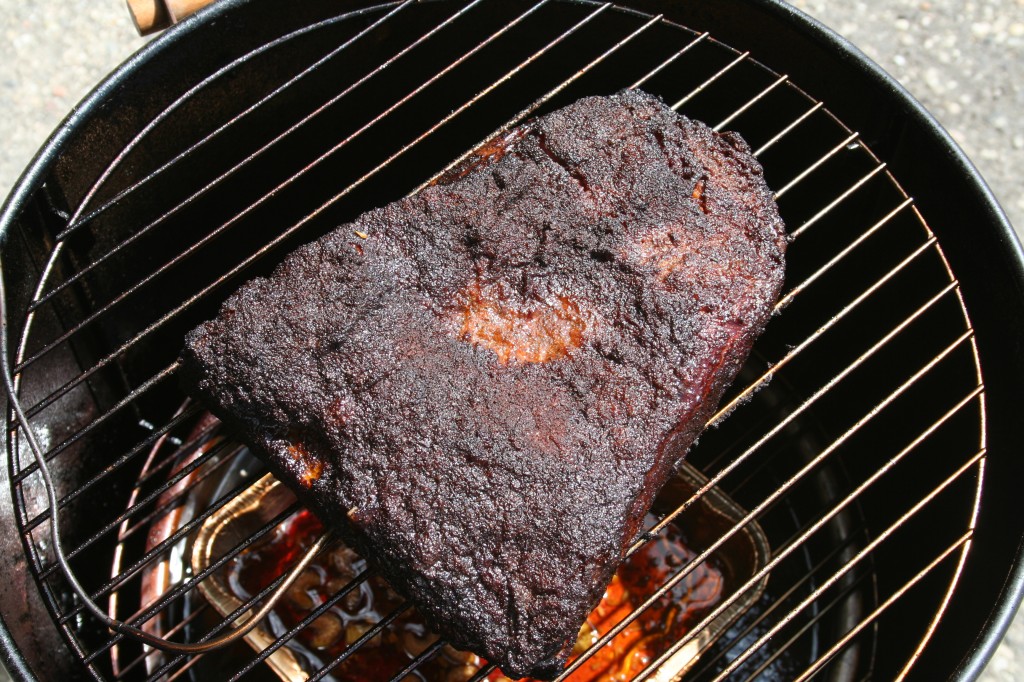
Beef Brisket fresh on the Smoker

Then it was time for the patience, checking in occasionally to make sure it was still smoking and the temperature was still good. One hour, two, three, four and then it was time to spritz with apple juice every hour on the hour.  At hour four I shoved my remove electric thermometer into the middle of the brisket to keep track of the progress and got back to waiting.  Around hour five is when it happened at the internal temperature of 151°F, the dreaded stall and it sat there for five hours before it budged even a single degree, it was frustrating but that is what the patience is for.

One Cooked up Beef Brisket

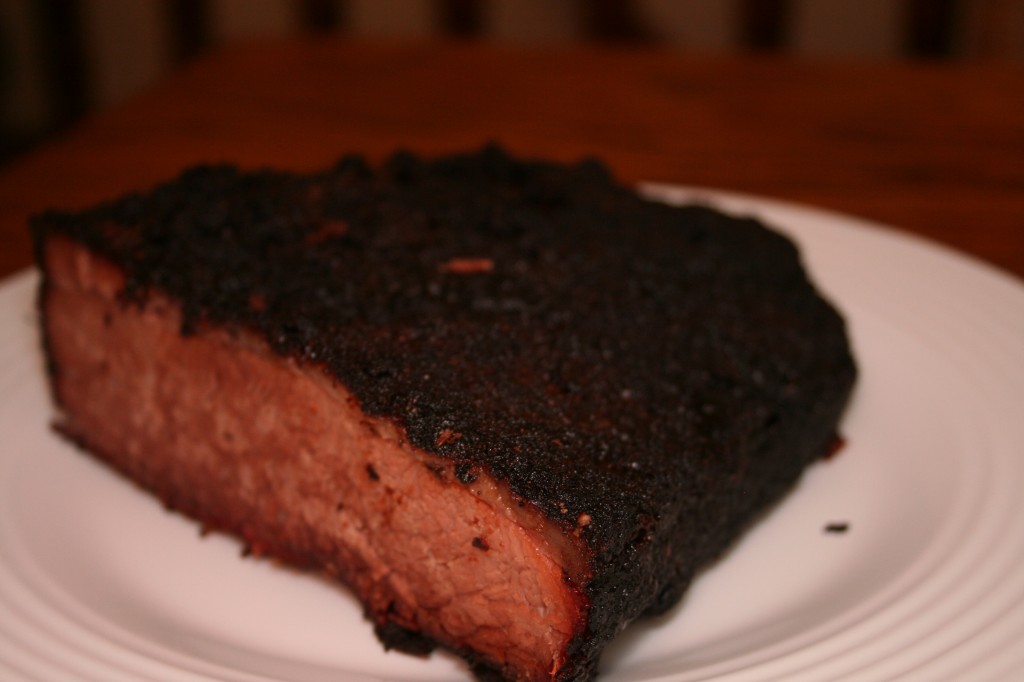
Finally after 14 hours on the smoker the brisket was done, it reached an internal temperature of 200°F and it was pulled and allowed to rest for about 2 hours.  Then it was time to slice and pull, this was magical.  Upon slicing into the brisket I picked up one half only to have it fall apart in my hands, pulling was never more easy.

Sliced Beef Brisket

Then it was time to enjoy, I ate way more than I should have last night and we had a lunch time feast at lunch at work today and the verdict was unanimous, it was excellent.  Can’t wait to smoke another!

Tagged with: , , , ,