In spite of the ridiculously warm hunts the deer have been on their feet this year and I am grateful to have taken a couple.  The farm I have been hunting has a deer problem, it is not uncommon to see twenty or more deer a sit, which makes every sit exciting.  Ten days ago I had what appeared to be a wounded deer come in that was obviously in rough shape and so I took the shot and killed it instantly, if you don’t believe me I will send you a picture of the shot.  Regardless upon butchering I discovered that the reason it appeared to be injured is that it was injured, one front shoulder was completely dislocated and the other a bruised ball of mess.  Fear not the chickens loved those two shoulders.  I butchered the rest of the deer you would as any other and set aside two roasts to make…pastrami.  I love pastrami, I love corned beef/venison as well but have a special place in my heart for pastrami.

20161025_201349

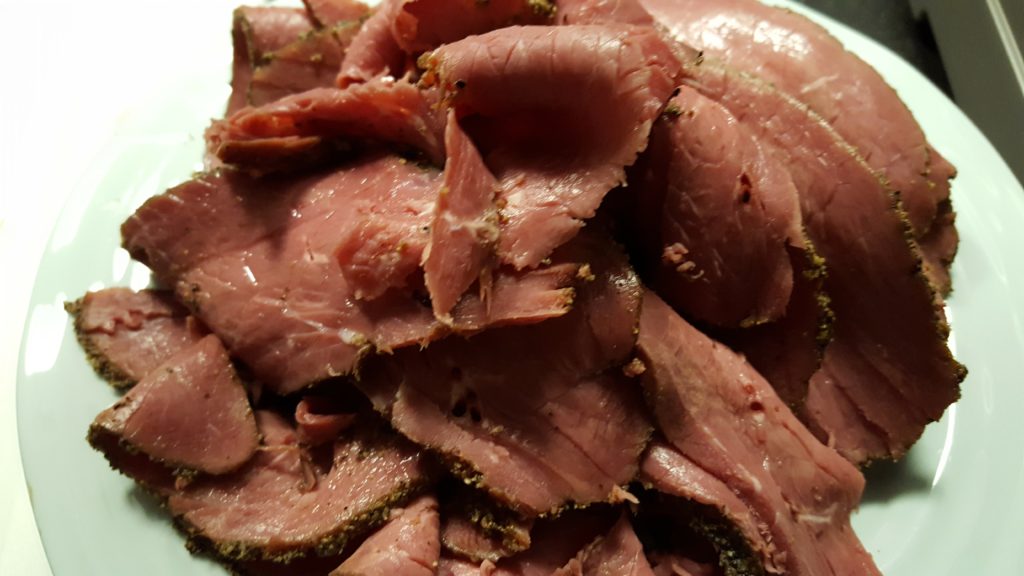
I have made pastrami in the passed and it was always just not quite right, either dry or funky or something, well this time I nailed it.  It is fantastic, had some last night on pumpernickel with horseradish cheddar and mayo, might have another for lunch.

As with other cured meats the process is as important as the ingredients and in this case more so for flavor, with here is what I ended up with.
20161017_101212

Ingredients (cure)

  • 3-5 pounds venison
  • 1/4 c tender quick (do not skip, this is the cure part)
  • 2 tbsp dark brown sugar
  • 1 tbsp ground black pepper
  • 1 tbsp onion powder
  • 1 tbsp garlic powder
  • 1 tsp paprika
  • 1 tsp ground cloves
  • 1/4 tsp ground mustard
  • coupe bay leaves crumbled
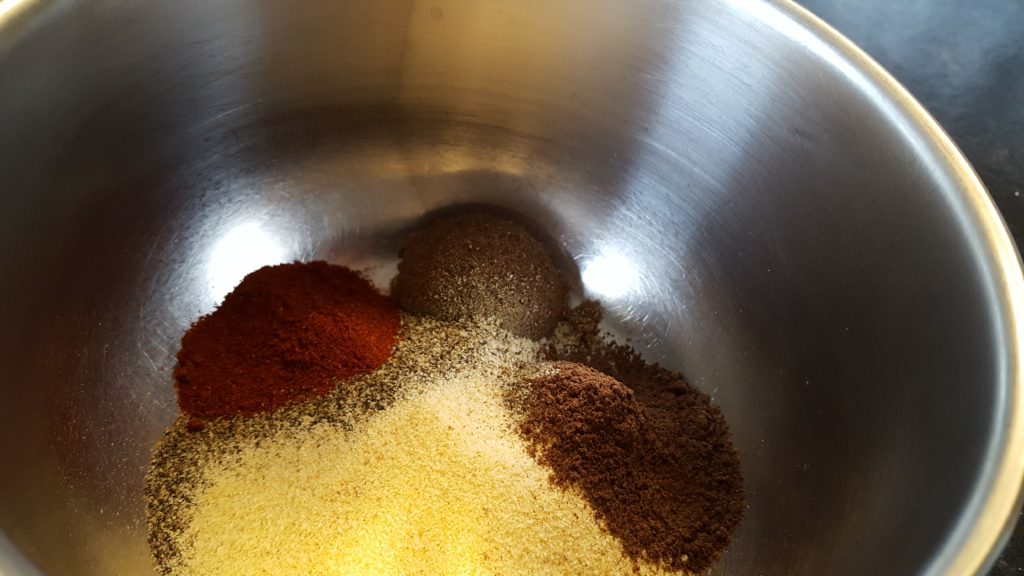
Ingredients (rub)

  • 3 tbsp ground black pepper
  • 1 tsp ground coriander
  • 1 tsp garlic powder

Instructions

  1. Trim, wash and dry meat.  Set aside.
  2. Combine cure ingredients thoroughly and rub liberally all over meat.
  3. Place meat in a gallon zip lock bag or better yet vacuum seal it and place it in the fridge for at least five days, depending on meat thickness.  I went seven for this batch and it was perfect.  Turn the bag/pouch everyday.
  4. After the meat has cured – remove it from the bag, rinse and place the meat in a bowl of clean water to soak.  It should soak for at least a couple hours bur preferably over night or better yet while you are at the office.
  5. After soaking, remove meat from the water, rinse again.  Pat dry.
  6. Combine ingredients for rub, rub liberally all over the meat.  Allow meat to sit out.
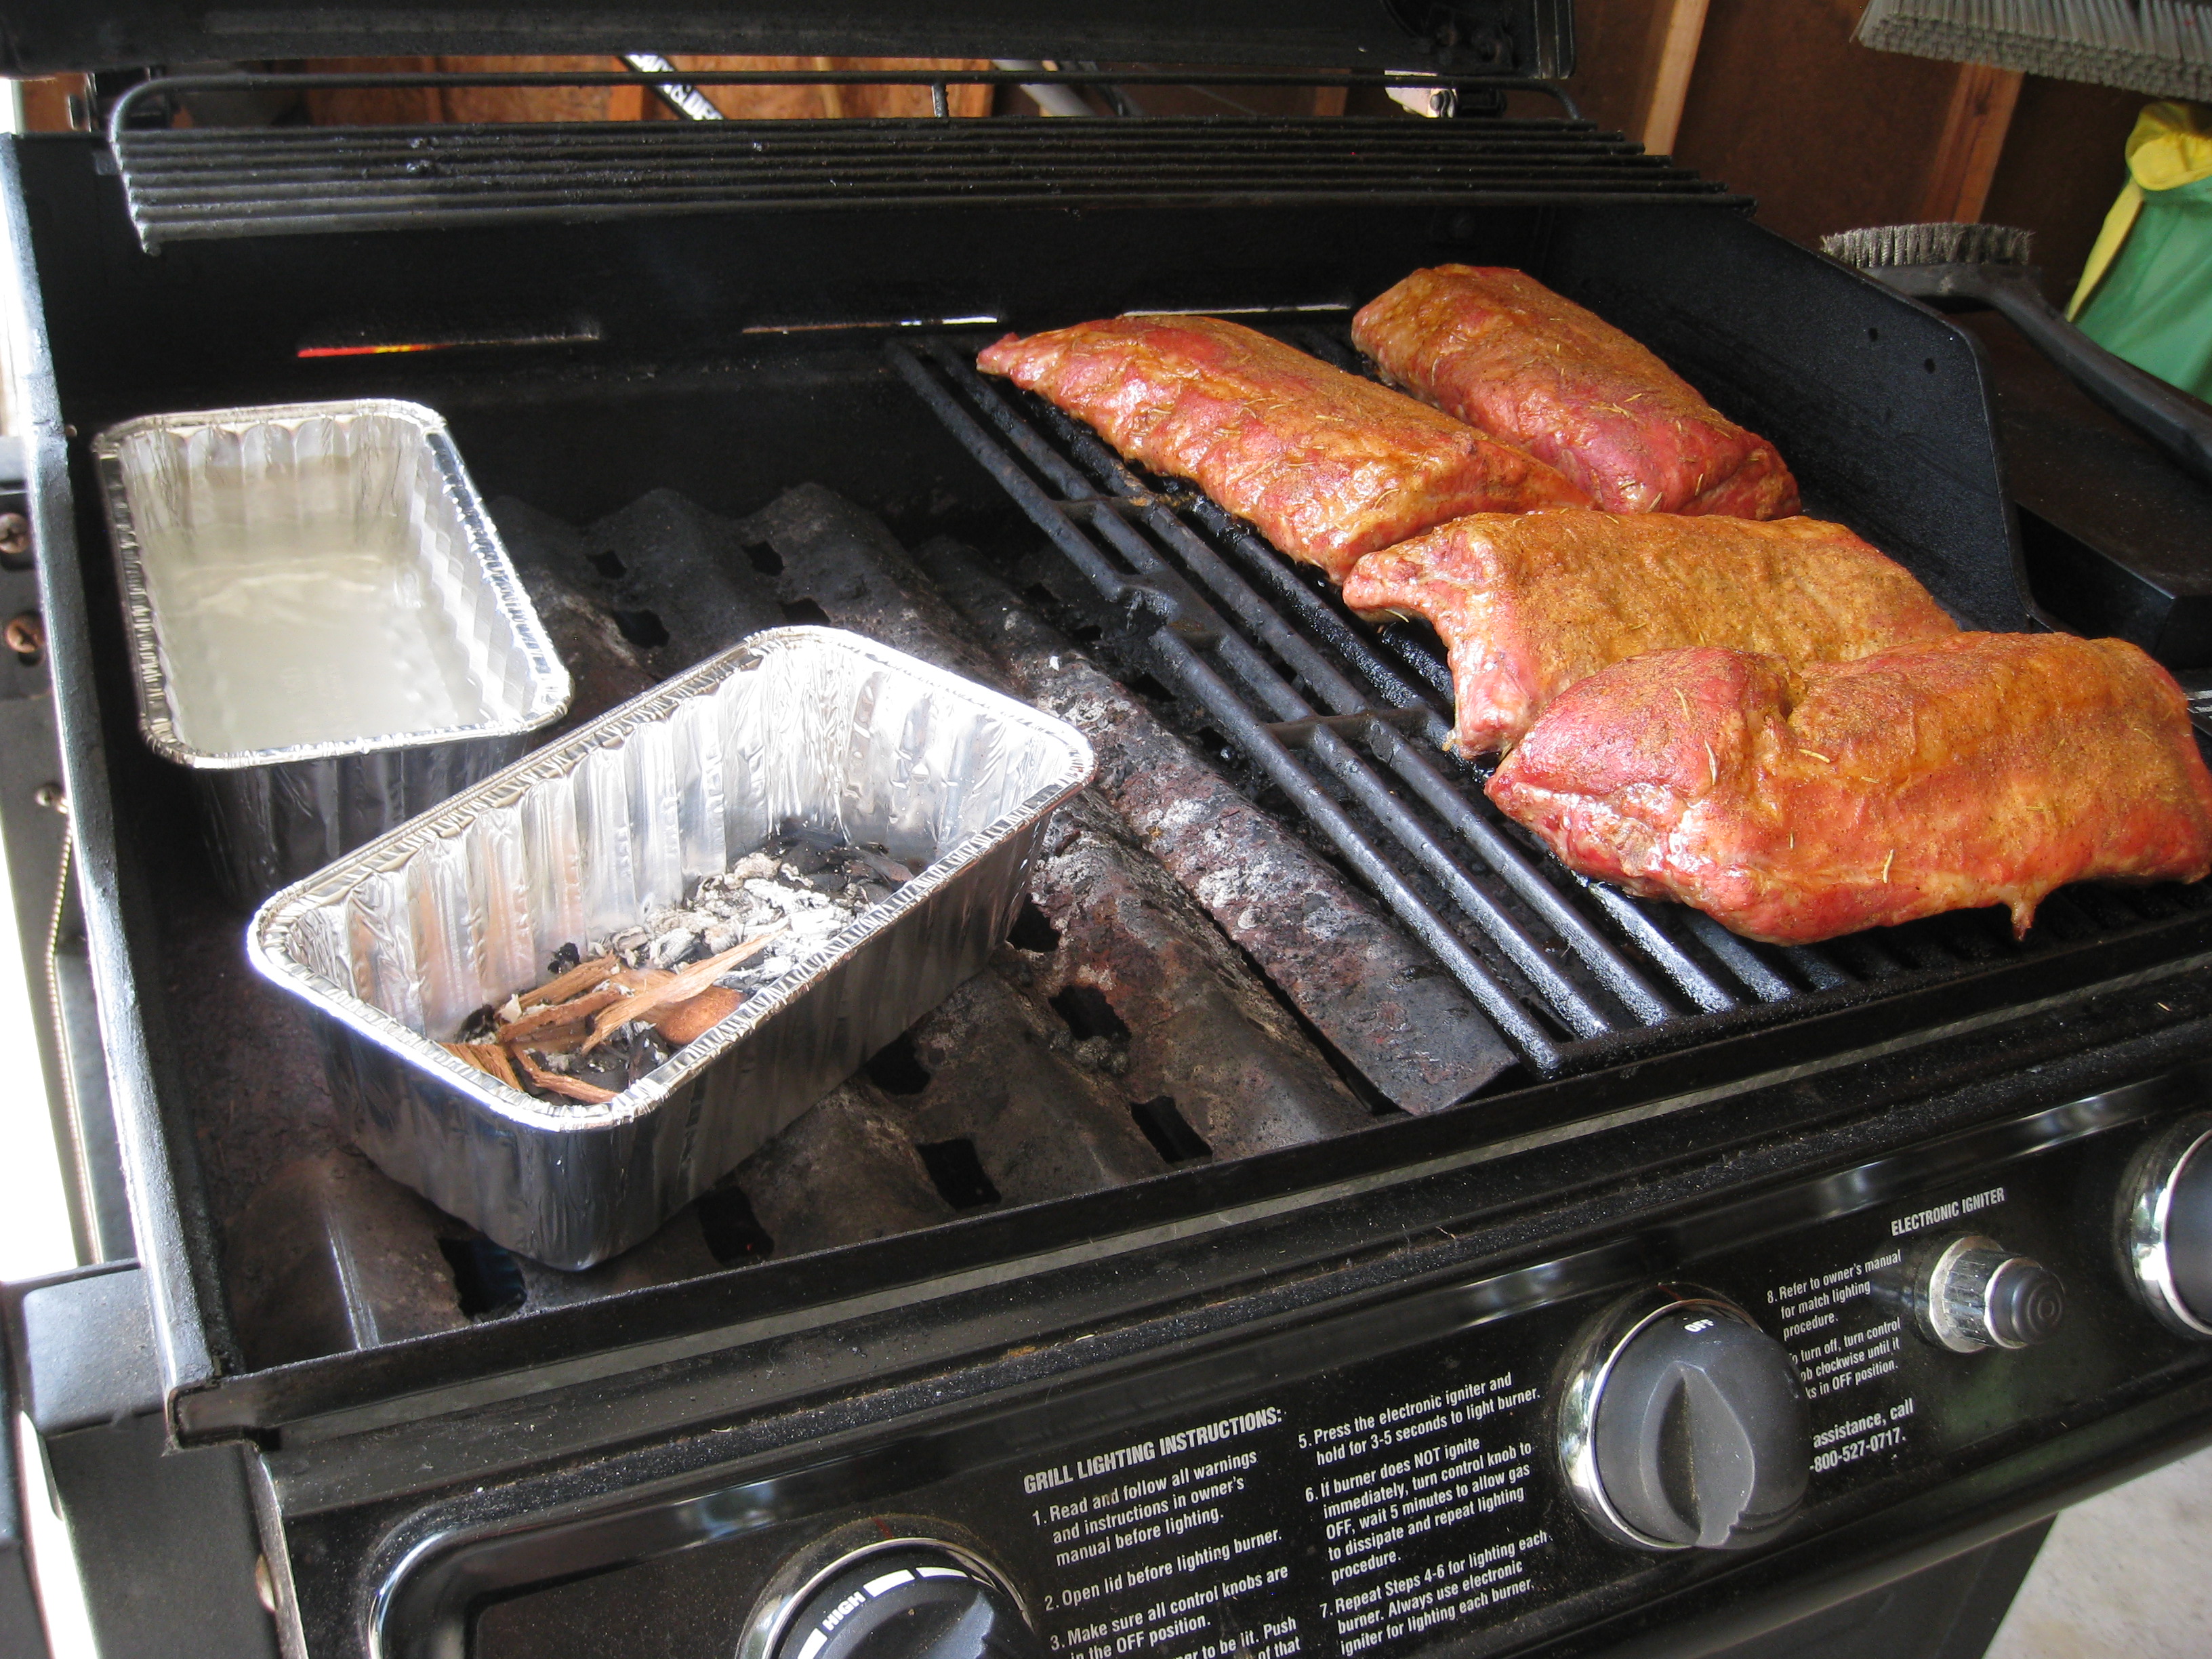
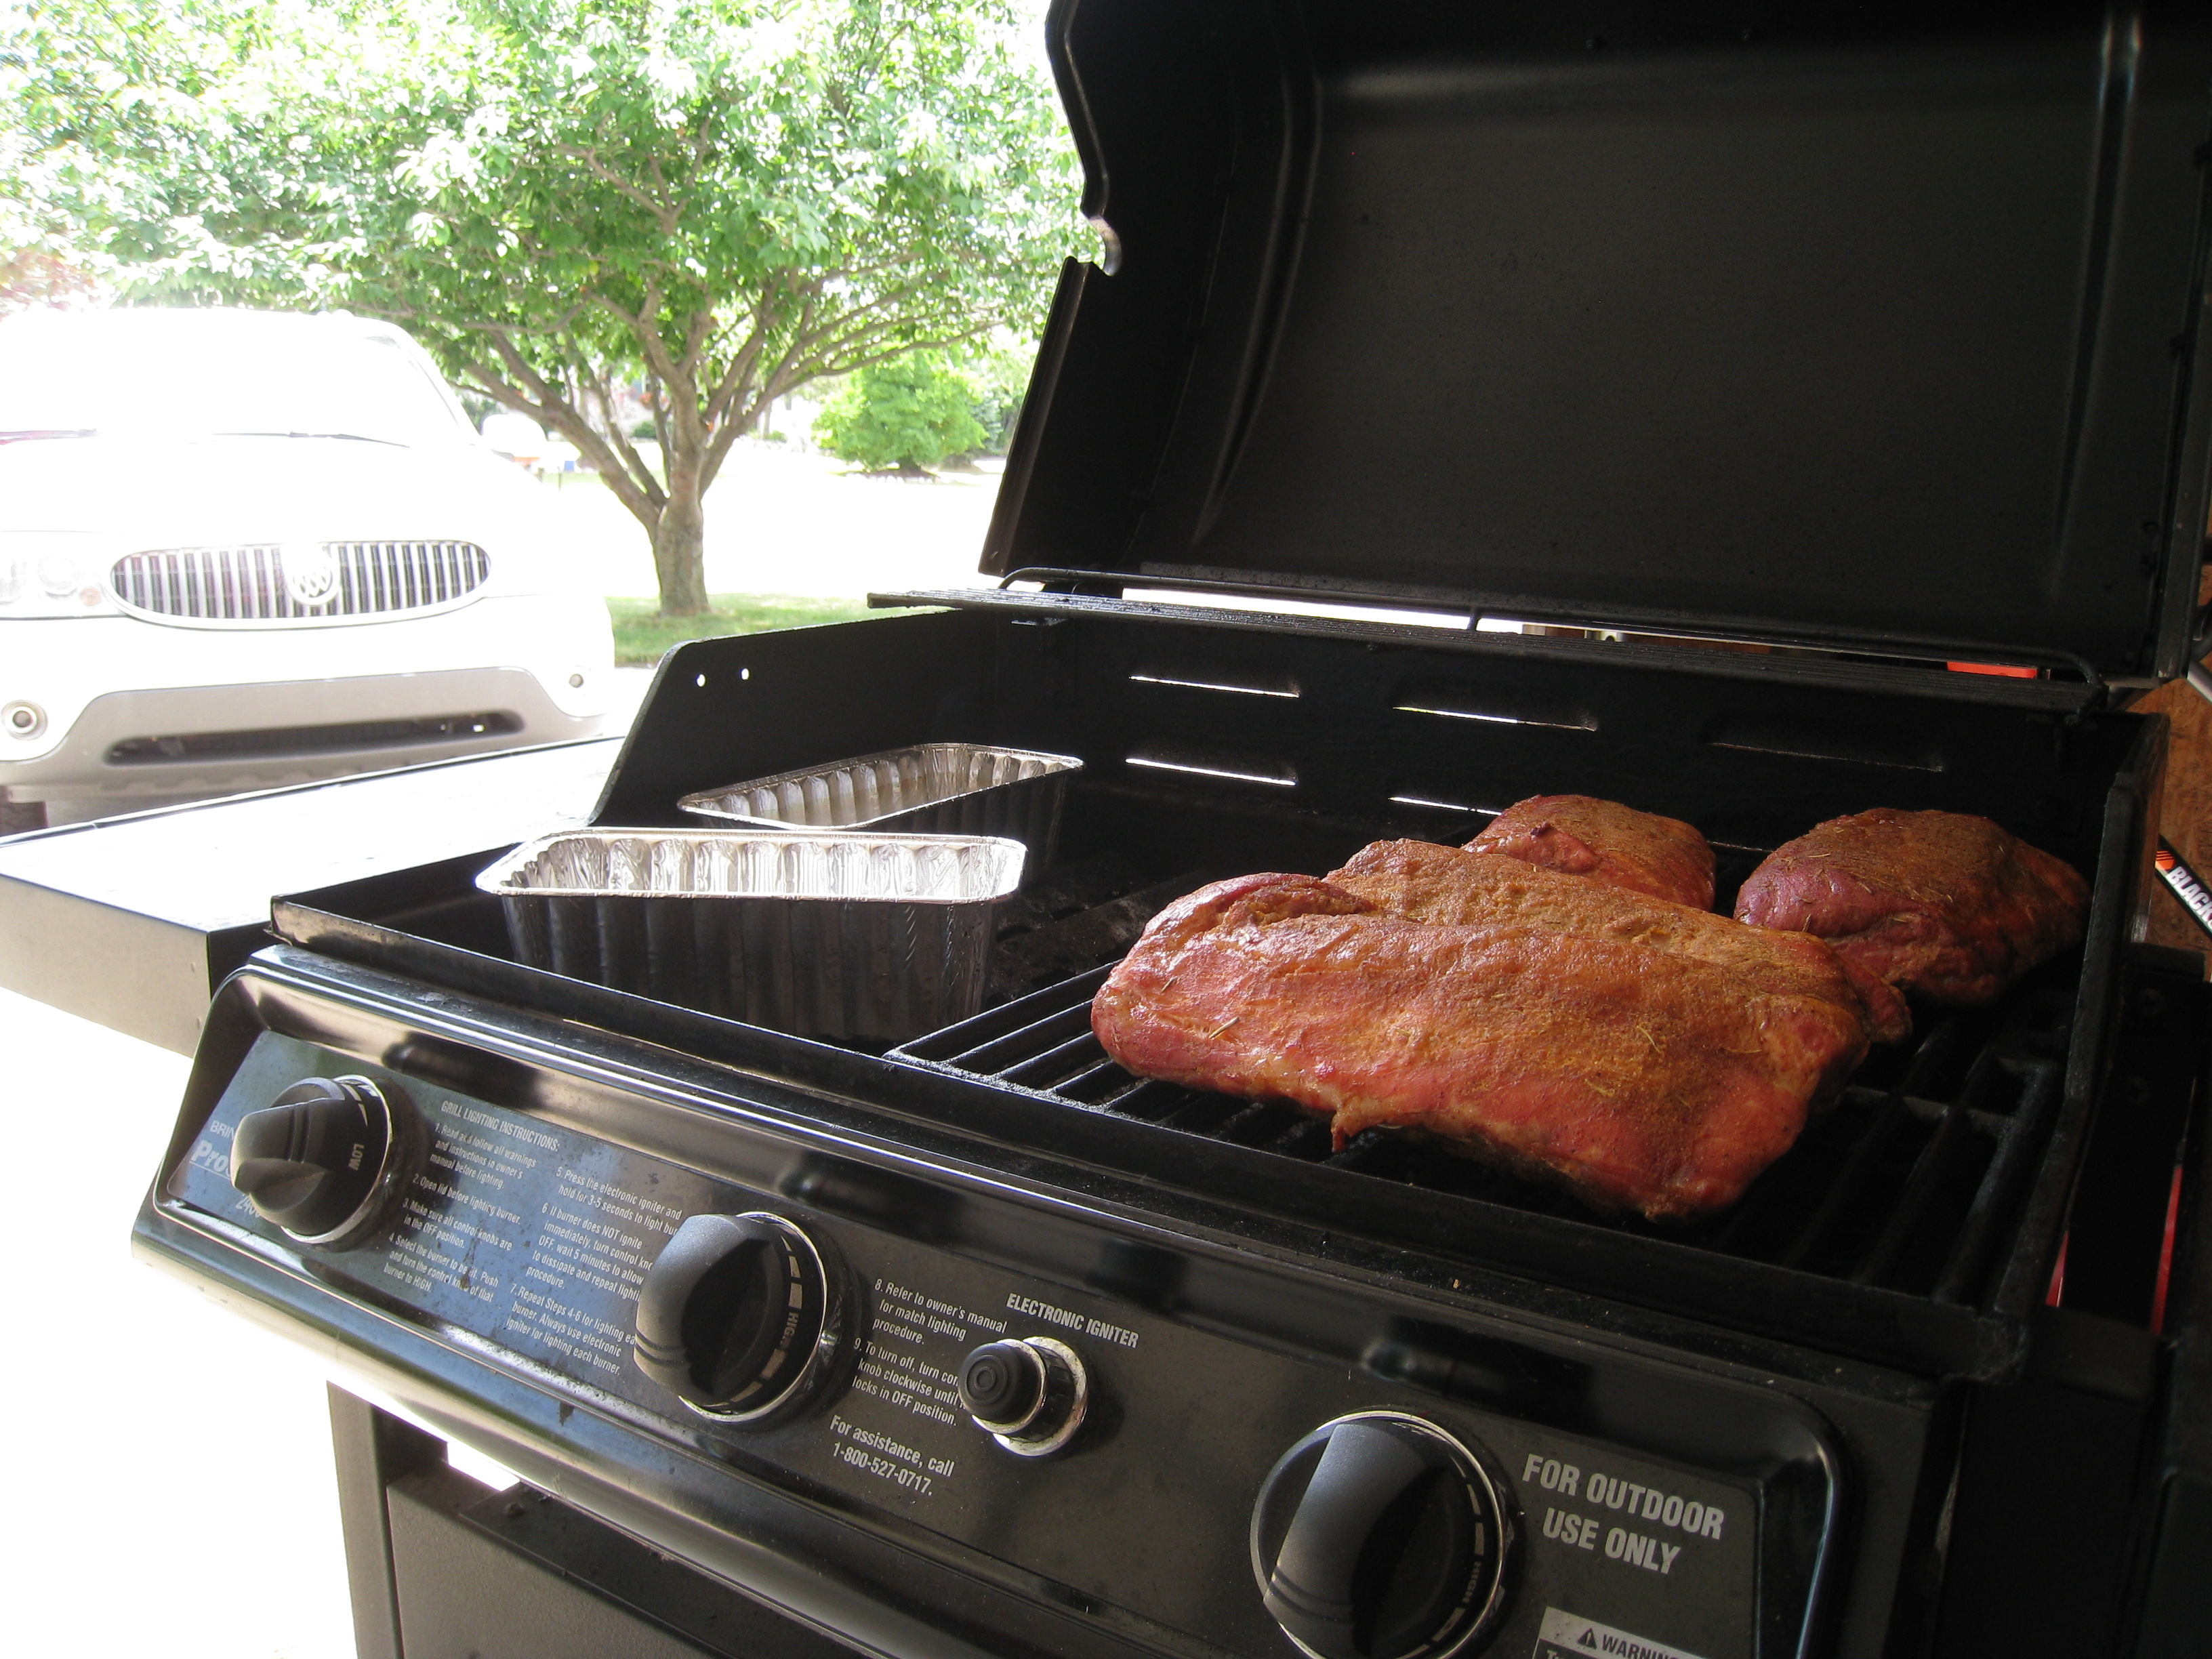
  7. Preheat smoker to 225°F, add wood for smoker once preheated (I used a chunk of oak and a chunk of hickory)
  8. Once the smoker has been preheated, place the meat on the smoker and smoke until the center of the meat is 150°F
  9. Once the meat is up to 150°F in the center, remove from the smoker, wrap tightly in foil with a splash of water, beer, stock, etc.  Wrap this foil packet in a towel or two and let it sit on the counter for a half hour, this is super important to having an awesome end product.
  10. After a half an hour slice and enjoy.  It will be better the next day.

And that is it, pastrami, at home with an animal hopefully sourced by yourself, that is knowing where your food comes from.  And if anyone knows where I can find a wild pig running around in Michigan I can know where my bacon comes from too.

What is your favorite way to enjoy venison?

Tagged with: , , , , , , ,

Wow, its been that long since my last post?!  I have been sorely neglecting my poor blog and almost as much my taste for food!  Well alot has happened since September, for one, last December we packed up all of our stuff and put it in a storage unit (or three) and that includes my beloved smokers – so I have been without my arsenal for nearly 7 full months now and it has been difficult.  We find ourselves living with my in-laws while we are in limbo between our condo and our future home (which we are still looking for) and our stuff is far away.  But, lucky for me my father in law has a nice gas smoker, unlucky for me today’s weather calls for severe storms and strong winds all day.

But let me back up, what in the world do I even need a smoker for today?  Well as it turns out my brother is getting married next weekend (congratulations Dan) and I being ever so thoughtful forgot he may need a stag party before he enters into wedlock and so we find ourselves in need of some grub.  So I find myself up against the wall we are out with friends tonight and then tomorrow its stag party time.  Dan is pretty simple in his tastes but ribs are one thing he likes and one thing I like to make.  So ribs it is, nothing special, usual rub and smoked using the 2-2-1 method (they are baby backs, for regular ribs the 3-2-1 method) but with the stinking gale happening outside my window using the gasser was out of the question, I would spend more time relighting the burner than actually cooking.  So that left me with the charcoal, which would take more care than I could give it today or the gas grill…winner winner chicken pork dinner.

Now I have heard that some of you (you know who you are) will take a rack of ribs and put it into a crock pot and turn it into gray mush and then top with some sauce, the words I have are not kind.  Well no more!  There are no longer excuses, today we will learn how to make ribs on the grill that are just a fuzz less awesome than those off a smoker, after all the one on the smoker get cool points.

Before we can figure out how to cook them on a grill we need to know what makes ribs so special in a smoker, there are a couple of things they are low heat for a long period of time, moisture from the water pan (personal opinion here) and smoke – after all it is a smoker.  These are the things we will need to replicate in the grill.

Ribs on a gas grill, smoked

The first and arguably the most important, or at least a close second piece of the equation to replicate is the low heat for long periods of time – I can hear you now, “…in a crockpot…” Gross!  Anyways so to do that we will only be using one burner (your grill may be different), you will notice in the picture above that the two burners closest to the camera are turned off and just the one is on.  Doing this I am able to maintain a nice 225-250°F cooking temperature (stinking wind, it would be easier without the gales) without much effort.  So that was easy figure out where the grill can happily hold our temperature and leave it there, or at least until you are positive you need to adjust and KEEP THE LID CLOSED!

Grill smoked ribs, water pan and chips

Next there is the smoke and well the water, they are pretty similar so I will cover them together.  The first thing you will need are a couple of foil pans that will fit in your grill, unless you want use your good pans then by all means cast iron would be better.  Take the grate out of your grill if it has the little under grate, sometimes called flavor bars, and set the foil pans directly over the burner you will be cooking with – fill one with water and line the bottom of the other with wood chips soaked in water.

Finally add ribs and cook as if it were on a smoker.  Just like a smoker you will have to refill the water and the smoker chips as needed.  Cook and enjoy, use your crockpot for soup and taking things to potlucks, where with any luck someone will steal it.

Tagged with: , , , ,

Sometimes its not about what you cook, its about how and where and with what challenges.  Well today, much like cooking breakfast on an open fire, the challenge was not in what I was cooking or how I was cooking, it was the element of nature that produced the biggest source of problem in my cook.  In the midst of a blizzard warning this morning I fired up the smoker to smoke up some rosemary and brown sugar rubbed Boston butts (3) for some pulled pork.

Smoking in a blizzard

In spite of the snow and the massive drifts and the sometimes strong winds, I prevailed the smoked stayed going and the pork is now ready for some pulling.  Its not new, its not special but it was a challenge.  And if I do say the results look, smell and taste fantastic.

My apologies for the picture quality, they came from my phone. 🙁

Tagged with: , , , , , , , , , , , , , , , ,

Well they are finally gone, and sadly so, the last rack of ribs we had in the freezer was dinner tonight.  But not without some trying something new first.  In the past I have been a fan of jerk chicken, and have made some completely from scratch…more about that later.  I have also used some store bought ‘jerk’ rubs in the past and they are alright but wanted to go out and try something new.  So that is what I did, I found a jerk rub and complimenting glaze I liked and tweaked it a little and it was a bit spicy, so if you are not necessarily for spice, you might want to back it off on the pepper a little.

Jerked Pork Ribs

The little strange yellow color in the picture is the pineapple glaze that didn’t get absorbed, its tasty even if it does look a little strange.  Using the recipe for the rub below, I rubbed the ribs and sealed them in plastic wrap in the fridge over night.  This morning I took them out and let them set out for about an hour before I fired up the smoker.  I then smoked the ribs using the 3-2-1 method using pecan wood.  During the final hour I began brushing the glaze onto the ribs and did so three times, it could have really used one or two glazings.

When it was all said and done I let them rest covered with foil and a towel for about a half hour then it was eating time.  They were sweet and spicy and had a nice jerk flavor, not quite authentic but still very good.  We will be making these again.

Jerk Rib Rub
Ingredients
3 tbsp dark brown sugar
2 tbsp kosher salt
1 tbsp ground black pepper
2 tbsp ground coriander
2 tsp garlic powder
2 tsp onion powder
2 tsp dried thyme
2 tsp ground allspice
1 tsp ground cinnamon
2 tsp cayenne pepper (remember it was spicy)

Instructions
Combine all until mixed uniformly.  Rub into meat.

Pineapple Glaze
Ingredients
2 c pineapple juice
2 tbsp cider vinegar
1 tbsp red wine vinegar
3 tbsp dark brown sugar
3 tbsp butter
1/2 tsp ground black pepper

Instructions
Combine all ingredients in a sauce pan.  Heat to a boil and cook, stirring occasionally, until mixture is reduced to about half.

Like I said they were tasty, I am glad I have leftovers for tomorrow.  They should make a fine lunch.

Tagged with: , , , , , , , , , , , ,

Making chili is an art, not like all out on your own art but like sewing, where you have a pattern to follow but every time something is a little different.  Cooking in general is like this but chili is a special breed of cooking, it can change quite a bit from time to time.  This time was no exception.

Chili in a bowl stacked with cheese

This was what I would refer as chili its not fancy other than what you put into it but it is full of flavor and spice, not the kind of spice that burns your tongue off and renders you ability to taste broken.  The kind of spice that is pleasant while you are eating it and reminds you when you are done that it was in fact a good spicy bowl of chili, that is the kind of spice I like with my chili.

What made the chili so special this time was the ingredients, mostly the meat if you remember in my last post I smoked a chuck roast in a chili rub just for this pot of chili.  Also what made this pot of chili quite unique was that I was here the entire time I made it, tending to it on the stove.  Usually I cook the meat if it needs to be cooked, drain off the grease and throw everything together in the crock pot and let it go.  But this time I did it in a pot on the stove, a bit more tending but it was much more rewarding and I got to throw in ingredients in phases, for instance I put in some garlic at the start then a little more about an hour before it came off the stove…gives it a bit more of a garlic taste.

So without further ado,  here is the skeleton recipe.  Like I said chili is an art and I use these more like guidelines than an actual recipe.

Ingredients
1 lb meat (beef+bacon, beef+pork, beef+sausage, etc) shredded, cubed or ground
1 medium onion chopped
2 jalapenos seeded and chopped
1 dried jalapeno
1/3 c dried kidney beans
1/3 c dried black beans
3-7 cloves of garlic, peeled smashed and chopped
1 pt chili sauce (we have a home canned variety)
1 can crushed tomatoes
1/3 c brown sugar
1/3 c chili powder
3/4 tsp cumin
1/2 tsp cayenne
3/4 tsp garlic powder
1/2 tsp kosher salt
1 tsp oregano
1 c beef broth
water

Instructions
Once meat is cooked and (if preferred) fat is drained off. Combine all ingredients in a pot add water until liquid covers all ingredients.  It cooking in a crock pot at 1 cup more water and set it on auto or high for 1 hour then down to low for at least 4 hours.  If doing it on the stove (bonus points) or in a dutch oven (double bonus points), bring to a boil then reduce heat and cook at a low simmer for 3-4 hours.  If cooking on the stove stir occasionally and check for flavor, add anything else you feel it requires and also add water if it seems to be getting to thick.  The dry beans will soak up a lot of moisture (and flavor).

So in addition to having the smoked chuck roast as my meat in my chili it was joined by some whole jalapenos I had smoked and dried during the summer.  Chili is a great dish to get creative with, I enjoy trying new things with my chili and changing it up a little every time.  Chili is a very test and tune dish.

Tagged with: , , , , , , ,