Getting started vegetable gardening
Over the past couple of weeks as the Coronavirus (COVID-19) has rolled into Michigan, we have gone from talking about it impacting out lives to seeing it impact our lives. My employer was ahead of the game in regards to sending employees home to work and as a result we were working at home prior to the rest of the state, since the middle of March. In that time we have left the property for a couple of reasons, the first was to pick up a prescription, the second was to get a load of compost and the third has been for a morning jog. Aside from that we have ordered a few things here and there online, we are getting by. As an introvert I have enjoyed it. As we are firmly into spring and continue to trends towards more uncertainty in regards to the Coronavirus, the economy and what’s next I thought I would share our past years garden schedules, the ones that even last year in spite of an extremely late (read fourth of July) planting we put up quite a bit of food, and some other resources that maybe helpful.
Location
We are located in Michigan in Zone 5b/Zone 6a depending on how old of a USDA Plant Hardiness Zone Map you are looking at. We are located ~10 miles from Lake Michigan and it mellows our climate significantly throughout the year. Our typical main planting season runs from Memorial Day weekend until the first frost which usually takes place in the middle of October. I have in past years cover cropped out main garden area on September 15 with a mixture of oats, peas and forage radishes to give the cover crop a chance to grow but not flower. This mixture has proved to winter kill nicely and create a nice dense mat the following spring that suppresses at least some of the weeds. Several of the varieties we grow are dry beans and corn – these we inter-seed with cover crop and harvest when they are ready – the rest is tilled in before seeding. At some point we may do away with the tillage but for the time being, we are working to improve the heavy clay soil we got when we bought this house – and the best way to do this that we have found is by continually incorporating organic material into the ground.
Garden Setup
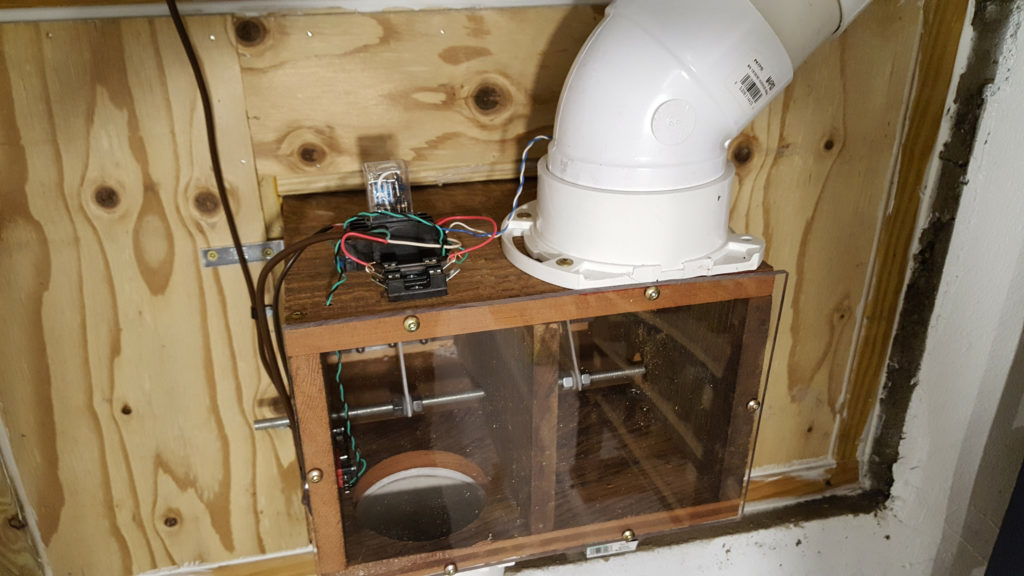
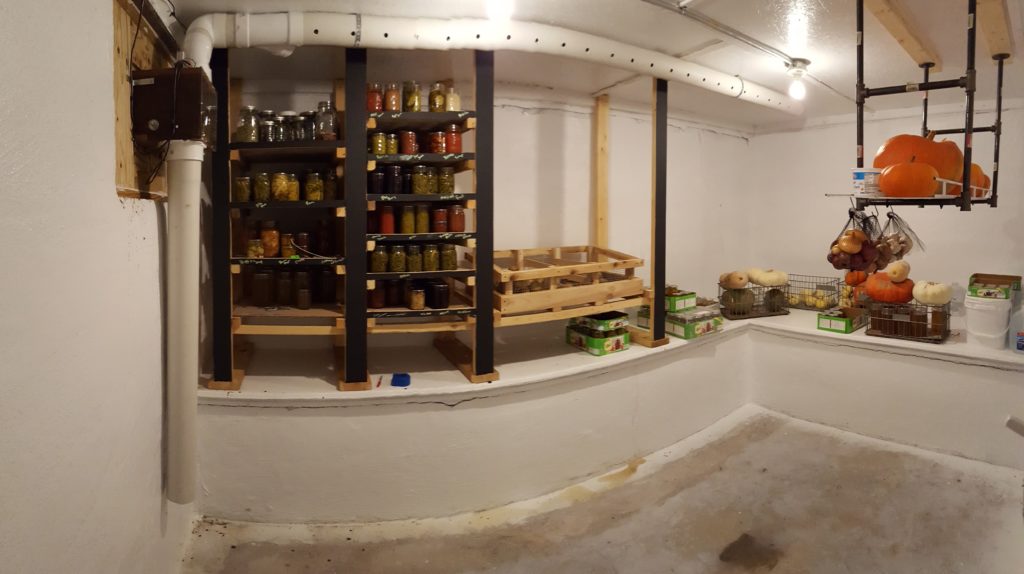
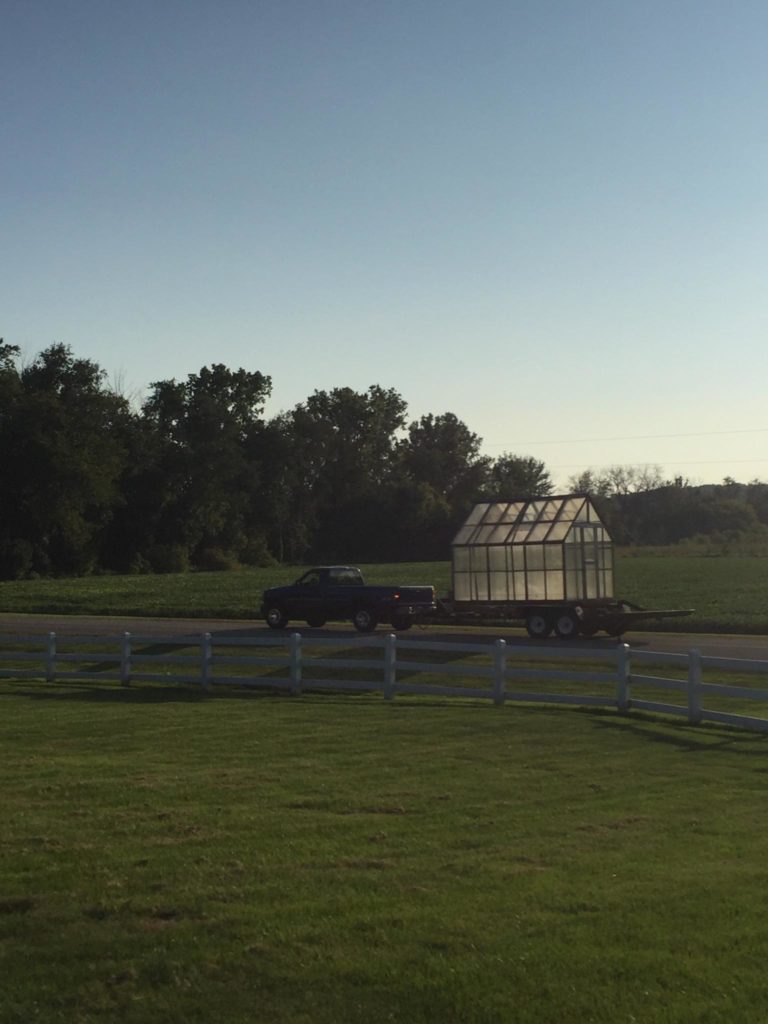
We are blessed to have the set up we do, we live on three acres in the country – our closest neighbor is across the street and our closest neighbor on this side of the road is 300 yards to the south. We are surrounded by conventional farm fields and garden in what I like to call beyond organic. Over the years we have been here we have deliberately added to our set up in the form of raised beds, perennial fruits and fruit trees and a germination area in the basement.

We initially added raised beds to grow fruit, we have extremely basic soil and many berries do not grow well basic ground and prefer ground that is acidic. We initially put raised beds in place to grow strawberries, black raspberries, blue berries, garlic and culinary herbs.
These initial raised bed were the gateway drug of raised beds, the were so easy to manage – expensive to build but so easy to maintain. We were hooked, the following year we added four more for root crops, broccoli/cauliflower/cabbage, greens and more culinary herbs. We have since added even more additional raised beds as we have made this place our own and currently have about 400 square feet of raised bed space devoted to annual crops of one sort or another. In addition to be way nicer to maintain and harvest from than the regular garden, they allow us to plant earlier and grow longer in our clay, which hangs onto moisture forever (this is a blessing in the height of summer and a curse most of the rest of the year).
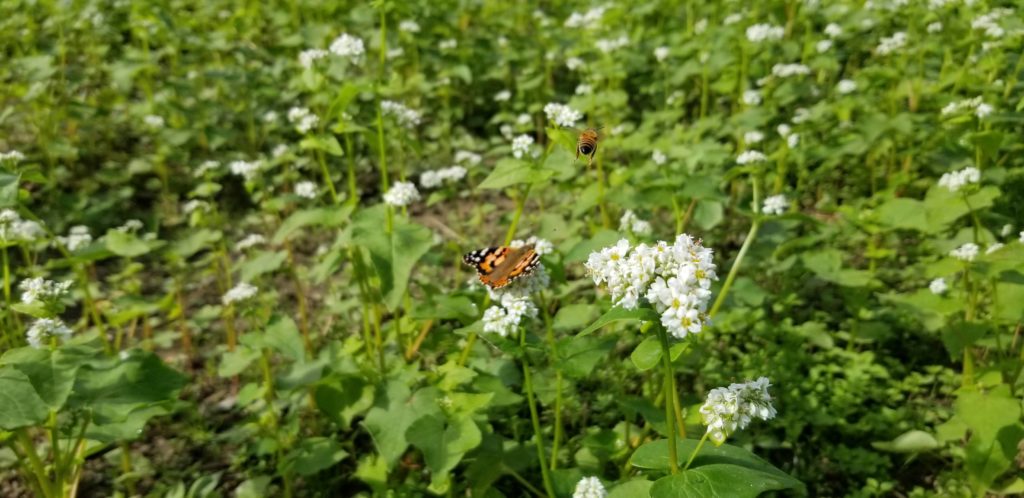
In addition to the raised beds, we have a 4400 square foot garden that we use two thirds of which is used for annual crops and the other third is devoted every year to cover cropping during the growing season. This cover crop is typically buckwheat, that we allow to grow bloom but not seed and then it is incorporated into the ground and we start the cycle over. By allowing it to bloom we give our pollinators a little browse and get the maximum growth out of the plants prior to going to seed.
Planting Schedule
With that little bit of background, after optimizing our set up and learning from the past several years being here, below you will find our rough planting schedule. If you are thinking about growing something in the table and the time has passed, it may not be to late. In general we plant for the earliest harvest possible and then to sustain that harvest as much as we can going forward. I have also only included the thing in the list that we grow outside, I will touch on things that are never planted out in a separate post.
| Week | Plants | Inside or Outside | Notes |
| Third week of January | Artichokes, Rosemary | Inside | Artichokes normally would not produce in Michigan, however, by getting an early start – we get artichokes the first year, the plants rarely survive the winter to see the second year. Both artichokes and rosemary can take a while to germinate and grow slow when they do. |
| First Week of March | Super hot peppers, some chili peppers | Inside | These are normally slower germinating and longer day species of pepper. I get a good start and can grow them to a good harvest here in Michigan. I usually throw some jalapenos and sweet peppers in here too just to have some a little earlier in the summer. |
| Third Week of March | Hot peppers, Sweet Peppers | Inside | At this point it feels like spring is coming, I hear the rhythm of the song John Henry in my head and it feels like we are picking up steam. I seed the remaining hot peppers, sweet peppers and any other peppers I am growing in the house. |
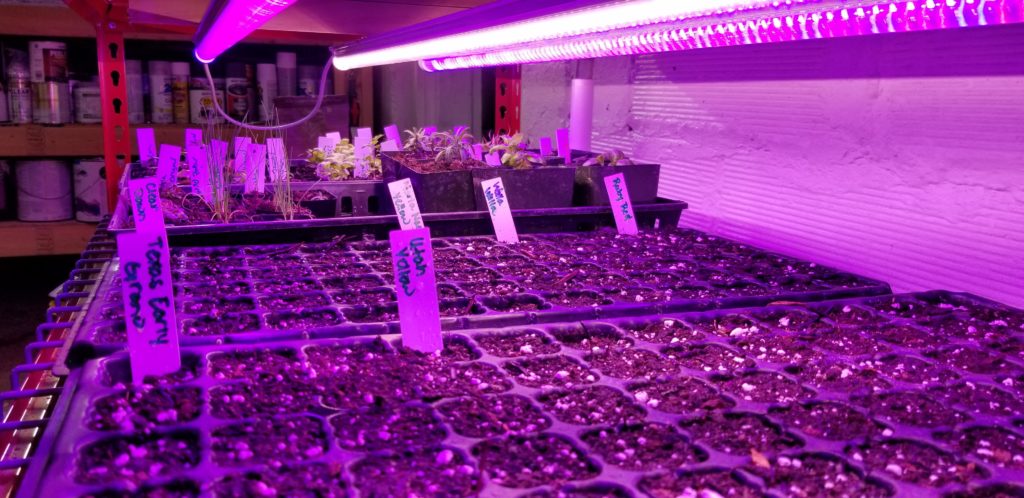
| Fourth Week of March | Tomatoes, Onions, Brussels Sprouts, Cauliflower, Cabbage, Celery, Most non tender herbs | Inside | At this point by germination chamber looks like progression of a forest bare soil to established plants all at once. Things like onions, brussels sprouts, broccoli, cauliflower, celery and herbs will germinate with just supplemental light and require no supplemental heat. |
| Fourth Week of March | Lettuce, spinach, potatoes, radish, peas, beets, carrots, arugula | Outside | At this point, depending on the year, either the last week of March or the first couple of weeks of April I will begin planting the more cold tolerant plants out in the raised beds, the day time sun warms the dirt enough for germination and at this point we are usually safe from a harsh harsh frost. A little snow won’t hurt any of these. Going forward from here I will plant greens and radishes every week or two. |
| Second Week of April | Tender herbs, some flowers | Inside | Anything that should be started six weeks before planting out, its go time. |
| Second Week of April | Non tender herbs | Outside | If you are itching to get things in the ground, depending on the year now can be a good time to get those non tender herbs you started indoors planted. |
| Fourth Week of April | Squash, pumpkins, melons, cucumbers, zucchini, nasturtium | Inside | I feel like starting melons, squash, zukes and cukes inside gives me a two week advantage once I plant them out. I start all of these in peat pots. When I plant them out I will also seed some at the same time. |
| Third Week of May | Everything | Outside | Now is the time I start watching the calendar, once it looks like we are passed the chance of frost and daytime temperatures are up to at least 65°F and the ground is dry enough to work I will plant out everything else including the stuff that was started indoors and the cache of seeds I have been saving, realistically this works out to Memorial Day weekend for us but varies by year. I usually leave space to plant a new planting of corn, snap beans, cukes and zukes every two weeks for the next four weeks, this keeps the harvest going until I bust it up in the fall. |
| Third Week of July | Cabbage, broccoli, peas | Outside | I will usually start a late planting of these in the raised beds to get produce right up until it snows, they are not heat loving but will thrive once it cools off. |
That is a rough timeline, overtime you will figure out what works best in your setup. In addition to the time frame above, if I have started stuff inside, anytime in May the daytime temperature is above 65°F I will move the trays of seedlings outside in the sun during the day. I will start by doing it for a couple of hours and work up to putting them out in the morning when I get up and taking them in at sunset. I try to keep them out of the wind for the first couple of weeks to get acclimated. One other tip for starting things indoors is air movement, have a fan on whenever your lights are on and I recommend a timer for your lights, its consistent and frees you up to worry about everything else.
Equipment
The last thing I wanted to touch on for now is equipment, what do you need to get started? Realistically, something to plant in, potting soil, seeds and a south facing window. If you rely on solely on a south facing window for light I would back all of the seeding times I gave up at least two weeks. If you are just getting started and need a few things, below are a list of items I have added to my collection over the years and am now spoiled with.
- 1020 Trays – depending on where they are I use both 1020 Daisy Trays where I have drainage available and these 1020 Extra Strength Trays from Boot Strap Farmer.
- Seedling Heat Mat – I have these in several sizes, they are indispensable especially when germinating seeds in cooler areas of the house.
- Supplemental Lighting – florescent grow lamps work and I used them exclusively for several years, since then I have had high output bulbs, super fancy high output LEDs and recently have fallen in love with the LED T5/T8 replacements like these. They are inexpensive to run and seem to turn our robust seedlings.
- The final thing is a good timer, I am old school an prefer an analog on but digital one would work just fine.
If you were looking to get started growing your own food this summer and were looking for a place to start, I hope you found something useful and would love to see how it goes. Tag me in your pictures on Instagram as you go or leave a comment below.