The chicken we had for dinner tonight was good, it tasted like the Teriyaki Chicken you would expect, but the sauce on its own was outstanding.  I made the sauce at lunch today and had to deal with the memories the sweet and savory flavor of it all afternoon.  It was most tasty.

Grilled Teriyaki Chicken

So the grilled part was easy throw it on the grill directly over some hot coals just long enough to get sear marks on both sides and then it was off to the other side of the grill to slow cook them to perfection.

The Teriyaki Sauce from scratch was almost as easy as grilling the chicken breasts, once the sauce was made I marinated the chicken in it for a couple of hours before grilling.

Ingredients
1/3 c reduced sodium soy sauce
1/3 c sugar
1/3 c cold water
1 tbsp garlic powder
2 tsp corn starch
1 tsp grated ginger
1/2 tsp red pepper flakes

Instructions
Combine all ingredients except water and corn starch in a small sauce pan.  Combine corn starch and water separately from the rest of the ingredients.  Mix both together in the sauce pan and heat over medium heat until it reaches a boil.   Remove from heat and use immediately or refrigerate and save for later.

This stuff is good, its really good.  I am thinking some Teriyaki Jerky might make an appearance this weekend.

Tagged with: , , , , ,

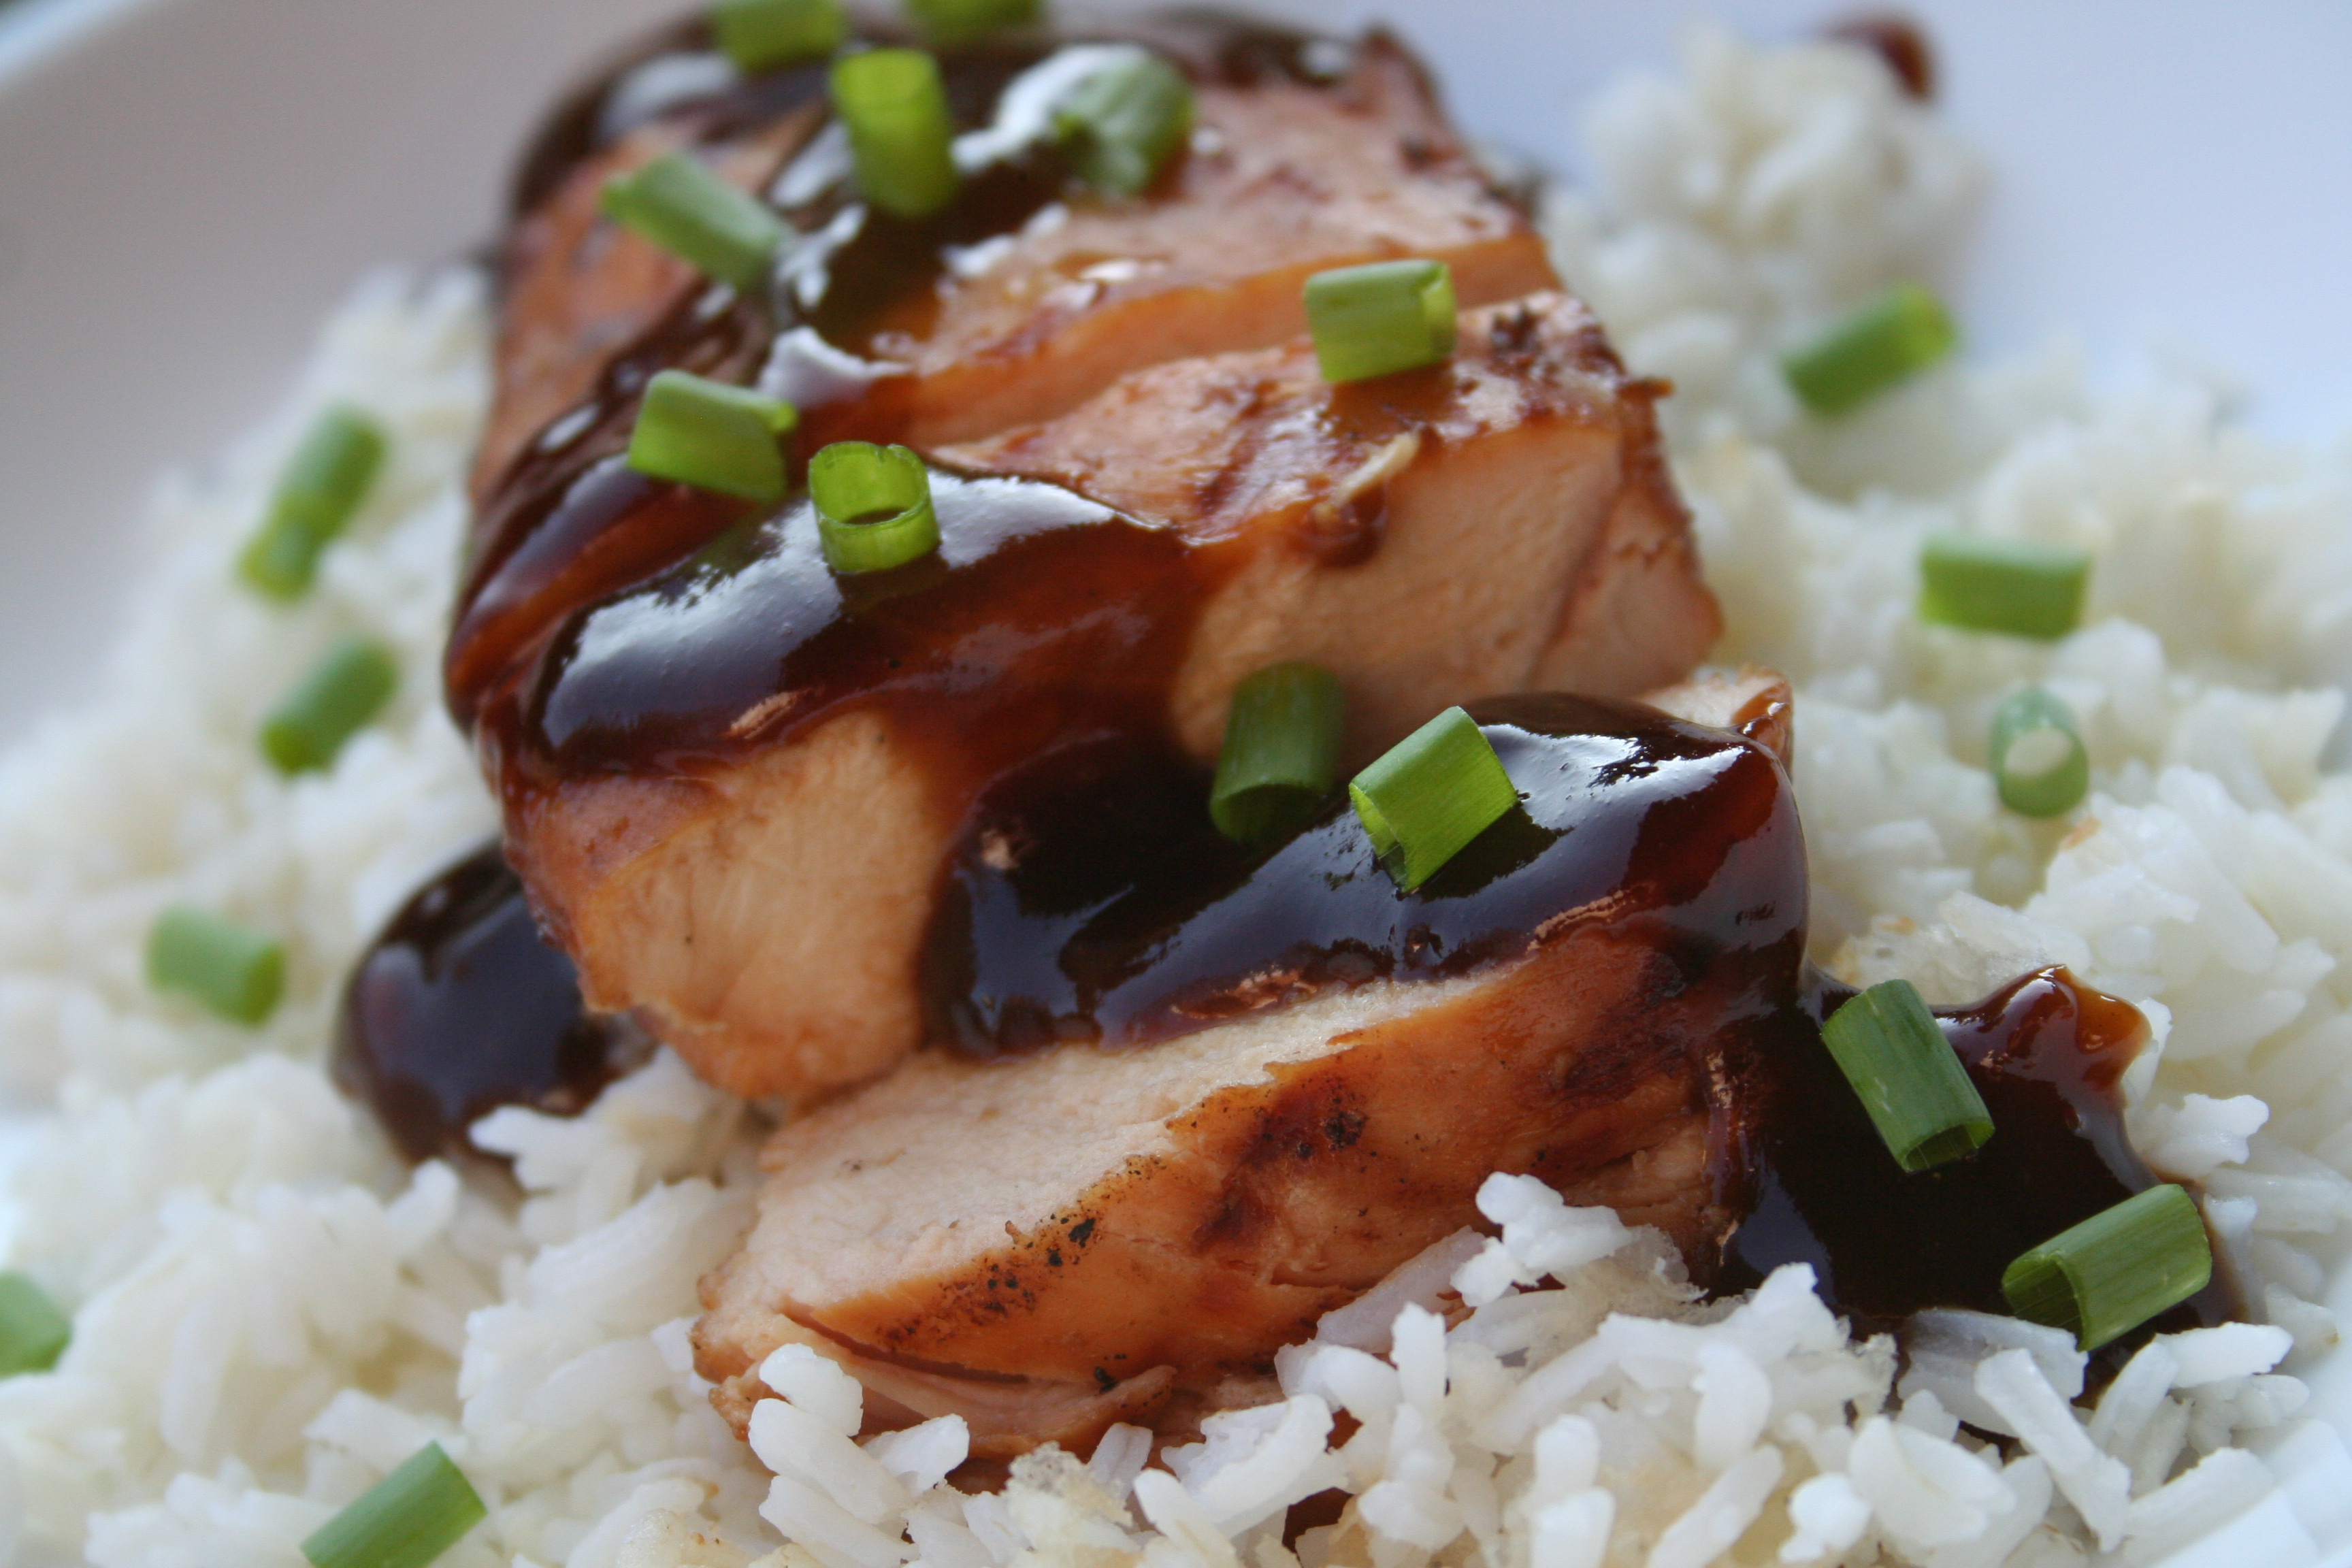
Good BBQ sauce will not rescue a poorly cooked (bad) piece of meat, sure it might add a little moisture but it will still be a bad piece of meat.  With that said, good BBQ sauce will complement a well cooked piece of meat nicely and even make a bad piece of meat desirable, if that sauce is just that good.  Face it no one likes to be seen eating BBQ sauce off a spoon, but this sauce is just that good, you could eat it off a spoon with no meat and other than the looking foolish you would be content.

Apple Smoked BBQ Sauce
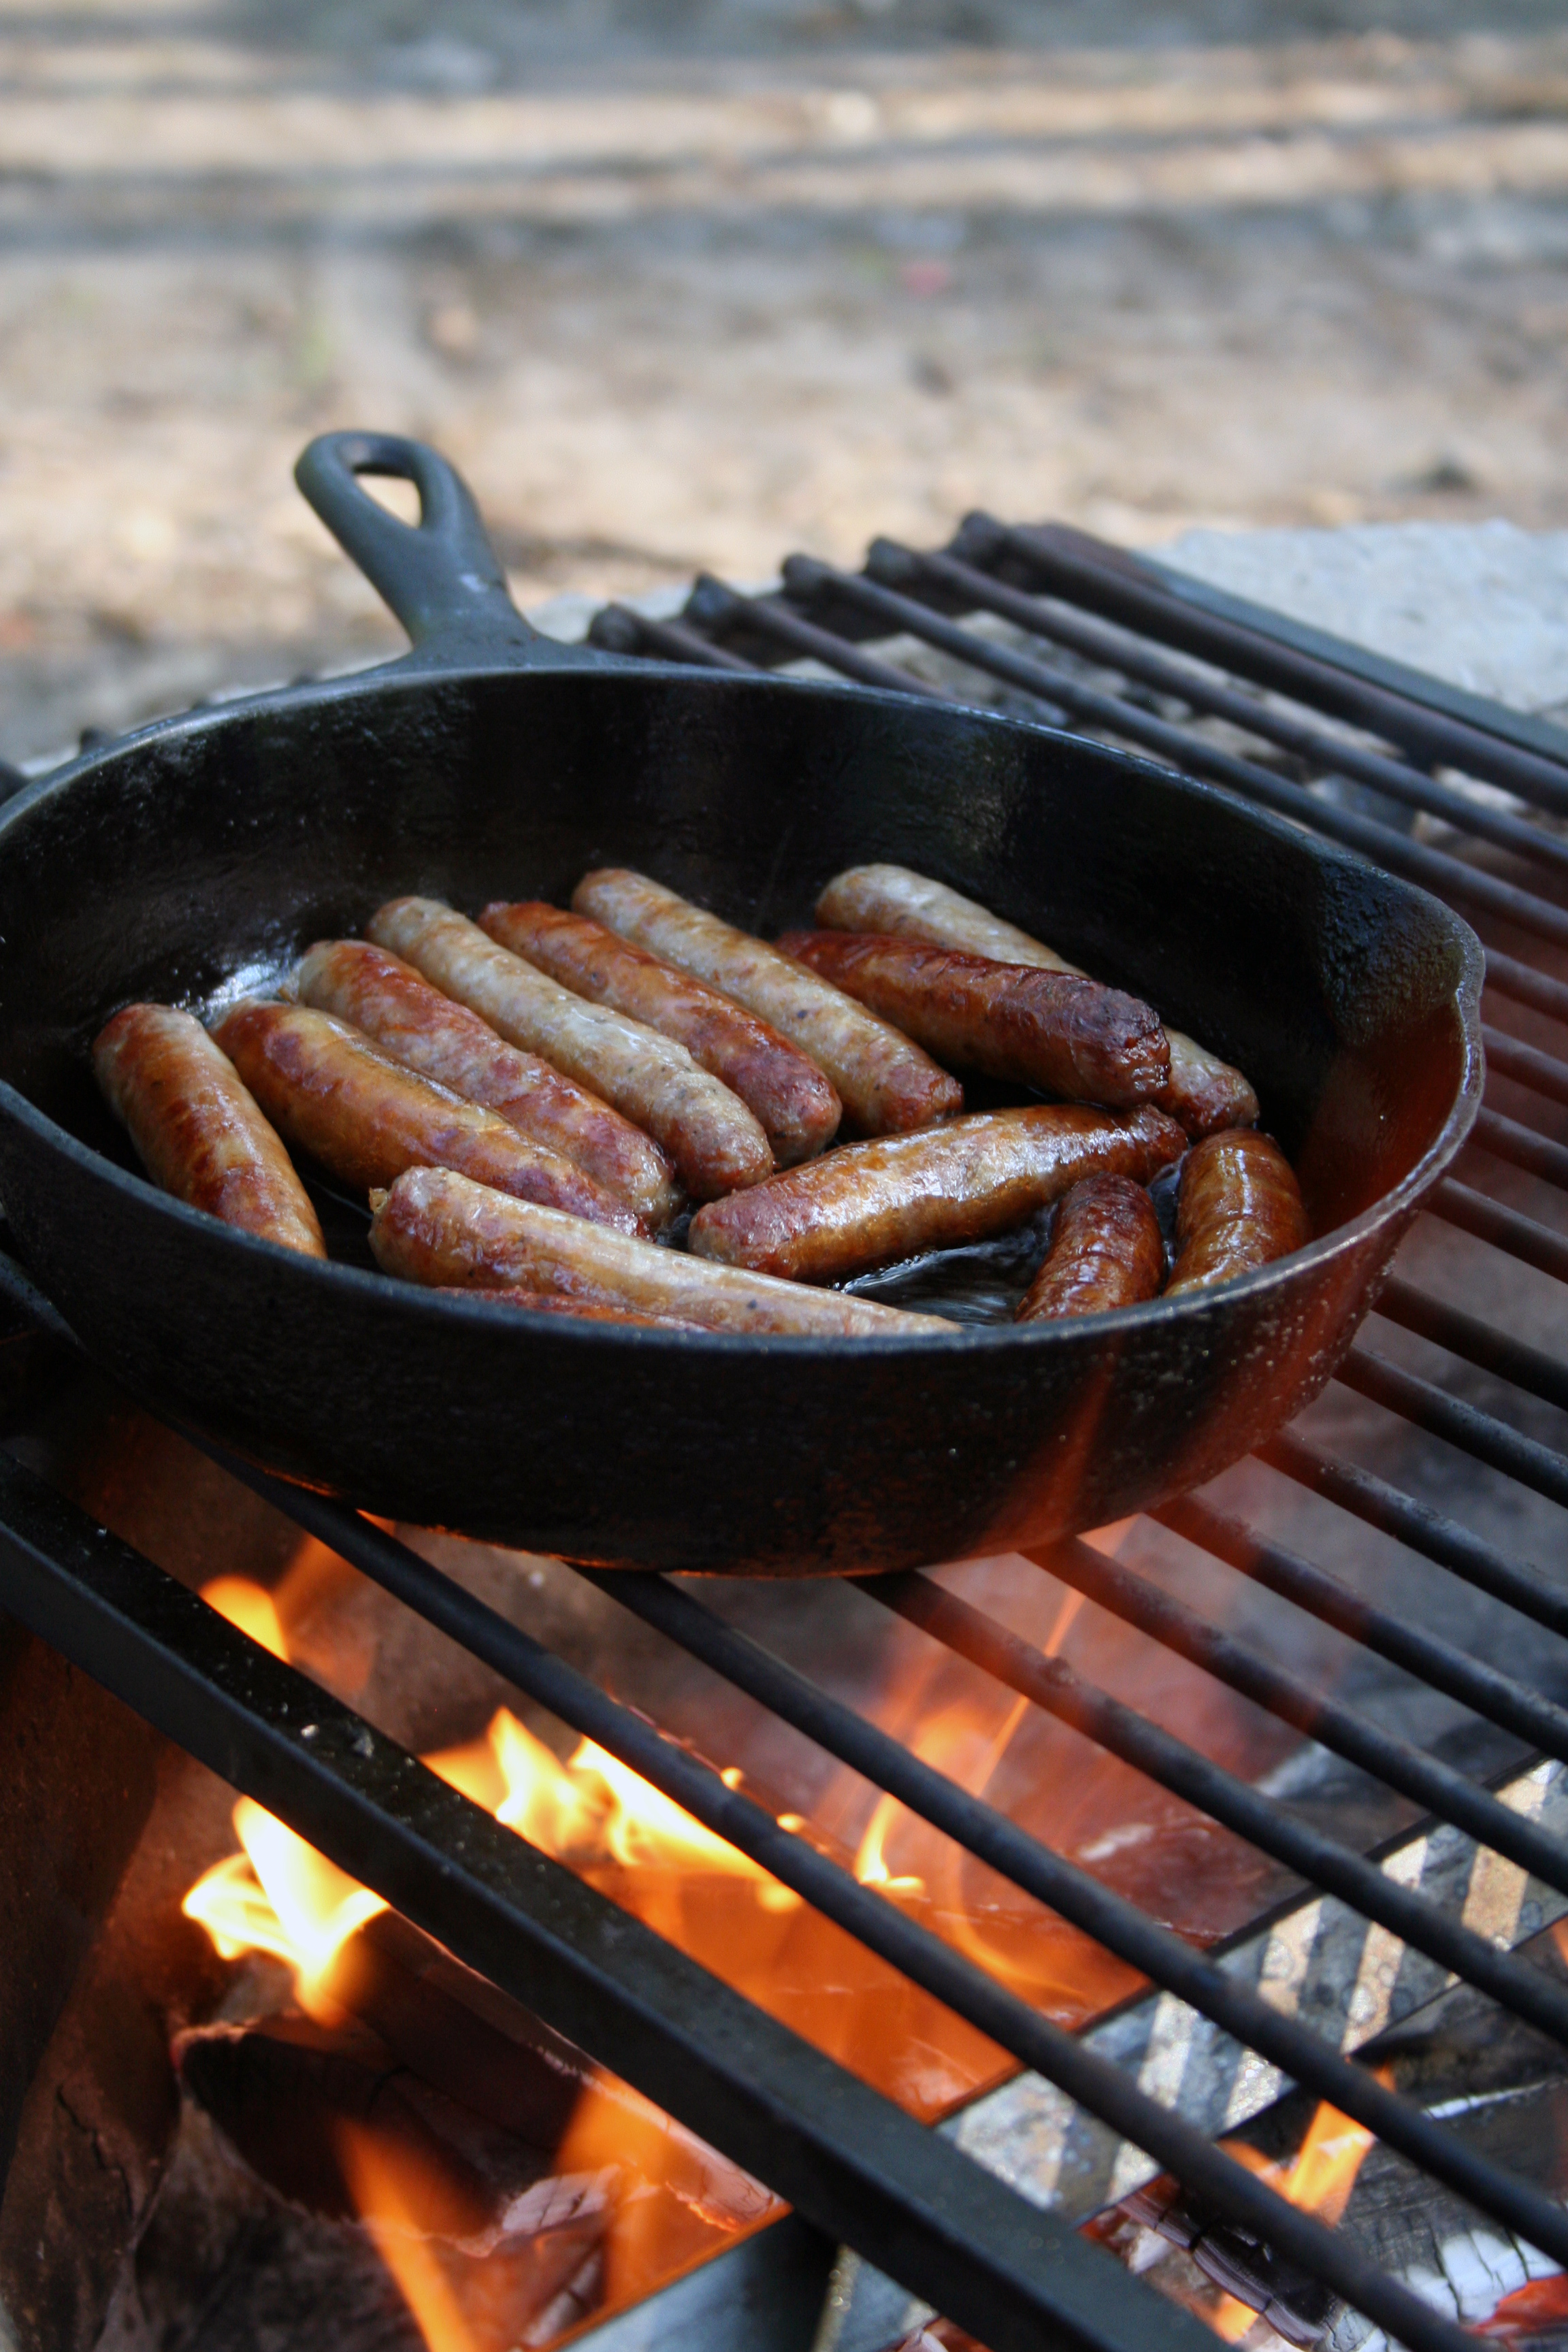
Unlike simply squirting BBQ Sauce out of a bottle this sauce took some work.  It started its journey on the stove in the house, but only long enough to thoroughly mix all the ingredients.  From there it was onto the grill with a huge chunk of hickory to further cook down and get that great smokey flavor that really sets this sauce apart.

BBQ Sauce cooking on the grillOne note about the picture above, even though the chunk of hickory is engulfed in flames in the picture, it did not remain that way once the lid was in place, the rush of oxygen upon removing the lid allowed it to burst into flames.  A chunk of wood in flames like that above will not produce nearly enough adequate smoke to flavor the BBQ sauce properly.

Ingredients
1 15oz can of tomato sauce
2 c apple cider
4 cloves of garlic pressed
2 tbsp red wine vinegar
1 tbsp apple cider vinegar (white vinegar would work as well)
1/4 c brown sugar
1/2 tsp ground black pepper
1 tbsp honey
1/2 tbsp worcestershire sauce
1 tsp chile powder
1 tbsp thickener (cornstarch, flour, etc)

Instructions
Start by combining liquid ingredients in a sauce pan (one safe for the grill) on the stove over medium heat and bringing to a boil.  Stir frequently.  Once the liquid is boiling add in everything else except the thickener, stir and boil until the sauce begins to reduce slightly.  It should smell amazing at this point.  Slowly stir in thickener.  At this point prep the grill (fire up the chimney and get the smoking wood ready) and move the pan to the grill when it is ready and place it on the opposite side of the grill from the heat, add smoking wood and leave to cook uncovered.  Stir the sauce every 15-20 minutes, it should be simmering nicely.  Remove the sauce from the grill when it is thickened to the desired consistency.

It is a tangy sweet BBQ sauce and it is so tasty it has boldness and depth that I have no found in a bottled BBQ sauce and it is pretty simple to make, this is going on the list of favorites.  Before cooking the sauce I did wipe the inside of the pan down with a thin film of canola oil to make cleanup simpler, and it helped, the baked on sauce just came off under the faucet and the scrubbing was minimal.  Just be sure to use a pan you can live with being a slightly different color when you are done on the outside.

Tagged with: , , ,

Cooking over an open fire is an experience that draws on our most primitive abilities and its quite refreshing to just step back and cook like a caveman or nomad or whatever other people cook on an open fire routinely.

Cooking on an open fire is not that difficult, it may seem intimidating at first, but, the most difficult part is finding a time and place to do it.  It does take a little more time than just firing up the stove but like I said it is rewarding.

Sausages on an open fire

The requirements are also quite sparse, you will need not much more than you would to make a normal breakfast on the stove.  You will need a cast iron skillet, some hardwood, a rack to suspend the skillet above the fire and some patience.  We had a fire the previous night so I woke up to some yet hot embers which I arranged in the pit, piled on some crumpled newspaper and some scraps of wood and blew on the embers until I had a flame.  At which point I nursed the fire with some hardwood until it had burned down into a nice consistent bed of coals that covered an area about twice the size as my skillet.  Once this was accomplished I chopped some of the remaining bits of hardwood into smaller pieces of wood, to be able to throw them onto the bed of coals to get more heat as needed.

After this I put the rack over the pit and placed the skillet on it with a bit of oil and added some sausages, cooking them until they were done and then it was onto pancakes and eggs in the same method.  The eggs were actually cooked in the sausage grease which made them all the better.  Several times throughout the cook more scraps of wood (kindling) were added to the coals to get more heat.  It worked great.

Cooking like a caveman is a great way to step back and just focus on cooking.  Focusing on the heat and the food.  It was great.  It reaffirms reason #2 of the 10 reasons to have a cast iron skillet.

Tagged with: , , ,

Tonight we took pizza to a new level, we grilled it, this is more my style.  Nothing gives pizza the flavor and texture of a hot wood fire and the closest I can get here in our condo complex is pizza on the grill with hickory cooking chunks.  That is just what I did.

Pizza on the grill

Because we were out of pizza sauce and pepperoni we had to improvise and ended up making a pizza with chicken, spinach, basil and olive oil.  We then finished it with a balsamic reduction my wife whipped up.  It was light and most tasty.  The wood smoke flavored the cheese and crust nicely, it complimented the strong flavors of the basil and the dry heat and free flowing air from the grill gave the pizza a nice crispy crust .

So here is how I did it, I cheated, I first pre-heated the stone in the oven at 500°F for about an hour.  While I did this I got the grill ready with half charcoal – half hickory chunks; spreading the coals evenly around the charcoal grate.  I then cooked up a chicken breast, I had marinaded the chicken over night in a combination of 3 tablespoons of olive oil, a clove of pressed garlic and a teaspoon of paprika.  My wife wilted spinach and fresh basil leaves from our patio with some olive oil and pressed garlic.  Once the chicken was cooked up, I sliced it up, rolled out the dough onto my pre-heated pizza stone.  I then brushed the crust with olive oil, topped with the spinach-basil mix and cheese.  Then it was onto the grill for about 15 minutes.  At this point the charcoal had passed its prime so it took more time than I would have liked, but it was worth it.

Our grilled pizza

So in the end we had two verdicts, I thought the grilled dough was much better than that baked in the oven.  My wife however would rather have the crust baked in the oven.  So what was the difference?  The pizza from the grill had a nice, crispy and slightly burnt crust.  Burnt in this case is not a bad thing, it was just lightly charred in the center on the bottom.  The pizza from the oven was much more moist and the crust was not nearly as crispy.  The crust from the oven also lacked the flavor the grilled pizza got from being exposed to the fire and smoke of burning wood.  If it was up to me we would be done eating pizza from the oven and keep the heat outside, and get a better flavored crispier crust from the grill.

Tagged with: , , , , , , ,

For some reason on the way home from work today I had an urge for some pineapple glazed grilled chicken, which was strange because I have never had pineapple glazed grilled chicken in my life.   Now I have had grilled pineapple, which I like and grilled chicken, which without variety is boring.  So I gave it a whirl and came out on the other side with a sweet, tasty and relatively quick recipe, I am going to be holding onto.

Pineapple Glazed Grilled Chicken and Pineapple on the grill

Ingredients
2 chicken breasts
1 can of pineapple slices
2 tbsp dijon mustard
1/2 tsp ground dried ginger
1 tsp curry powder
1/4 tsp cayenne
2 tbsp honey
1 tbsp brown sugar
1-2 tbsp corn starch

Instructions
Start by draining pineapple and reserving juice.  Combine juice, mustard, ginger, curry powder, cayenne, honey and brown sugar in a small pot and heat over medium to a boil, stirring constantly.  Slowly add in cornstarch until it thickens to a maple syrup consistency.  Remove from heat and set aside.  Get the grill ready, when it is at a medium/medium high temperature lube the grate with vegetable oil and start grilling the chicken.  When the chicken is about 5 minutes from done (use your own judgment), add pineapple to grill and brush with glaze.  Then brush chicken with a generous amount of glaze on both sides.  Flip pineapple and brush the other side with glaze.  Use the remaining glaze on the chicken remove both chicken and pineapple when done.  Eat chicken piled high with pineapple.

I ate mine with a healthy portion of spinach salad with mandarin oranges, grilled pineapple, bacon and raspberry vinaigrette.

Tagged with: , , , , , ,