Wow, its been that long since my last post?!  I have been sorely neglecting my poor blog and almost as much my taste for food!  Well alot has happened since September, for one, last December we packed up all of our stuff and put it in a storage unit (or three) and that includes my beloved smokers – so I have been without my arsenal for nearly 7 full months now and it has been difficult.  We find ourselves living with my in-laws while we are in limbo between our condo and our future home (which we are still looking for) and our stuff is far away.  But, lucky for me my father in law has a nice gas smoker, unlucky for me today’s weather calls for severe storms and strong winds all day.

But let me back up, what in the world do I even need a smoker for today?  Well as it turns out my brother is getting married next weekend (congratulations Dan) and I being ever so thoughtful forgot he may need a stag party before he enters into wedlock and so we find ourselves in need of some grub.  So I find myself up against the wall we are out with friends tonight and then tomorrow its stag party time.  Dan is pretty simple in his tastes but ribs are one thing he likes and one thing I like to make.  So ribs it is, nothing special, usual rub and smoked using the 2-2-1 method (they are baby backs, for regular ribs the 3-2-1 method) but with the stinking gale happening outside my window using the gasser was out of the question, I would spend more time relighting the burner than actually cooking.  So that left me with the charcoal, which would take more care than I could give it today or the gas grill…winner winner chicken pork dinner.

Now I have heard that some of you (you know who you are) will take a rack of ribs and put it into a crock pot and turn it into gray mush and then top with some sauce, the words I have are not kind.  Well no more!  There are no longer excuses, today we will learn how to make ribs on the grill that are just a fuzz less awesome than those off a smoker, after all the one on the smoker get cool points.

Before we can figure out how to cook them on a grill we need to know what makes ribs so special in a smoker, there are a couple of things they are low heat for a long period of time, moisture from the water pan (personal opinion here) and smoke – after all it is a smoker.  These are the things we will need to replicate in the grill.

Ribs on a gas grill, smoked

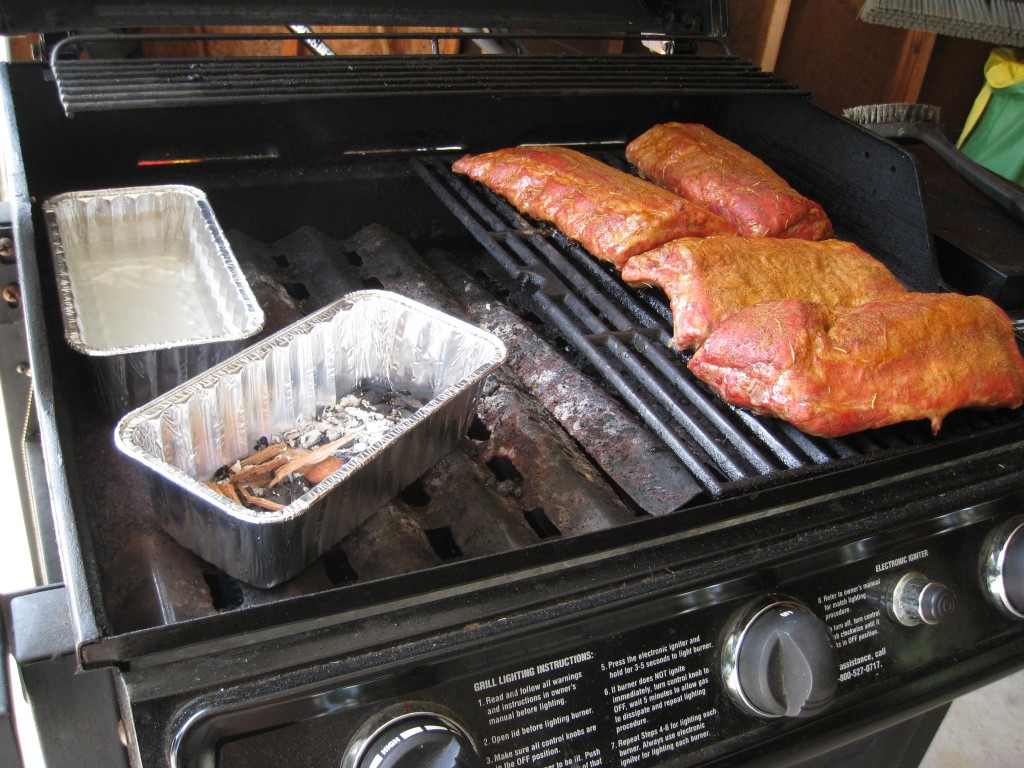
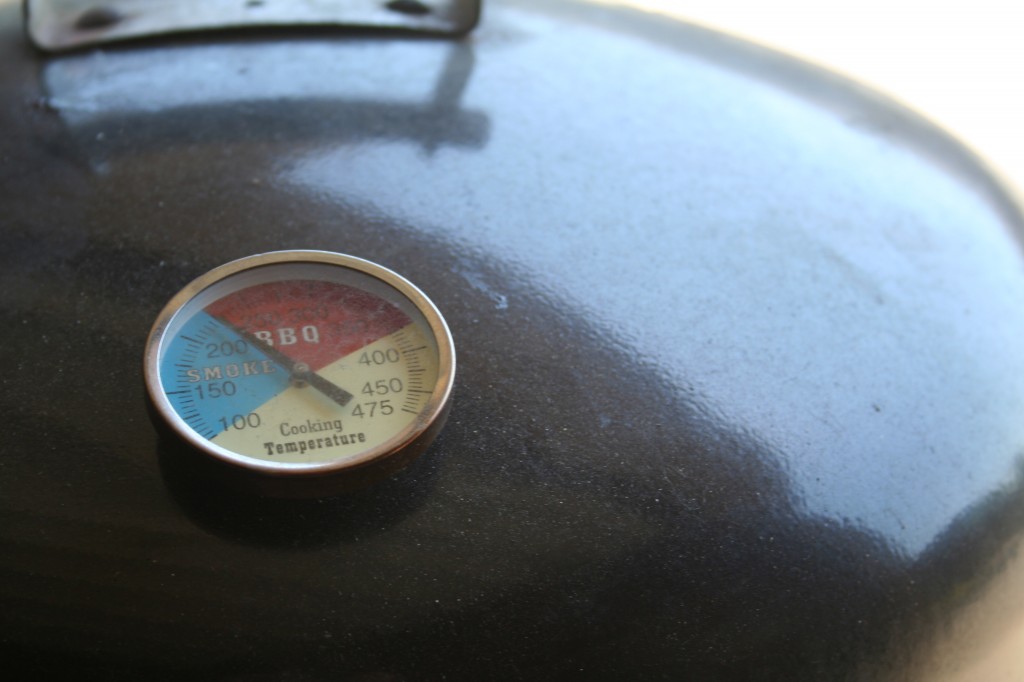
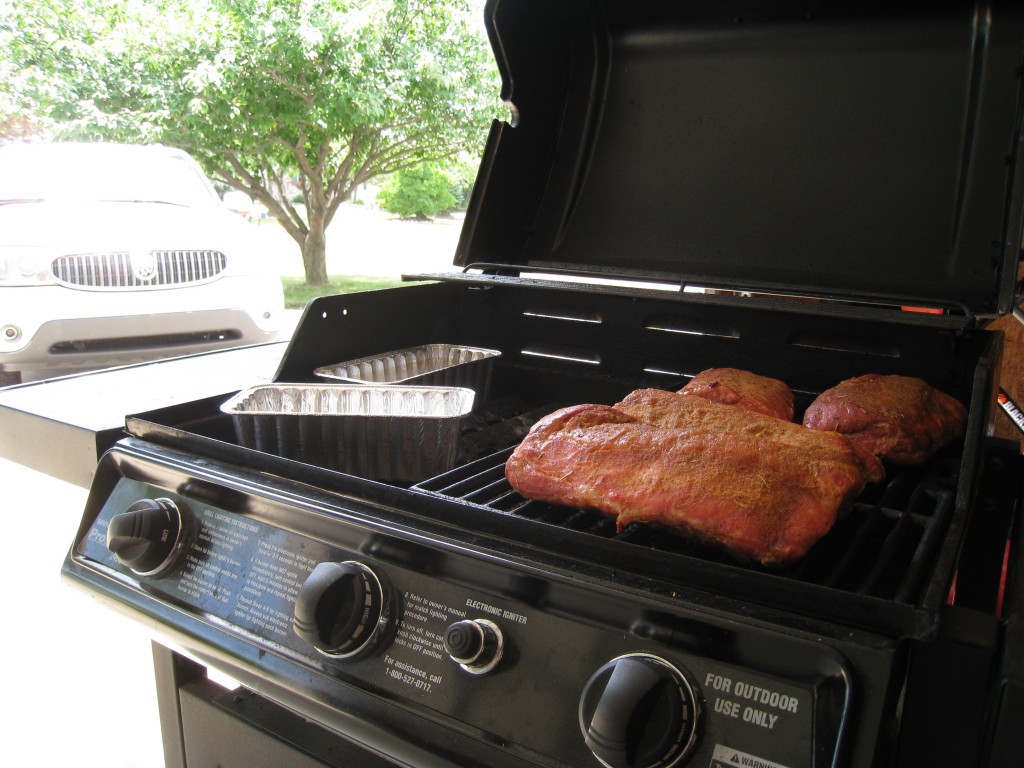
The first and arguably the most important, or at least a close second piece of the equation to replicate is the low heat for long periods of time – I can hear you now, “…in a crockpot…” Gross!  Anyways so to do that we will only be using one burner (your grill may be different), you will notice in the picture above that the two burners closest to the camera are turned off and just the one is on.  Doing this I am able to maintain a nice 225-250°F cooking temperature (stinking wind, it would be easier without the gales) without much effort.  So that was easy figure out where the grill can happily hold our temperature and leave it there, or at least until you are positive you need to adjust and KEEP THE LID CLOSED!

Grill smoked ribs, water pan and chips

Next there is the smoke and well the water, they are pretty similar so I will cover them together.  The first thing you will need are a couple of foil pans that will fit in your grill, unless you want use your good pans then by all means cast iron would be better.  Take the grate out of your grill if it has the little under grate, sometimes called flavor bars, and set the foil pans directly over the burner you will be cooking with – fill one with water and line the bottom of the other with wood chips soaked in water.

Finally add ribs and cook as if it were on a smoker.  Just like a smoker you will have to refill the water and the smoker chips as needed.  Cook and enjoy, use your crockpot for soup and taking things to potlucks, where with any luck someone will steal it.

Tagged with: , , , ,

Ribs, everybody wants to make some and a lot of people are not sure how.  Well like most meat low and slow will give you a juicy and fall off the bone tender result.  But with ribs there is something special that needs to happen.  I like typically like to stick with larger cuts of meat but no man could claim to be even a novice of the BBQ without having ribs tucked away firmly in his belt.

Rack of ribs

Like most chunks of meat I smoke the ribs started out the night before with a trimming, which I historically do a less than professional job at.  From there I wash the ribs and pat them dry with paper towels and then rub them.  Typically rubbing is a two part process.  The first is to coat them in mustard or some other liquid to help the rub stick and the second is the rub them with your rub.  How much is up to you, ribs have a delicacy to them that is easily over powered with too much rub.  Once this is all done is into the fridge in a sealed container to think about what they have done.

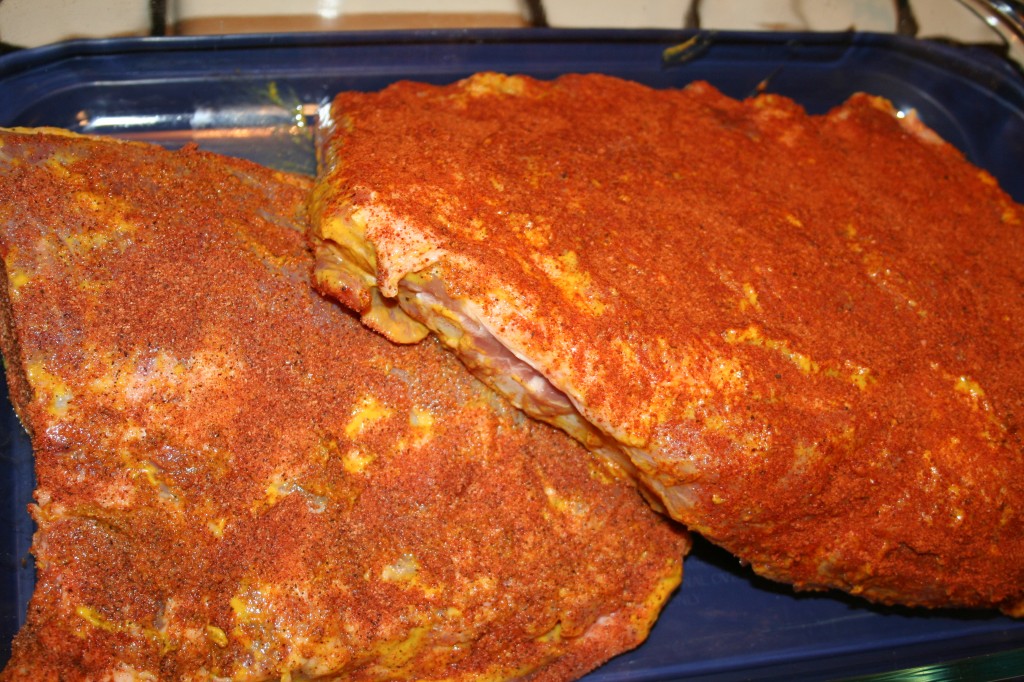
Freshly rubbed spare ribs

The meat (ribs) in the picture above were rubbed with two different rubs.  After a nights worth of sitting in the rub or a couple hours if that is all that is available I get the smoker ready.  I boil some water in my kettle for my water pan to speed up the preheating process and get my wood for the day ready.  Once the smoker has reached that magical temperature of 225°F it is ready for some meat.  So I lube my grate with some oil, its a habit and then throw the meat on and let the smoke start rolling.

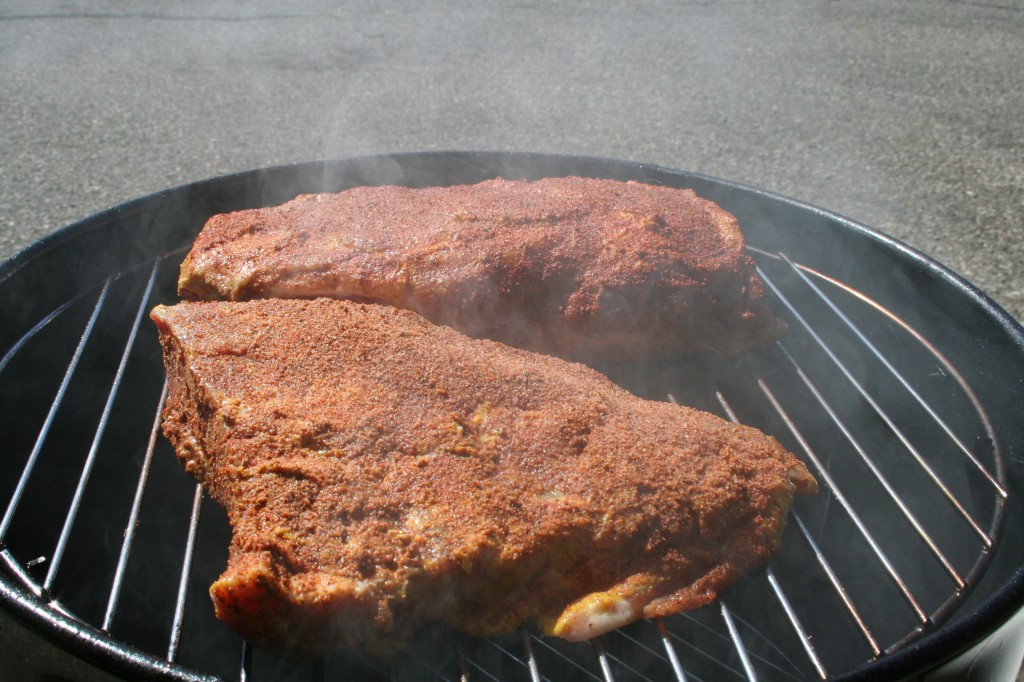
Ribs just on the smoker

When smoking ribs I use the 3-2-1 Rib method, which is not my invention but seems to work quite well and is easy to remember.  The first stage is to smoke the ribs for about 3 hours.  The time is not nearly as important as is the appearance at this point.  Once the meat begins to pull away from the bone and has pulled back about a 1/4 inch it is time to move onto step two.

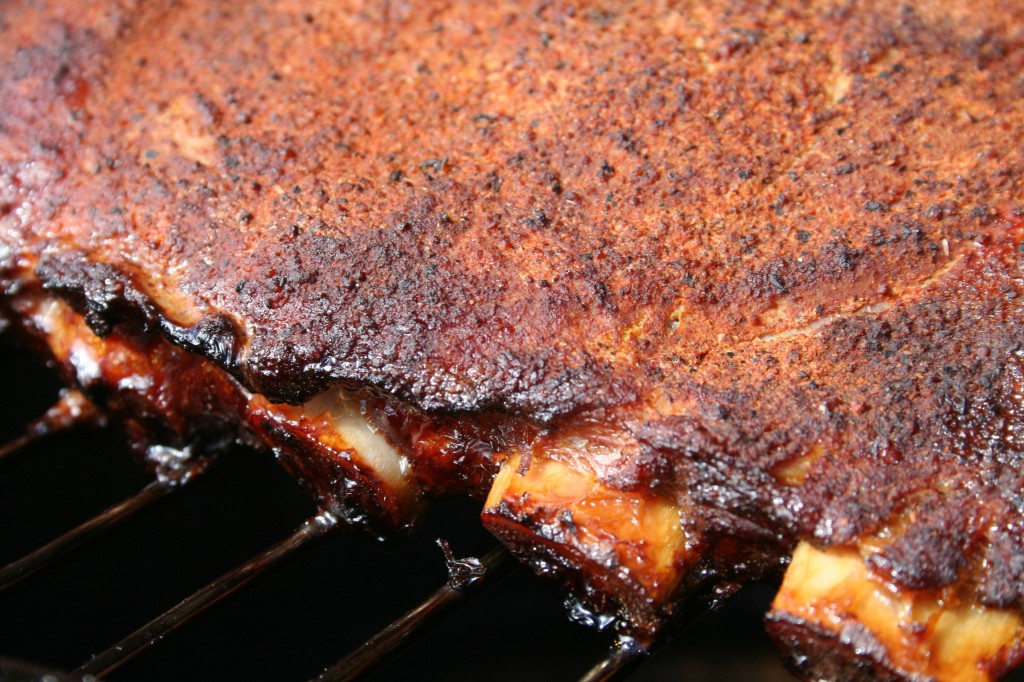
Ribs at the end of stage 3

Once your ribs are looking like these it is time to move on to step two.  Stage two is kinda hard to swallow at first, I mean I just wanna continue to flood my ribs with smokey flavor but its time to pull back for a few.  In stage two its all about time, take the ribs off the smoker and wrap them in foil with a little apple juice.  I am not sure how much apple juice I use it depends on the meat and what looks good.  You could certainly substitute some other liquid here the goal is just to provide the ribs with some moisture while they are in the foil.  Throw the ribs wrapped in foil back on the smoker for two hours and let the magic happen.  During this time the ribs are soaking up the juice and getting their fall of the bone tender status.  There is no need to supply smoke during this period.

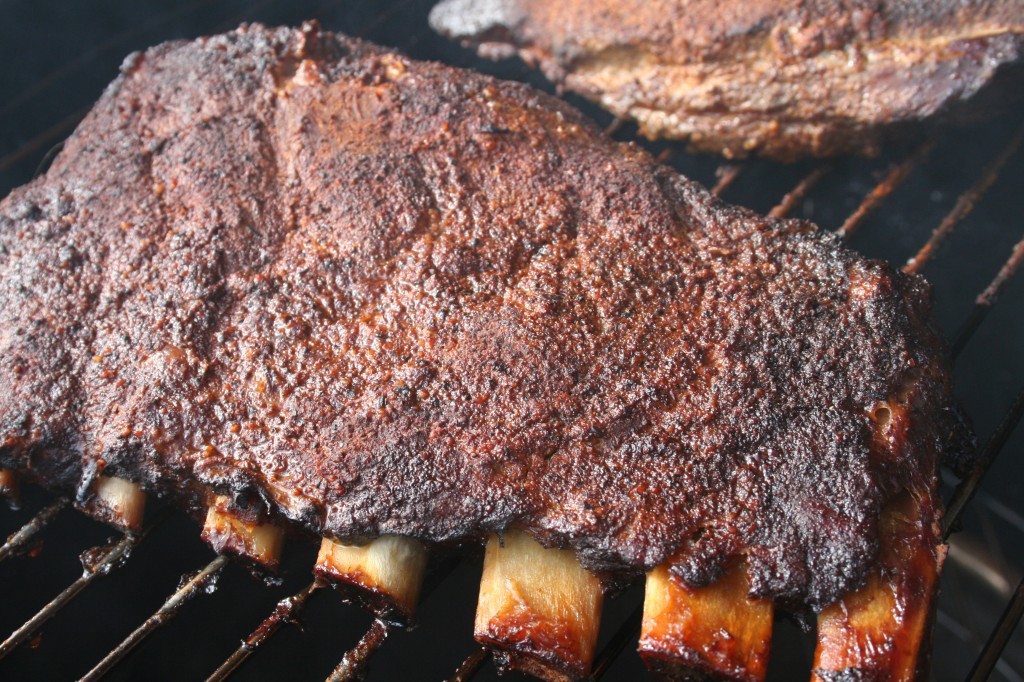
Ribs after stage 2

After two house in stage two remove the ribs from the foil and place them back on the smoker grate and get the smoke rolling again.  It might be time to check that water pan too.  The ribs should look like those above at this point, shrinkage has occurred and they looking kinda mushy.  That is where the final stage of the 3-2-1 method comes in smoke them until they reach 172°F in the thickest part of the meat.  This should take an 45 minutes to an hour.  If you would like to add BBQ sauce during the last 15 minutes on the smoker is the time to do this.

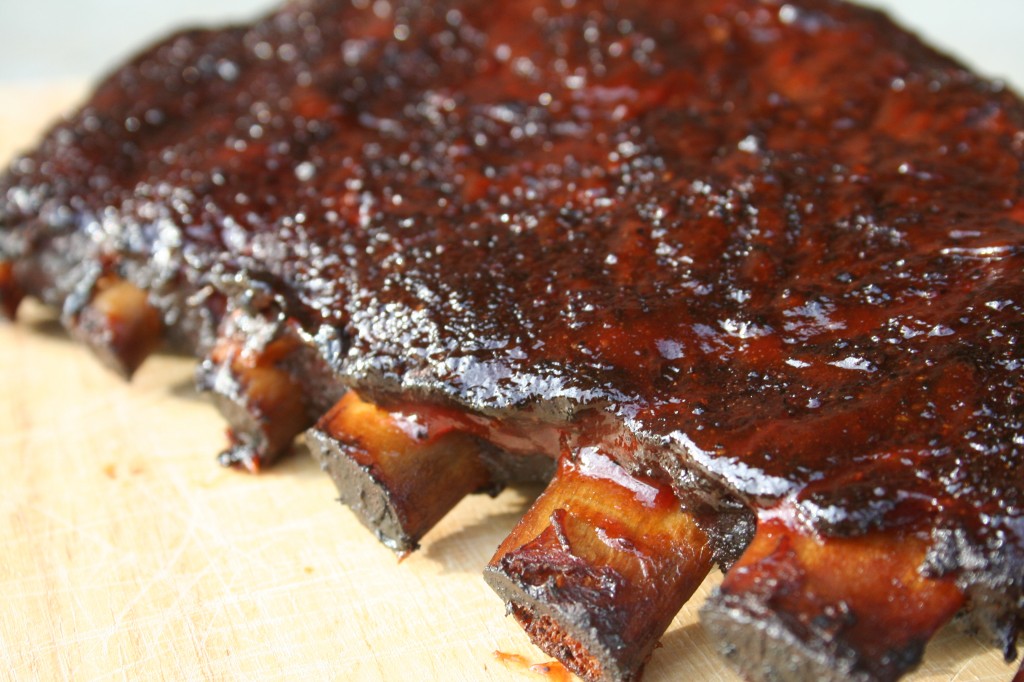
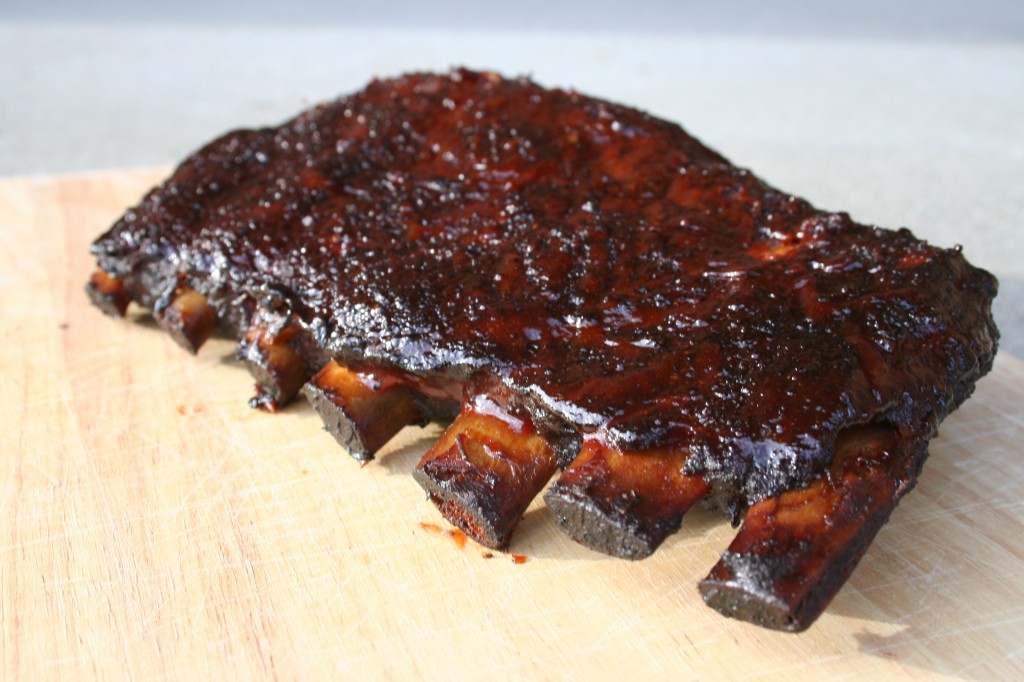
Ribs cooked to perfection

Once the ribs are done pull them off the smoker and let them rest for 15 minutes on the counter.  During this time the juices will redistribute and you will be glad you waited.  Serve and enjoy.

The 3-2-1 method assumes you are dealing with spare ribs.  If you find yourself with baby back ribs you will be looking at something more like the 2-2-1 method, just be sure to be more attentive to the meat an hour earlier with baby backs.

As with most other pork I prefer to mix apple and hickory for my ribs, gives them an excellent flavor.

Tagged with: , , , , , , , , , , ,

So today I decided I was going to try a new rub on some chicken breasts and smoke them up over some apple and hickory wood.  And that is when it happened, I got cocky and ruined a today’s smoke.  I decided I didn’t need the rack over the water pan, I didn’t want to have to clean another rack, one is enough. I was going to have some delicious chicken breasts for dinner, but ended up with Subway.

Here is how it happened, the chicken was cooking along and I had basted it with some bbq sauce and honey.  I then allowed it to come up to temperature and was ready to remove it and that is when it happened.  I pulled the lid off and somehow the rack swung around and dumped my delicious looking chicken in the water pan.  Which was disgusting, so I threw it away, but not without trying it first.  It was incredible, so look for that in the next couple of weeks I have a special rub I made for it that is tasty.

So with all of that aside I did take lots of pictures along that way and thought this would be an excellent opportunity for a smoking primer using the tools and methods I use. I am working with a Brinkmann Gourmet (Charcoal), I also have the electric version of the same but opted to go with the charcoal one today.  I didn’t use the charcoal portion of it I used my propane after burner.  Smoking with propane is easy, this was a worth while mod for easy smokes, almost so easy it takes away some of the challenge; light it and find the temperature and away you go.

Well its not that easy so here is the easy to get going guide, I am sure I will adopt my process as I get more experienced in smoking but until then here is how I do it.

Getting fire started and the smoke rolling

Getting the fire started is easy turn on the gas and light it up.  Getting the smoke started with this set up is almost as easy.  I have an old large tomato juice can I set over the flame on the rest built into the after burner.  Once the can is in place I add my wood chips or chunks, depending on what I have on hand.  I do not soak my wood.  I don not add all the wood for my smoke at once but I add it throughout the smoke.

The burner and the smoke can

Regulate the temperature

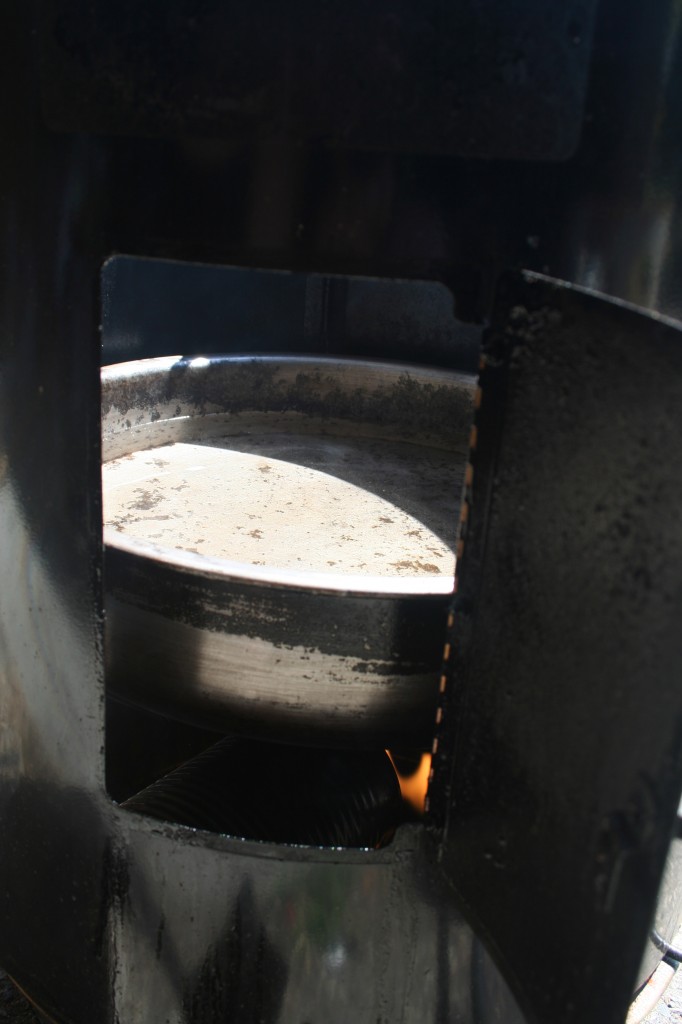
I start by putting the rest of the smoker on the burner and then adding the water pan and water to the water pan.  I like to boil my water on the stove prior to adding it to the watering pan.  It helps to bring the temperature up quicker.  I add enough water to fill the pan up to about 1 inch from the top of the water pan.  For short smokes, less than 4 (at 225°F) hours this is usually plenty of water.  For longer smokes keep an eye on the water pan.

The full water pan in the smoker

Once the water pan is full, I start out with the burner on its lowest setting and work my way up to the sweet spot for most hot smoking, 225°F.  It is important to keep on eye on the temperature during the smoke since things such as ambient temperature, sun and wind can directly impact the temperature of the smoker with the same burner setting.

The Smoking Sweet Spot

Adding the meat

Now for the best part, add the meat.  Well not so fast, first I oil up my rack with canola or olive oil to make sure the meat doesn’t stick and to make clean up much easier.  Then its on with the meat and throw the rack in the smoker.  Now is an opportune time to insert an electric remote thermometer if you are using one.  Replace the lid and get smoking!

Meat on the Smoker

Final notes

Once you temperature has evened out and settled where you want it and the smoke is rolling nicely, you job is not done.  Check back frequently, make sure the smoke is still flowing, the water pan has plenty of water or at least is not dry and the temperature is right where you want it.  Smoking is not a fire and forget task, it requires frequent attention to deliver a consistently fantastic result.

Tagged with: , , , , , ,