Smoking and grilling are expensive habits. Not only do you get to cook some prime cuts of meats occasionally but there are lots of gizmos and toys that make smoking so much more cool easier and more consistent. But perhaps the most important aspect of all of these are those gizmos that help me know when my food is done! And for that I rely on my thermometer(s).
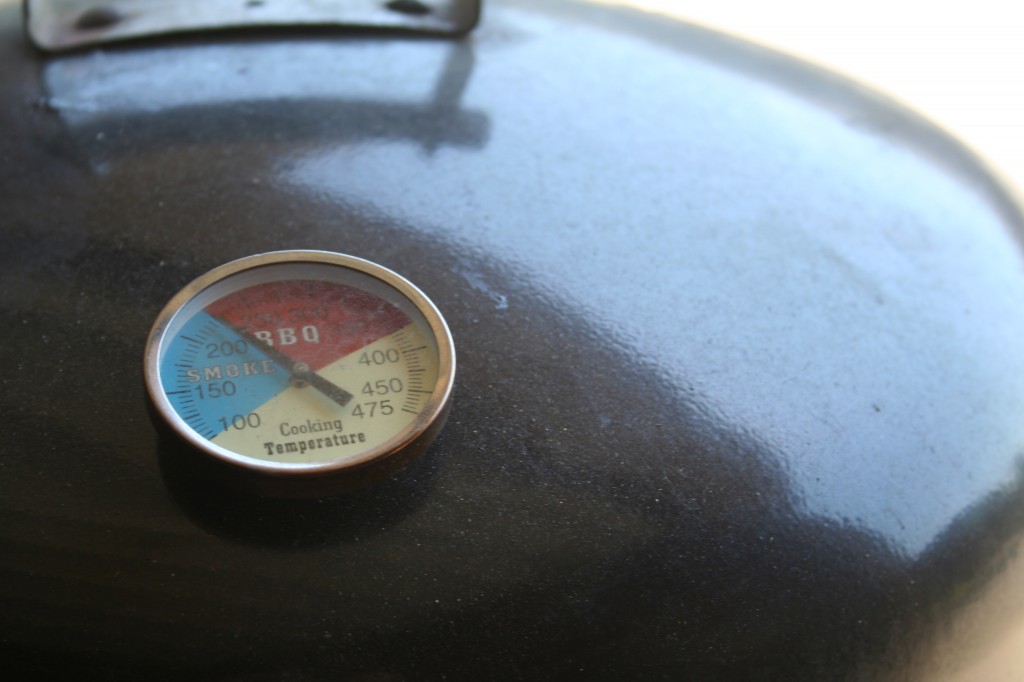
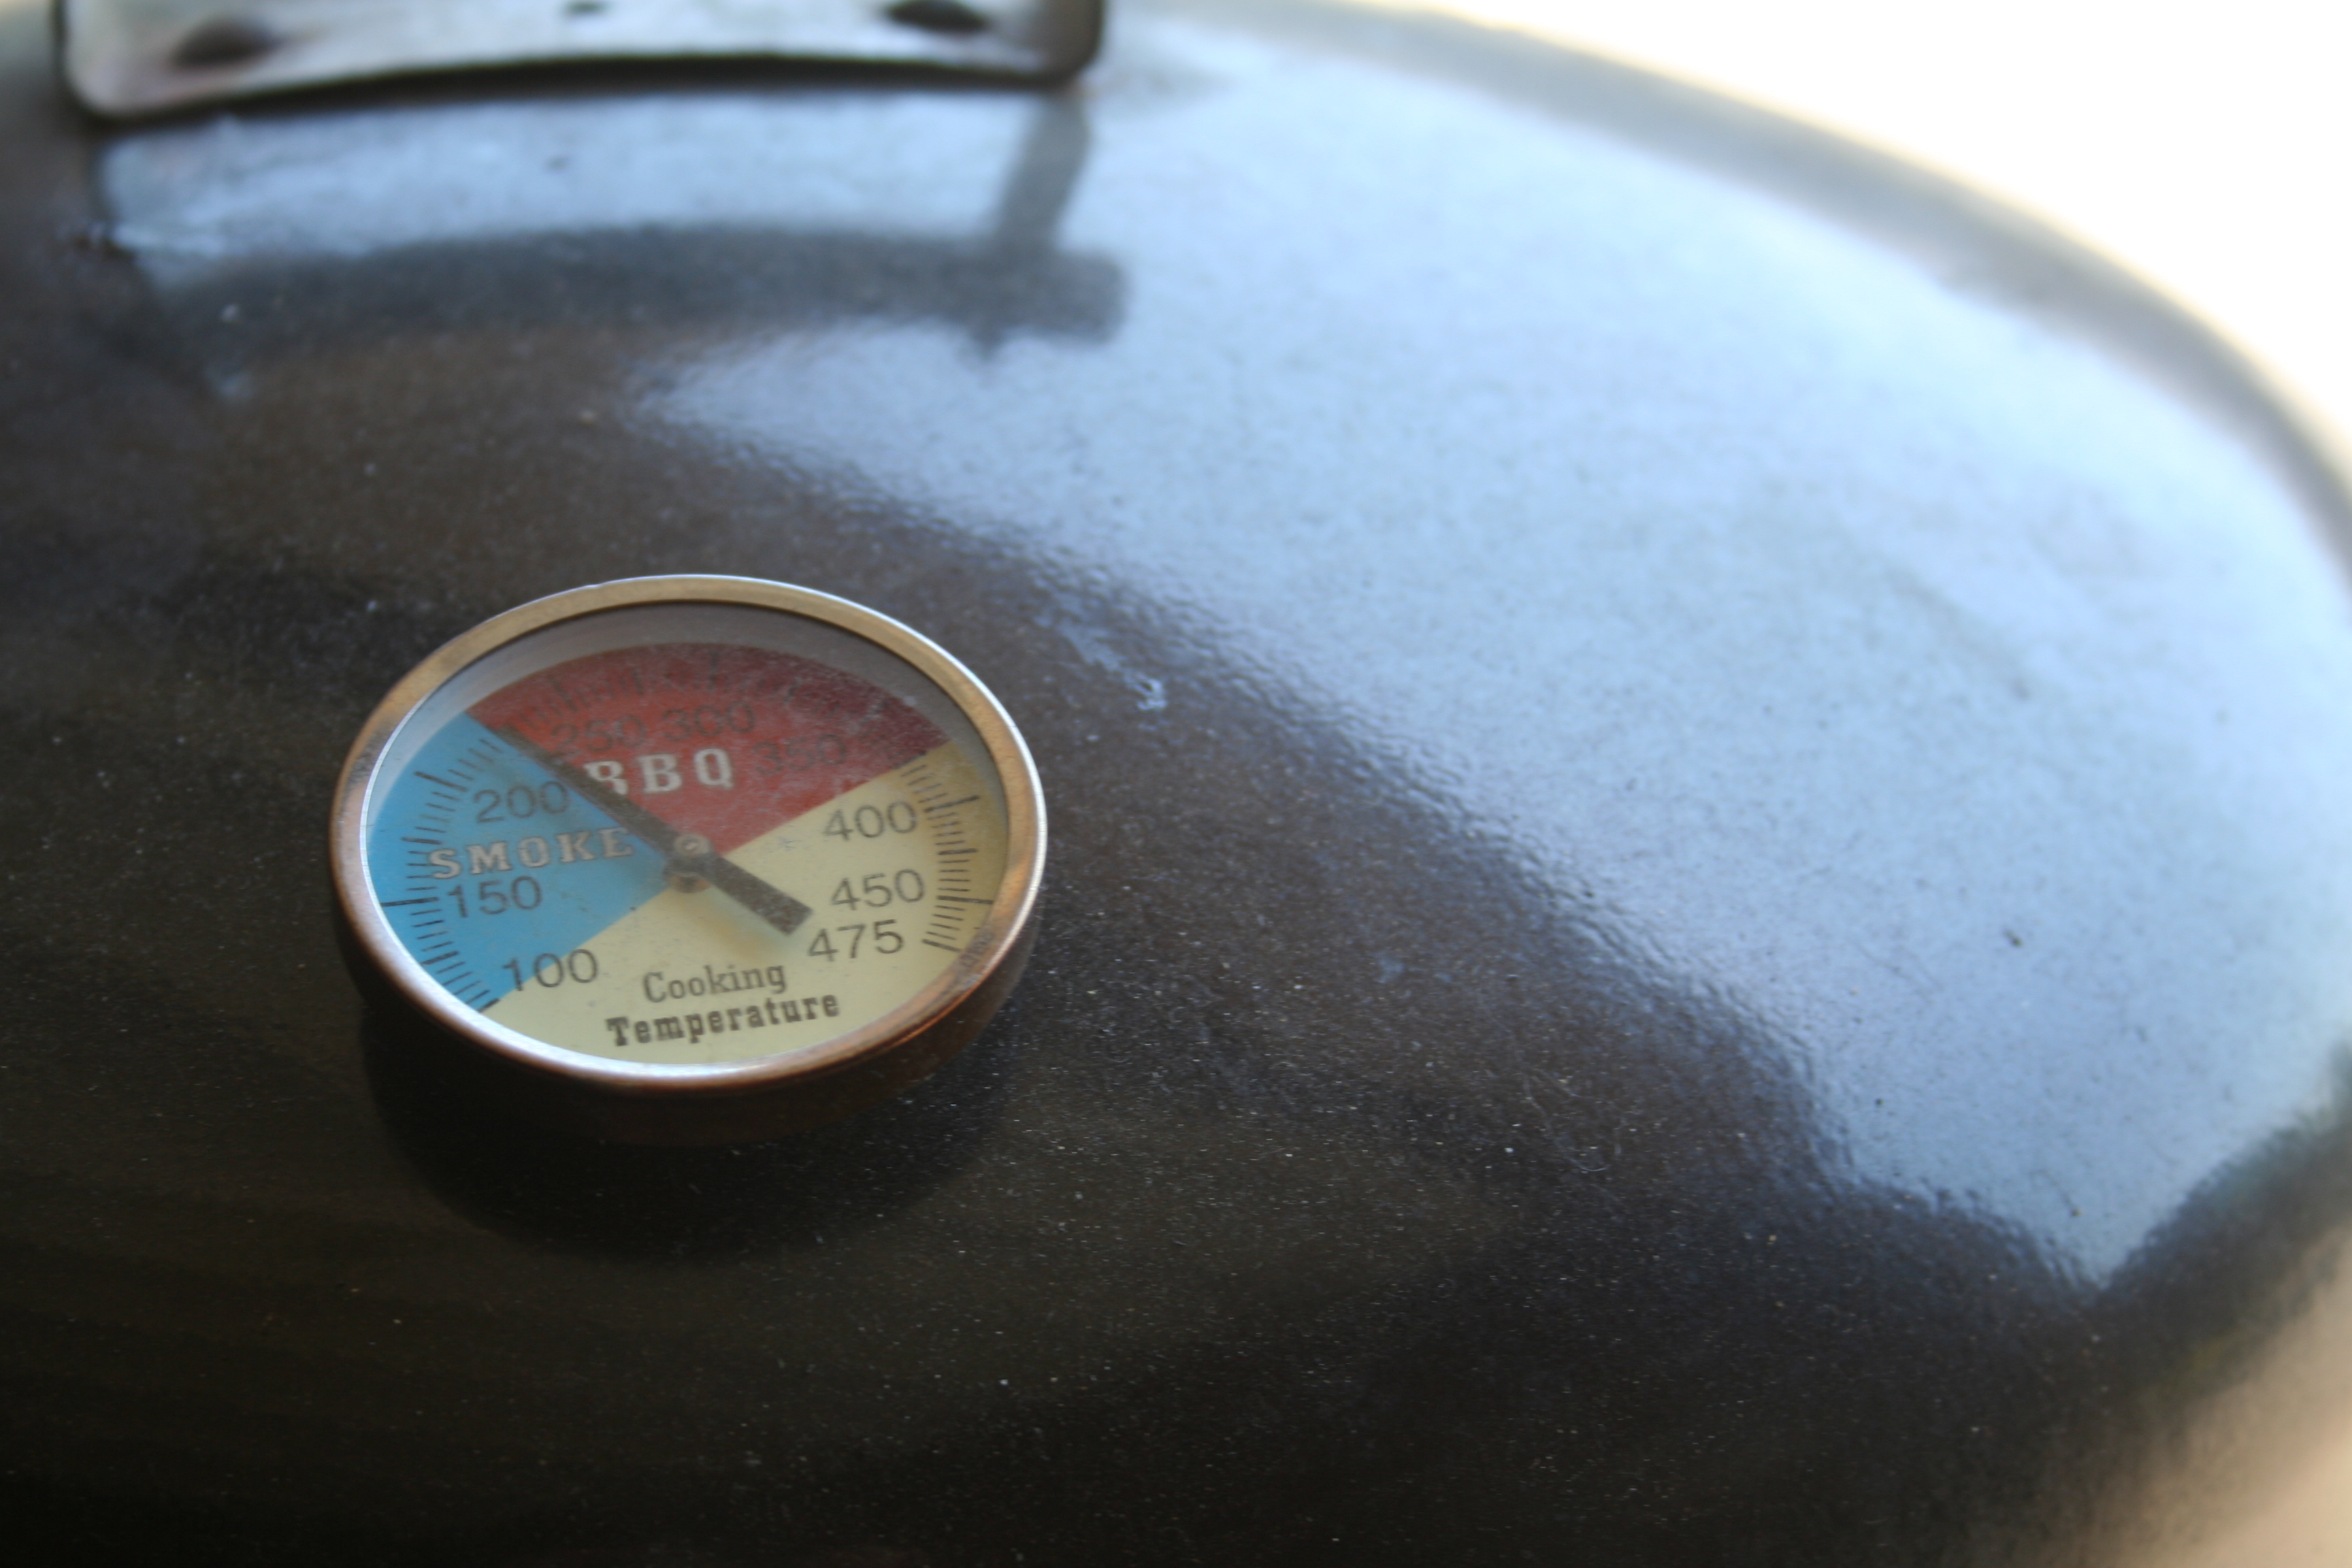
The first and perhaps most important thermometer in my arsenal is the one I have affixed to the top of my smoker. It is an expensive, non fancy 2″ thermometer I picked up off of Amazon. It was simple to install just had to drill a hole in the top and of the smoker dome, insert the thermometer and tighten the nut on the back. When I initially go it I calibrated it with boiling water and it was dead on. I have been using it for a little over a year with no complaints. This is a must have in my book.
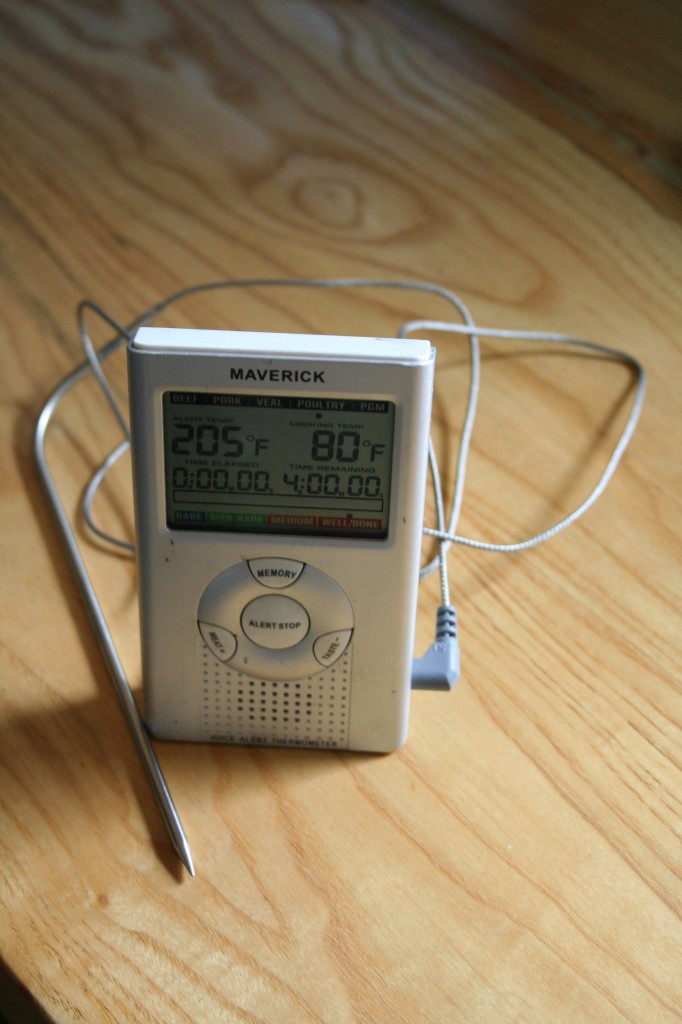 Next on my list is my Maverick ET-84. For a long time this was my bread and butter thermometer, I have two of them and they both rock. You can get replacement probes for them with either a silicone encased or braided stainless steel type wire. It also has a nice back light for outdoor after dark cooking.
The talk of replacement probes may scare some away but I have been using both of mine for well over a year and have had to replace the probes once, as a result of a terrible mishap in the oven. The silicone probes do not survive extreme temperatures, greater than 500°F.
Ordering new probes was easy and inexpensive via email through the Maverick Industries website.
I use these with meat on the grill, in the smoker and in the oven. Its nice to be able to see where the meat is at temperature wise without having to lift the lid or open the door. In addition these thermometers talk, kinda creepy when you aren’t expecting it but they will remind you to baste. This can also be turned off.
As I said I have used these thermometers for quite a while in hot weather, in cold weather and in nice weather. Typically in unfavorable I have increased the geek quotient of my smoking operation by adding a wireless webcam to the set up to monitor the smoker from the comfort of my home. With the proper set up it is possible to monitor both the thermometer on the smoker itself and the ET-84 positioned near it (the probes have a 48″ lead). With the webcam I am also able to see if the smoker is well smoking, this is a bit more difficult in the bitter cold because you have a bit more steam, but smoking is after all an instinctual thing.
I calibrated or rather made sure they were properly calibrated using the same method as for the grill top thermometer above, dunked it in boiling water and it checked out. It is important that when calibrating this way you are sure not to touch the probe to the bottom of the pan. The pan will be much hotter than the water inside of this, you could zap a probe. Its not nearly as scary as it sounds
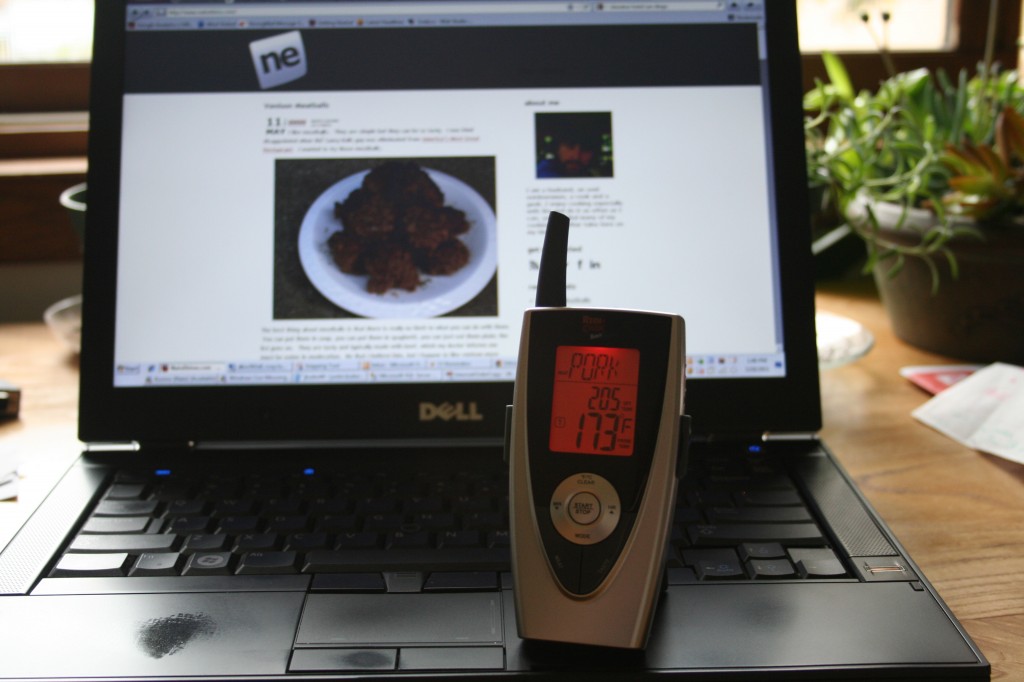
Finally the latest and perhaps coolest addition to my thermometer arsenal, the Maverick ET-901. Like the ET-84 above the ET-901 is an electronic thermometer that allows you to monitor the temperature of meat you are cooking without opening the door or raising the lid. But it has the added benefit of being wireless it consists of two pieces, the transmitter seen below that will sit with the smoker, grill or oven you are cooking with and a receiver you take with you.
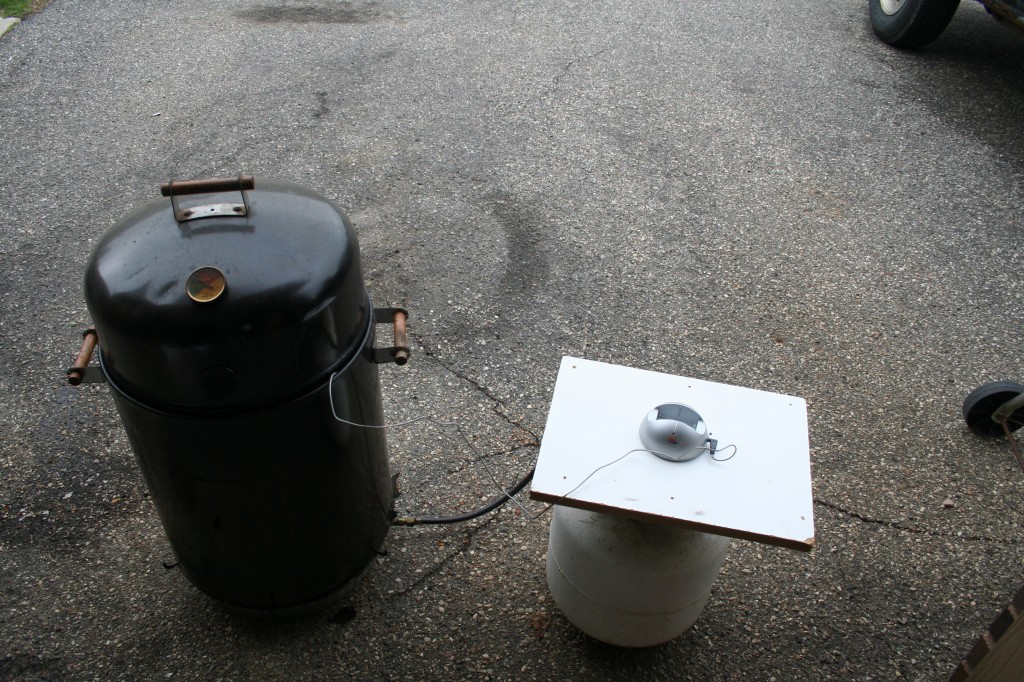
This is the newest addition to my arsenal and it was met with some skepticism. The internet is full of bad talk about wireless thermometers and their range, so I was quite skeptical when I got it but wanted to give it a try for monitoring temperatures when I am away from a computer or don’t feel like hooking up the webcam and want to know how my food is cooking. I could not be happier with the results, this thing is money and well worth the money I spent on it. I am currently using it as I cook up some pork to pull and it has limited my trips to the smoker drastically.
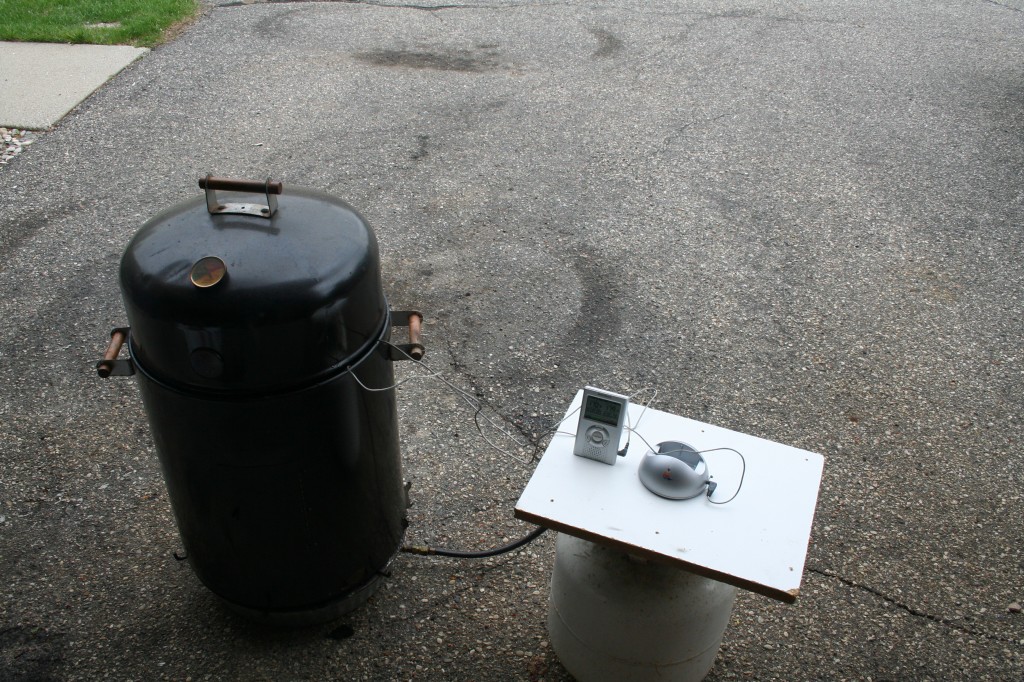
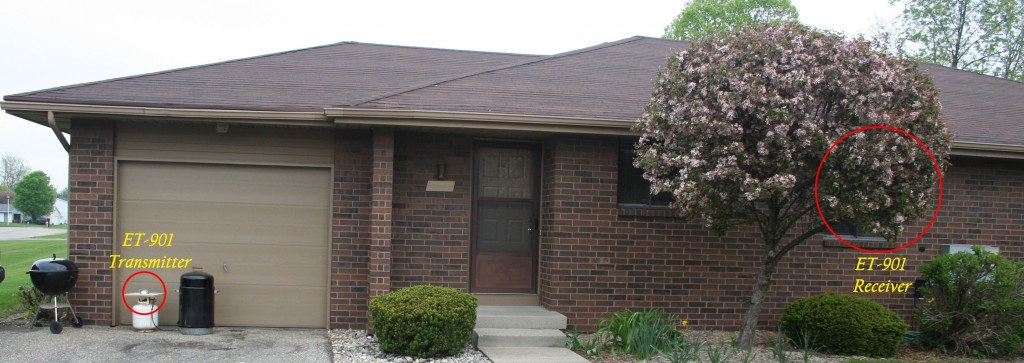 Just to get an idea of the range at which I am using the remote thermometer, the image above is an action shot of my set up today. The transmitter is sitting next to the smoker outside the garage and I am in the house with the receiver. I am well within the 150′ range touted by the manufacturer, I am passing through a brick wall and have had no problems thus far. It also works well from behind my condo, which suggests it would work great next to my bed for overnight cooks, more sleep less worrying.
In addition being wireless the ET-901, like the ET-84, has a back light for after dark cookouts and like the ET-84 it has user programmable doneness levels. So for instance when cooking pulled pork to 205°F, I can set it for 205°F and it will alert me when my food has finished cooking, instead of at a preset doneness level, of which it also contains several.
Like the ET-84 replacement probes are available for this model from Maverick Industries.
So after all that which one do I use the most? Well that is a tricky question, inevitably the thermometers mounted directly to the smokers and grill get used the most. But of the electric ones it is a trick question, they wireless ET-901 is the newest and will get used the most on single piece of meat cook I imagine. But like today where I have two pieces of meat on the smoker the ET-901 is in the smaller of the two pieces of meat to give me a heads up when they are getting close to being done; while the ET-84 is in the larger piece of meat just so I can periodically check on its progress.
With that I will leave you with a picture of my setup today and a question. Do you have a thermometer you you can’t live without and why?
